Microneedling pen
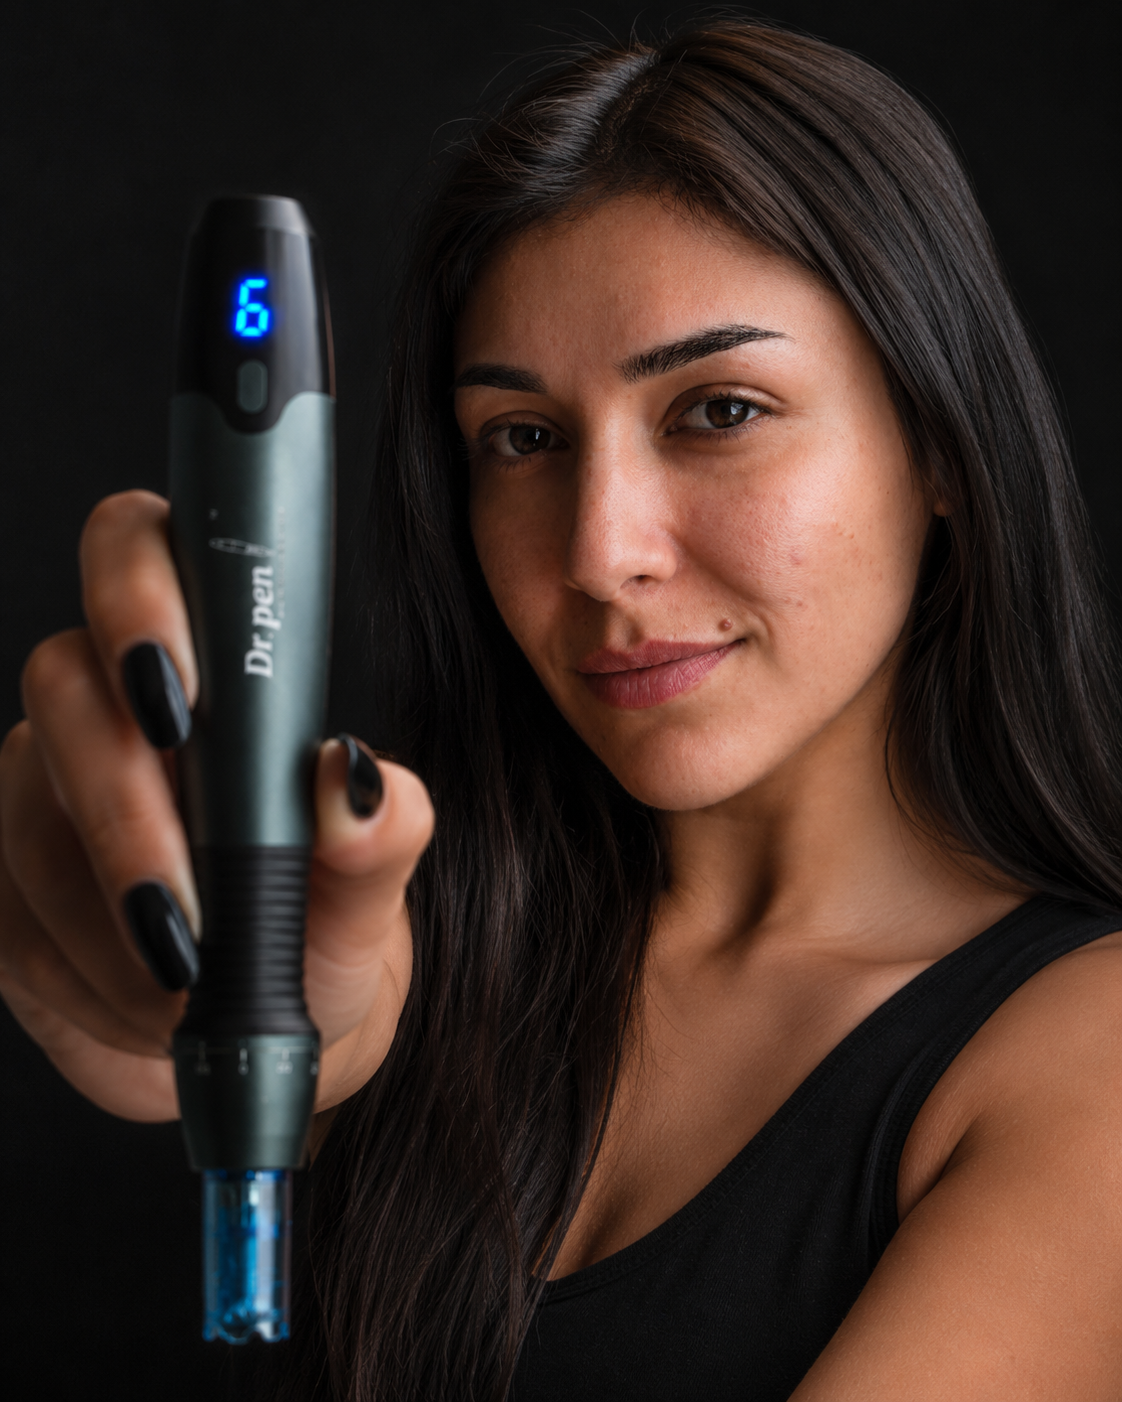
Dr. Pen A20
6 speed levels, cordless, with 2 × 14-pin cartridges and 10 protective sleeves in the box.
$599.00 USD
The Dr. Pen microneedling protocol. Prepare, use and recover with a guided routine built around your pen, your area and your skin.
Clean skin first. A fresh cartridge every session. More depth is not a better result. Let your skin recover before you repeat.
Check suitability →Pick a pen and we build the rest: its most chosen cartridges, recovery care and SPF. Or choose a ready-made kit below.
6 speed levels, cordless, with 2 × 14-pin cartridges and 10 protective sleeves in the box.
Cartridges from 12 to 42 pins, Nano and 5-pack combos for face, body and scalp.
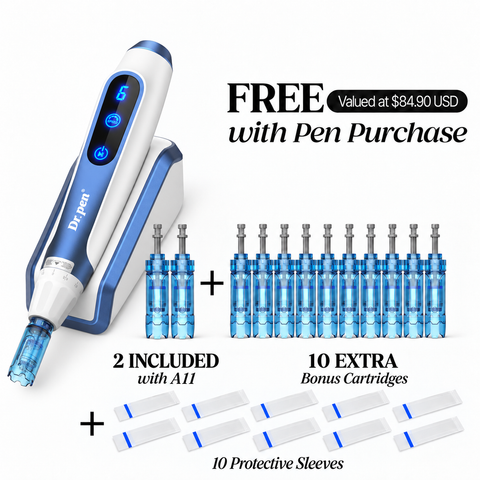
Large LED control screen and an induction charging stand.
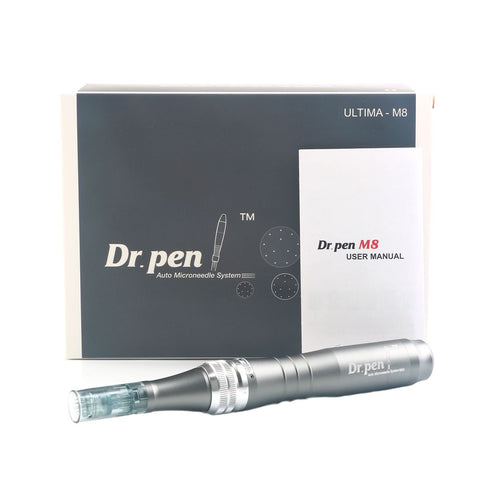
0–2.5 mm depth control, up to 18,000 rpm and a 4-hour battery.
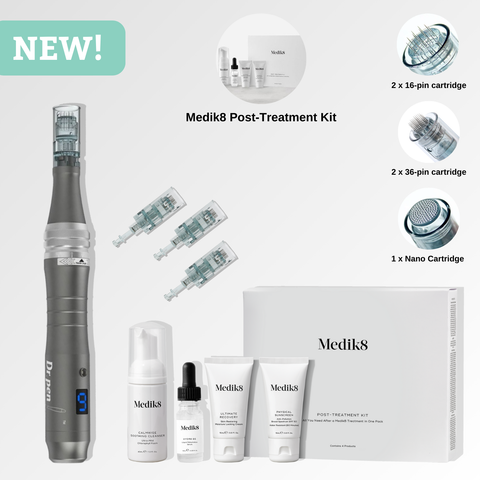
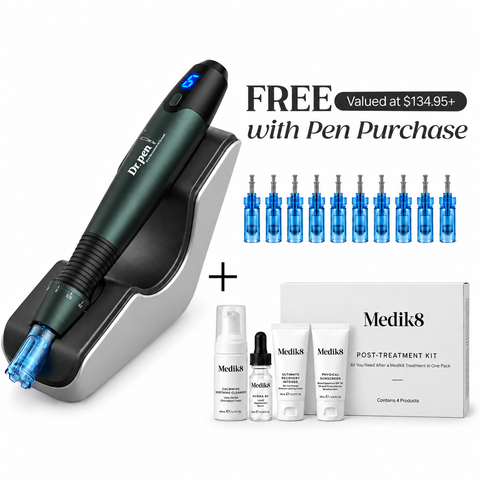
M8 pen, Medik8 Post Treatment Kit and 5 cartridges: 2 × 16-pin, 2 × 36-pin, 1 Nano.
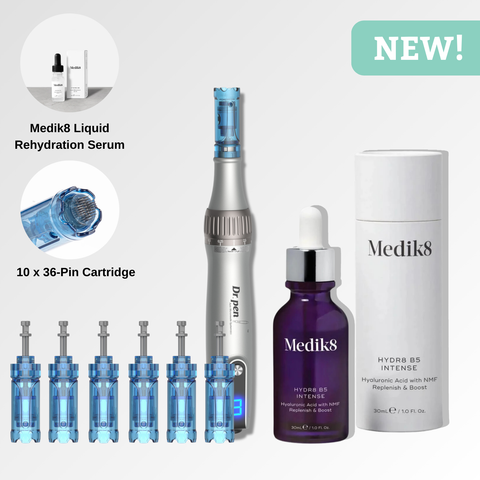
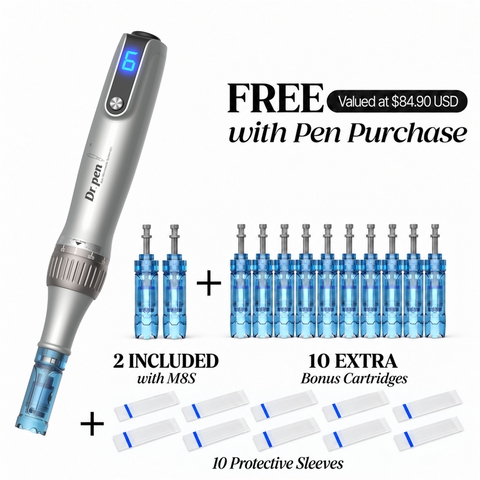
M8S pen, 36-pin cartridges and a full-size Medik8 Hydr8 B5 Intense serum.
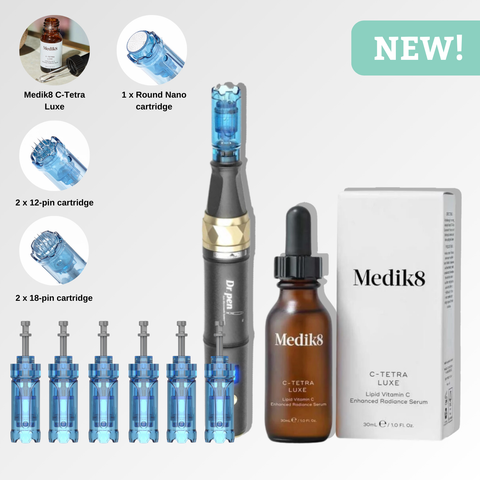
A8S pen, 2 × 12-pin, 2 × 18-pin and 1 Nano cartridge, plus Medik8 C-Tetra Luxe.

A10 pen, 36-pin cartridges and a full-size Medik8 Hydr8 B5 Intense 30 ml.
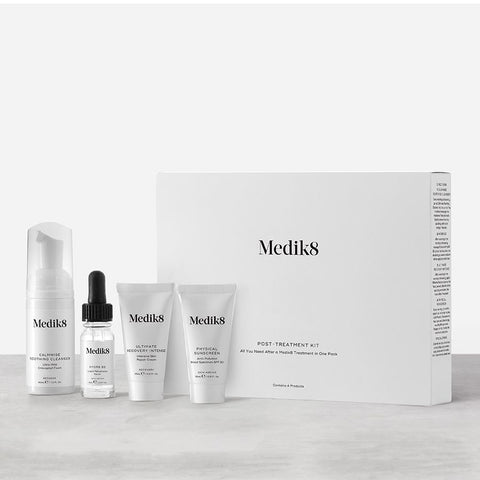
Recovery care for after microneedling, starting with a calming cleanser.
Already have a pen? Find its cartridges → Compare all pens →
Your setup, preparation, area map and recovery — guided from the first check to the weeks afterwards.
Have your pen ready, or explore before choosing one. Get compatible cartridge options, a preparation countdown, a detailed area map, movement demonstrations and day-by-day recovery guidance.
See area-specific cartridge comparisons, general depth guidance and movement explanations. This DrPenStore Support guide is for general education. Consult your own doctor about suitability and personal settings.
Help me choose a pen →Preview a movement now, or follow the guided steps below.
Choose the pen you own and a reviewed replacement. This selection checks product fit.
Choose your pen to see compatible cartridges.
Open the full cartridge comparison →Choose the concern you mean. A healed scar, a flat mark and an active spot take different paths.
We recommend verified model compatibility first. Compare compatible 11, 12 and 16-pin options for surrounding mouth skin. An H6 scalp example uses 36 pins. There is no universal pin count for every facial area.
Compare cartridge types →Keep the instructions and the products you will actually use beside you.
These are preparation reminders, not a skin assessment. Review when to postpone →
Remove makeup and surface residue using your cleanser’s directions. Cleansing and any required skin antisepsis are separate steps.
Optional pacing timer. Follow your cleanser’s directions.
Press start to see the cleansing animation and countdown together.
The 60 seconds are a pacing aid, not a validated cleansing or disinfectant contact time. Finish earlier or take longer according to your product’s directions.
Browse your cleanser collections. Check the formula and your preparation instructions before choosing; exfoliating cleansers are not a default treatment-day step.
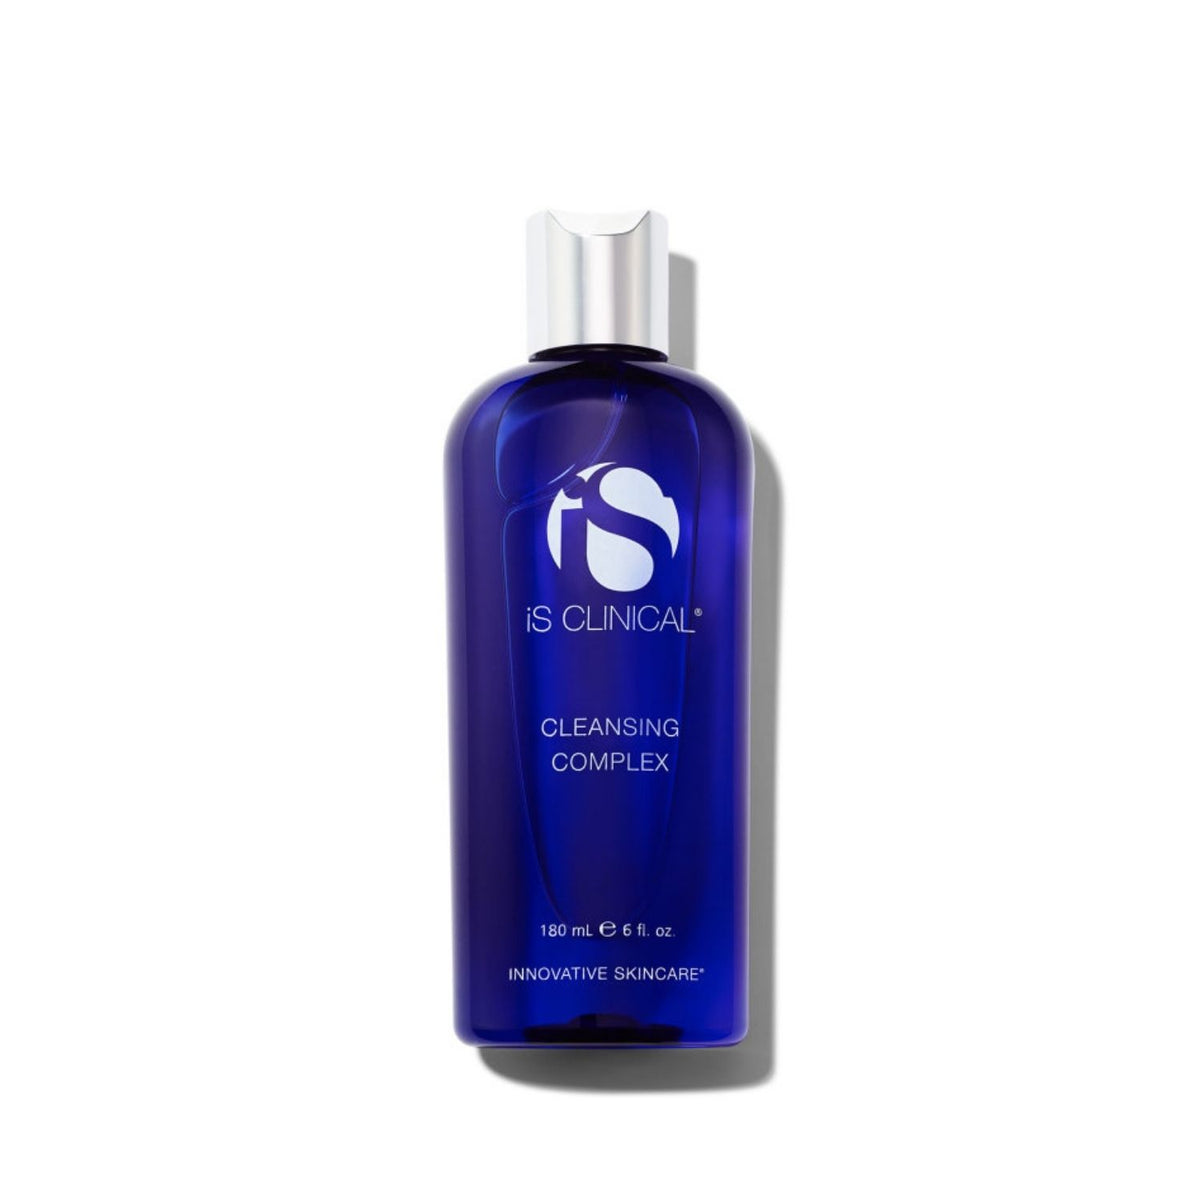
$61.00 USD
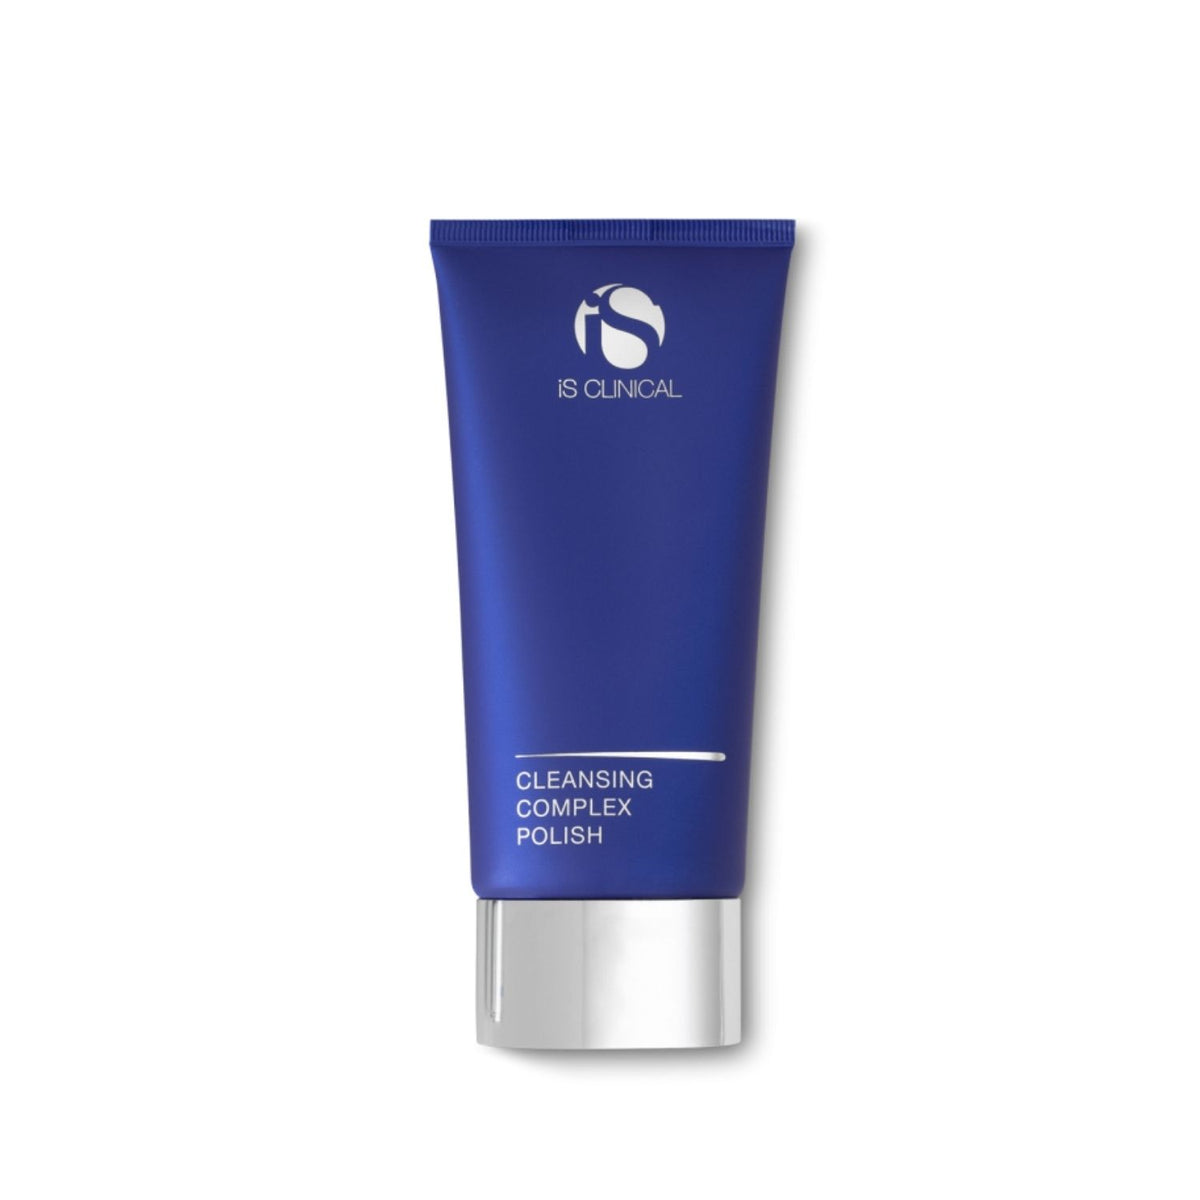
$61.90 USD
Already have a suitable product? You can continue with it.
Keep the power off while preparing the cartridge.
Use a new, sealed, in-date cartridge. Do not touch its tip.
CHECK THE FITFollow your exact pen’s fitting instructions. If the cartridge does not lock securely, stop and check compatibility.
KEEP IT OFF THE SKINLocate the motor-speed control and depth dial before reviewing them in the next steps.
Decide what belongs during the procedure and what belongs afterwards.
Your cleanser and any specified skin-preparation product. Remove residues as instructed.
DURINGThe exact contact medium permitted for your device and procedure. “HA”, “PDRN” or “sterile” on its own is not a complete product instruction.
AFTERThe specified recovery product. A cosmetic collagen mask or a new active serum is not an automatic final step.
These names appear in community routines. The exact formulation, route and instructions still matter; the Mentor does not turn them into an approved combination. An injectable product is not automatically an appropriate topical contact medium.
Product examples and source details →Explore your serum collection for your routine after recovery. These are not automatic needling contact products. Use only the exact medium specified for your procedure during skin contact.
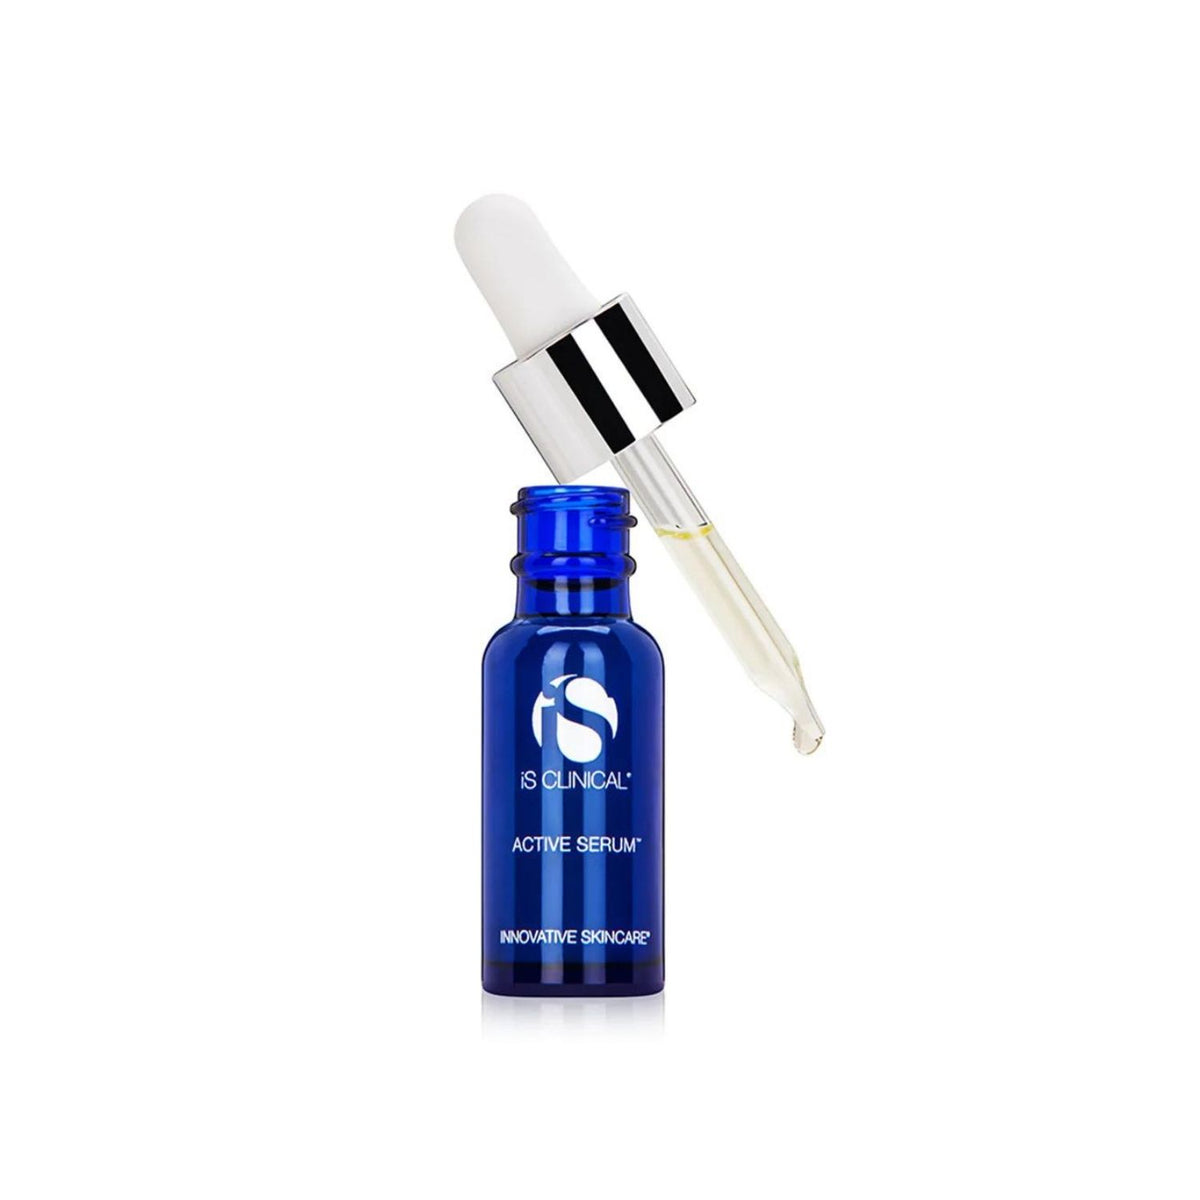
$115.00 USD
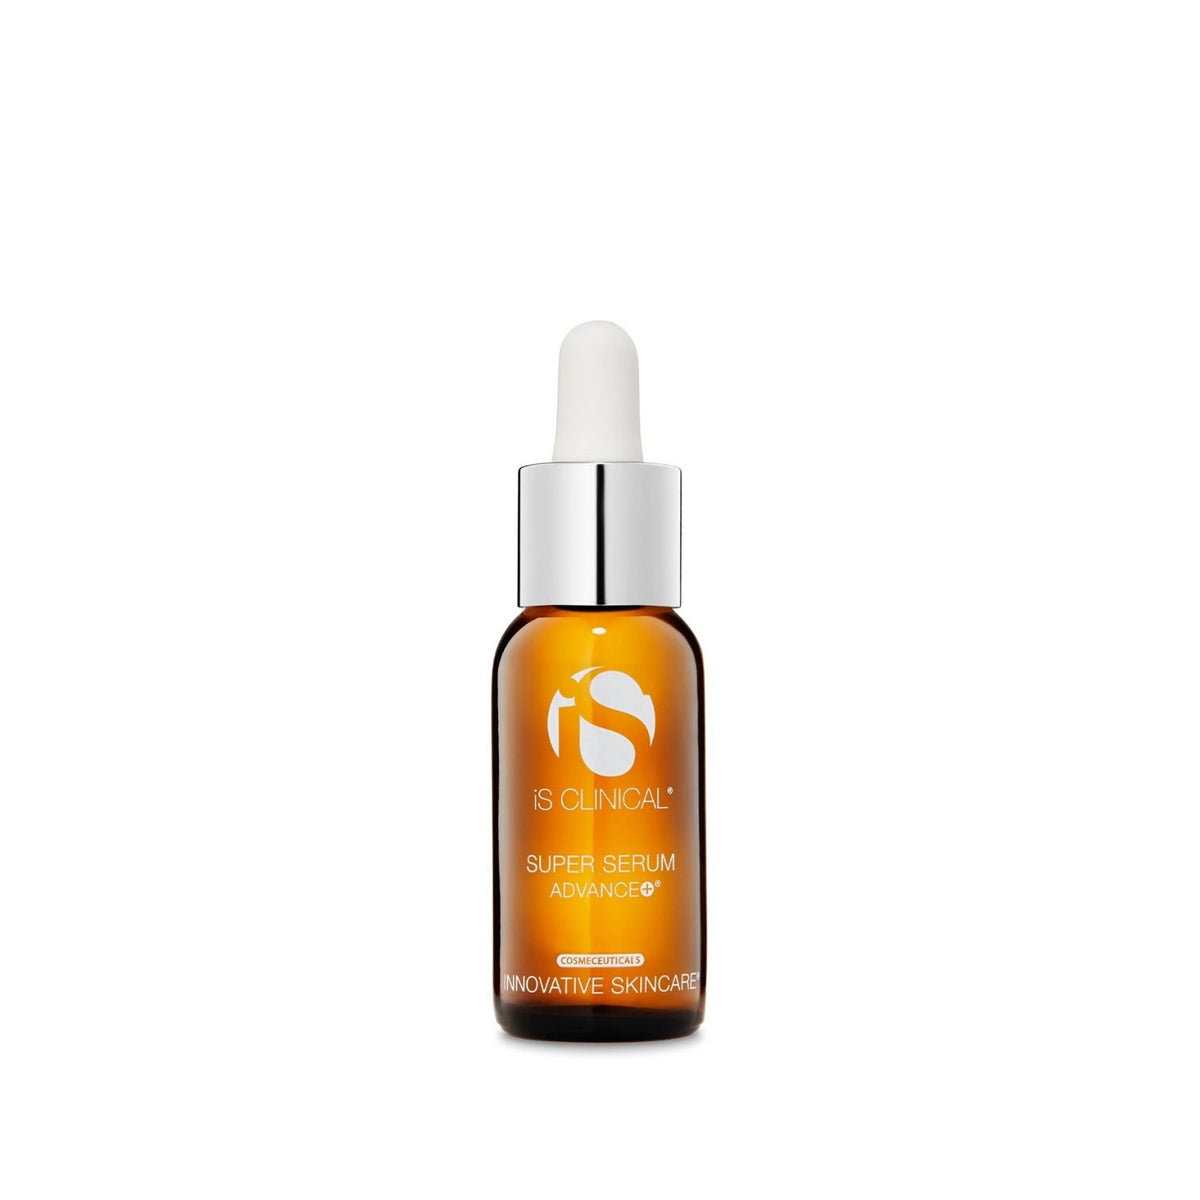
$124.00 USD
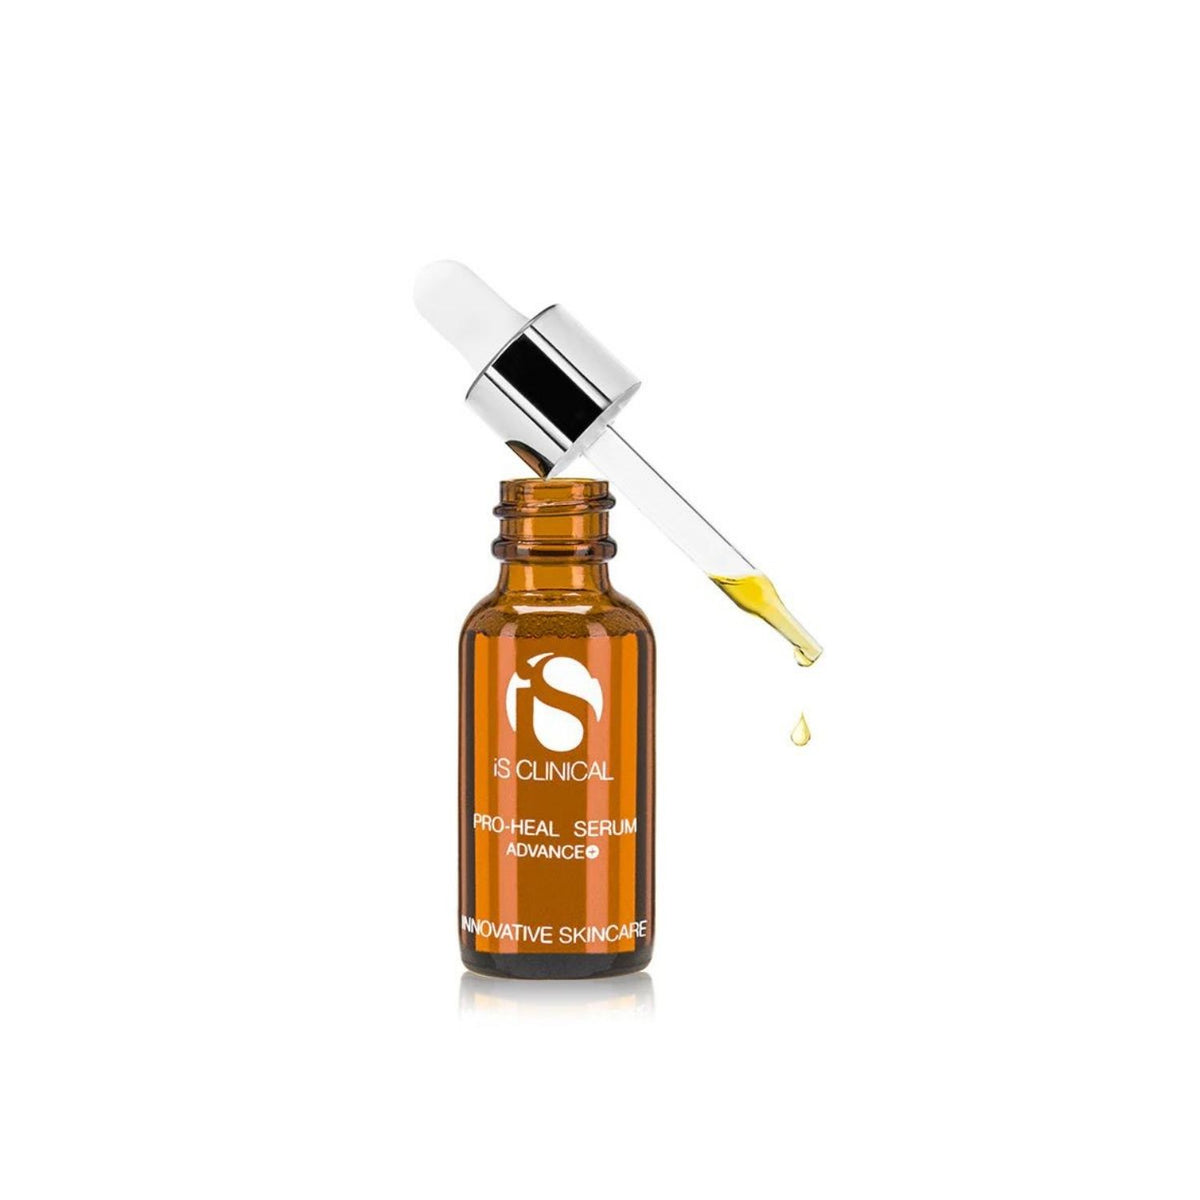
$156.90 USD
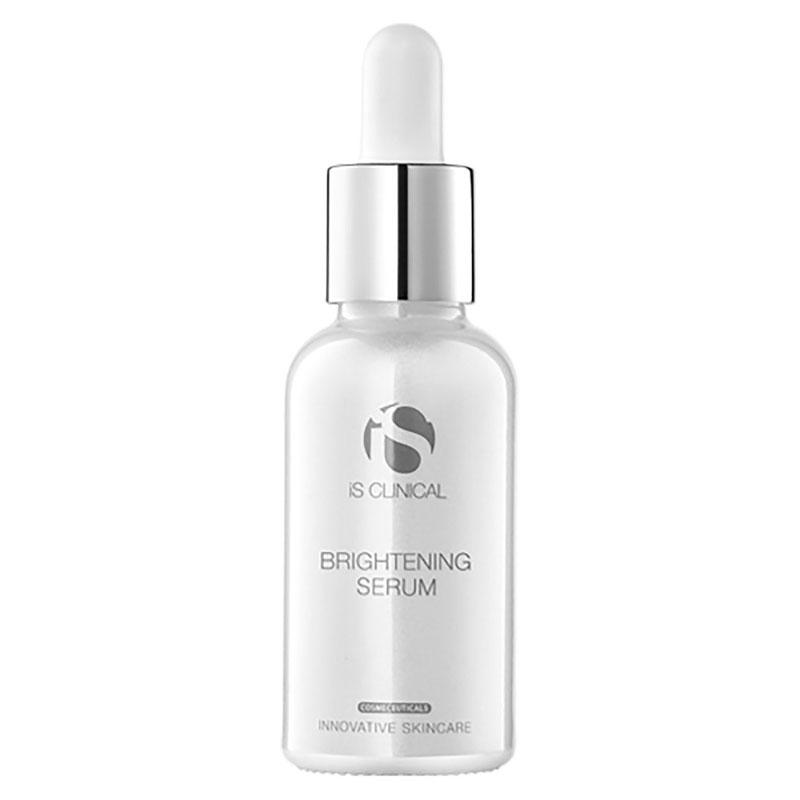
$107.00 USD
Already have a suitable product? You can continue with it.
Motor speed and the speed of your hand are different controls.
Depth is a separate setting. Skin type and pin count alone cannot determine it.
Review your selected area. Its movement illustration starts when this step opens. General guidance does not replace personal treatment settings. Consult your own doctor about suitability.
Gliding moves the tip along the surface. Vertical describes the direction of the path.
Changing the map region changes your Mentor area. Review its speed and depth again before continuing.
Our guidance illustrates cross-hatch movement on cheeks and forehead, and small circles at the nose sides. Match the permitted movement to your device instructions and individual plan.
Neither graphic supplies an exact repeat count or contact time. Lift before repositioning a stamp. Stop when the tip drags or catches; do not increase pressure to compensate.
DrPenStore instruction guide →Follow your device and procedure instructions for the permitted technique, settings and passes. Stop contact if the tip drags or catches. Read movement guidance →
Finish with a clear next step, not a stronger setting.
The typical recovery window is 24–72 hours. Skin type, depth and response change the timeline. Dates are checkpoints, not clearance to restart products or treatment.
DrPenStore instruction guide →Keep care simple. Don’t forget SPF. Review before repeating.
Discard the used cartridge safely. Keep care simple and follow the specified cleansing and recovery routine.
THE FOLLOWING DAYSDo not pick or scrub flaking skin. Keep sun protection in your plan and wait to restart irritating actives. AAD advises at least 24 hours before makeup after professional microneedling.
BEFORE REPEATINGSkin looking calm does not establish readiness. Use your treatment plan’s interval and review any persistent symptoms first.
Use the interval already set in your treatment plan.
Increasing pain, spreading redness, discharge, fever or marked swelling need medical assessment.
Full recovery guidance →Changes develop gradually. Fuller results often take several months. More frequent sessions do not necessarily mean better results; recovery is part of the process.
DrPenStore instruction guide →Keep recovery care simple. Choose hydration products according to your aftercare plan and their directions; everyday skincare may need to wait until your skin has recovered.
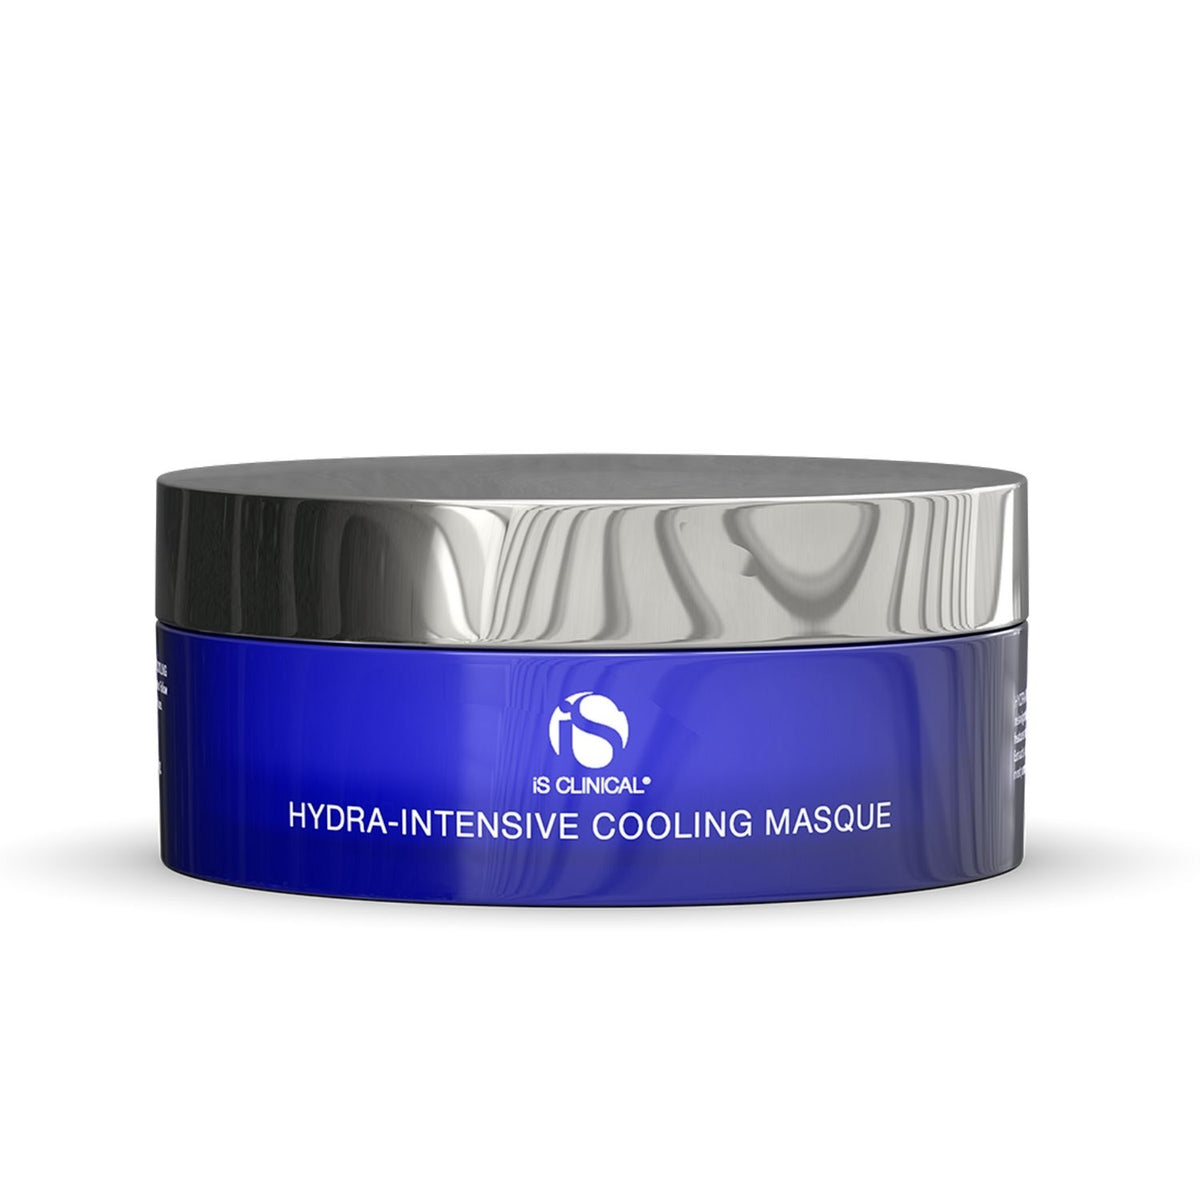
$123.00 USD
Already have a suitable product? You can continue with it.
Keep sun protection in your routine. Use shade and a hat, and follow your aftercare plan for when to apply sunscreen. Check the product label for application and reapplication.
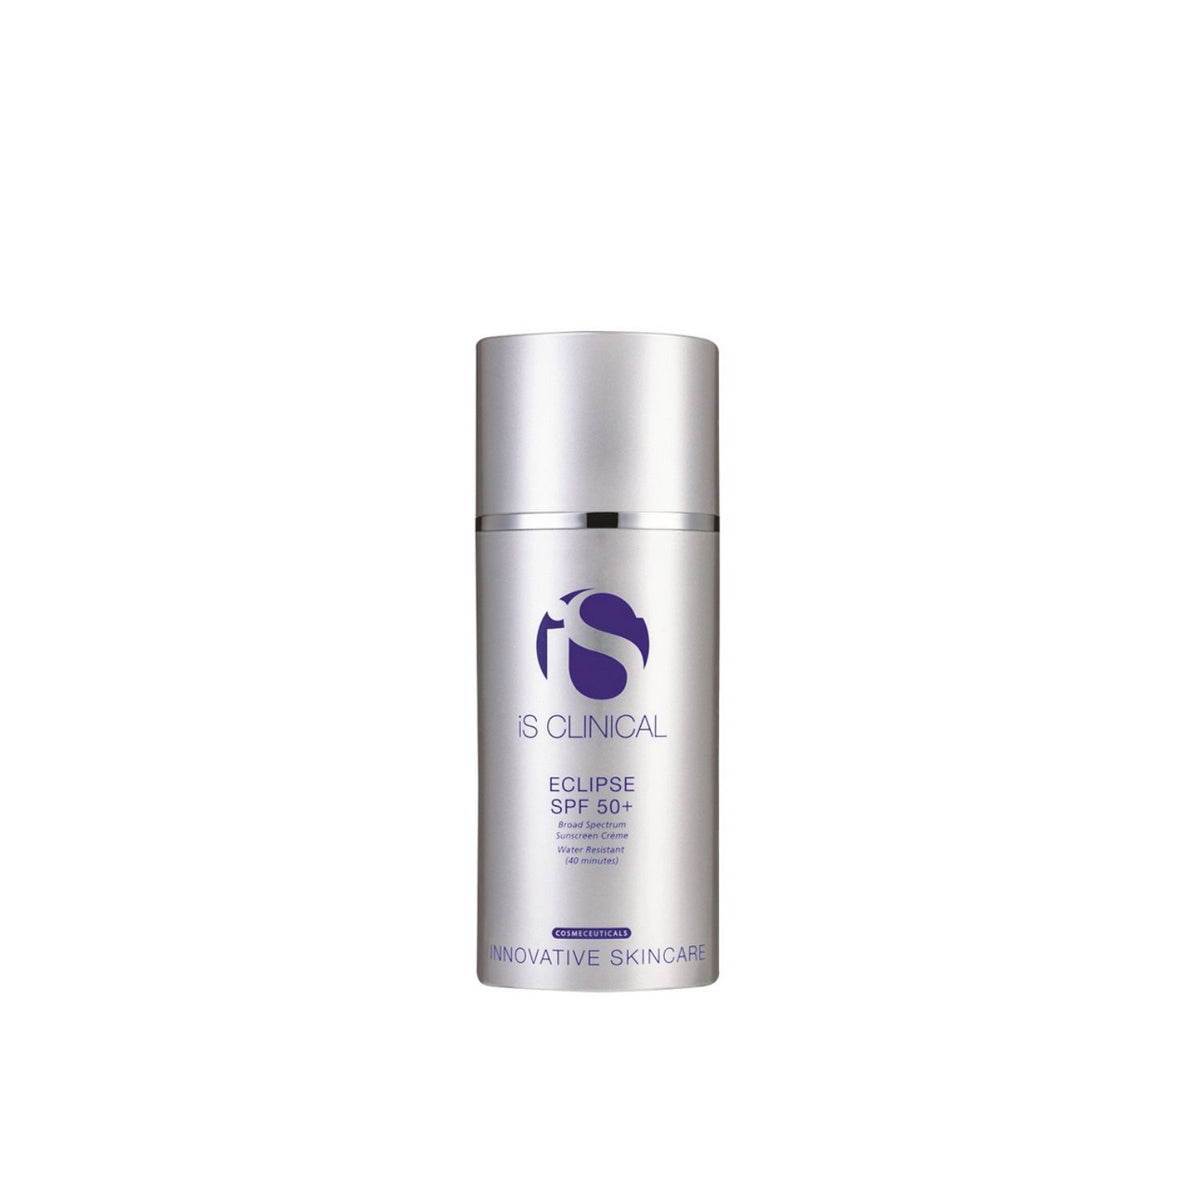
$64.99 USD
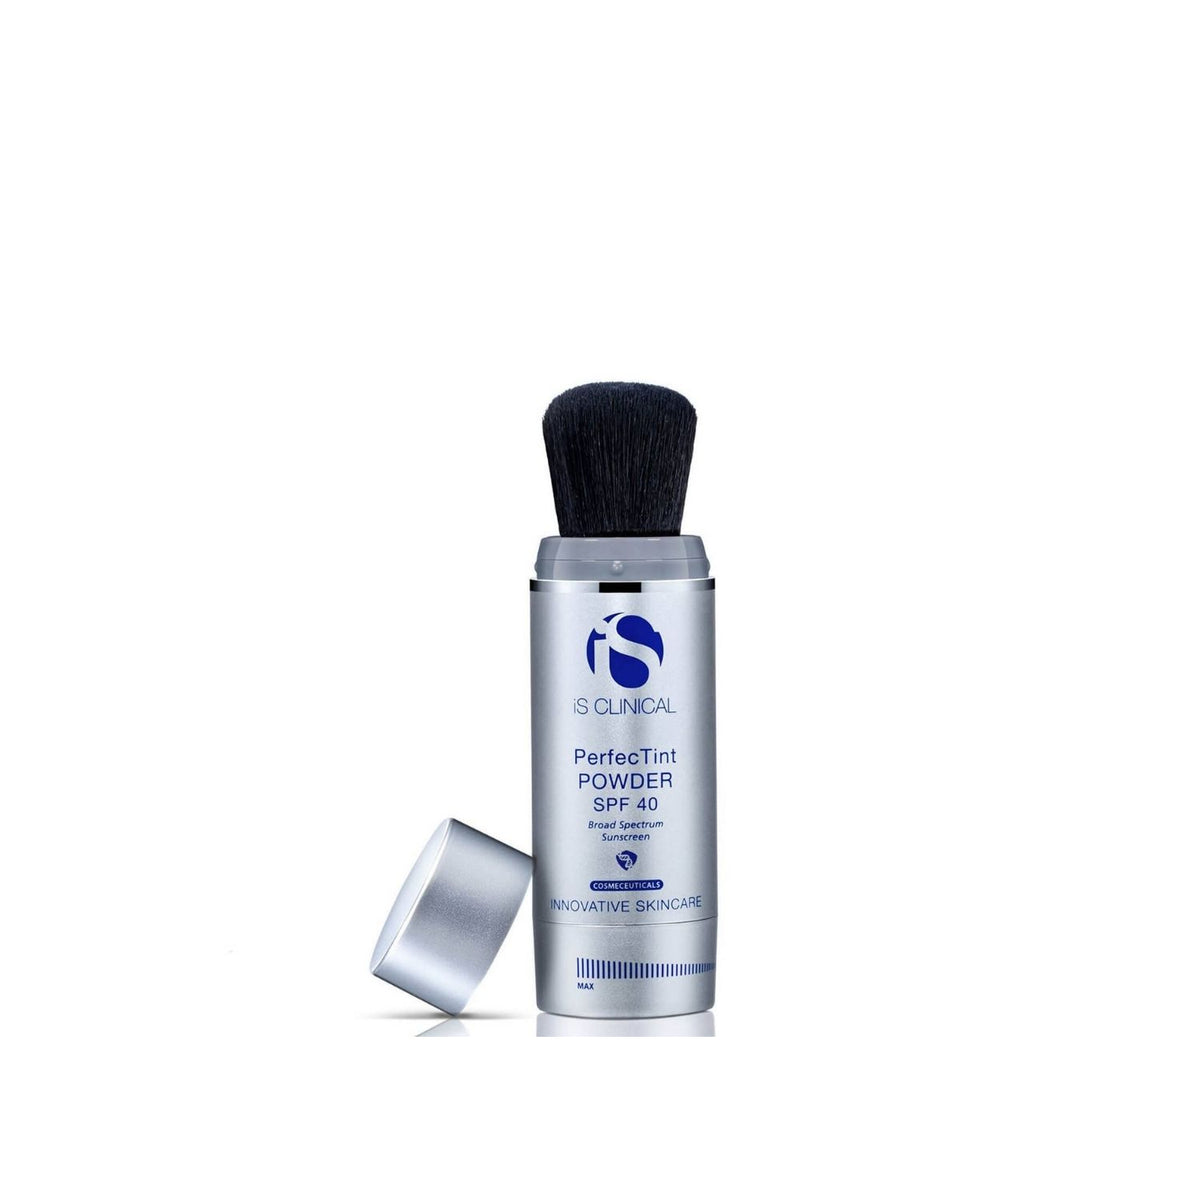
$101.90 USD
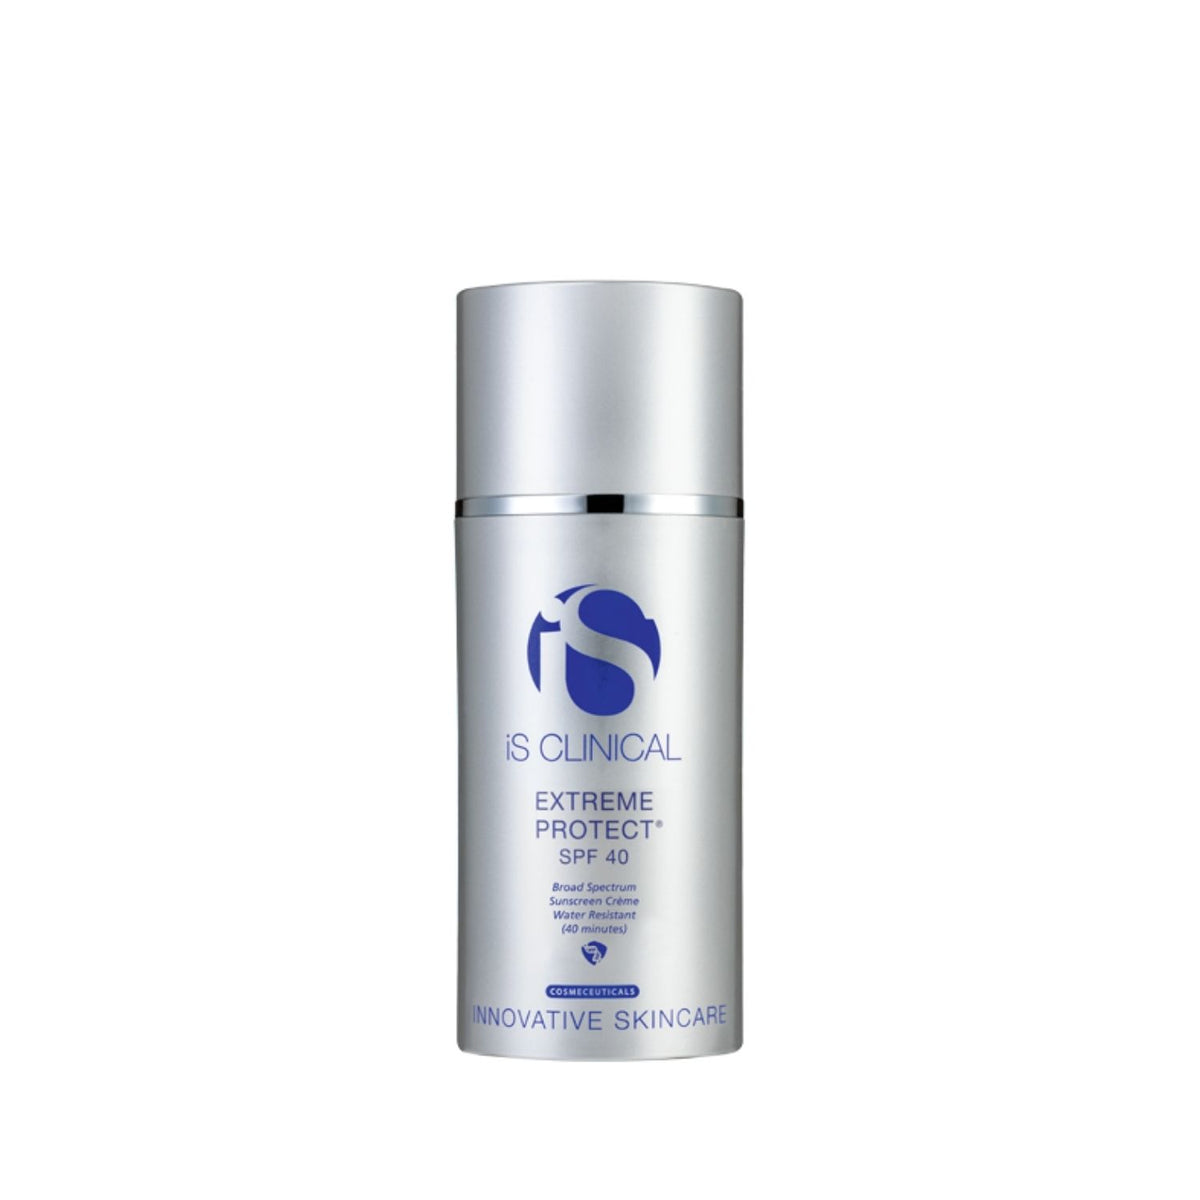
$85.00 USD
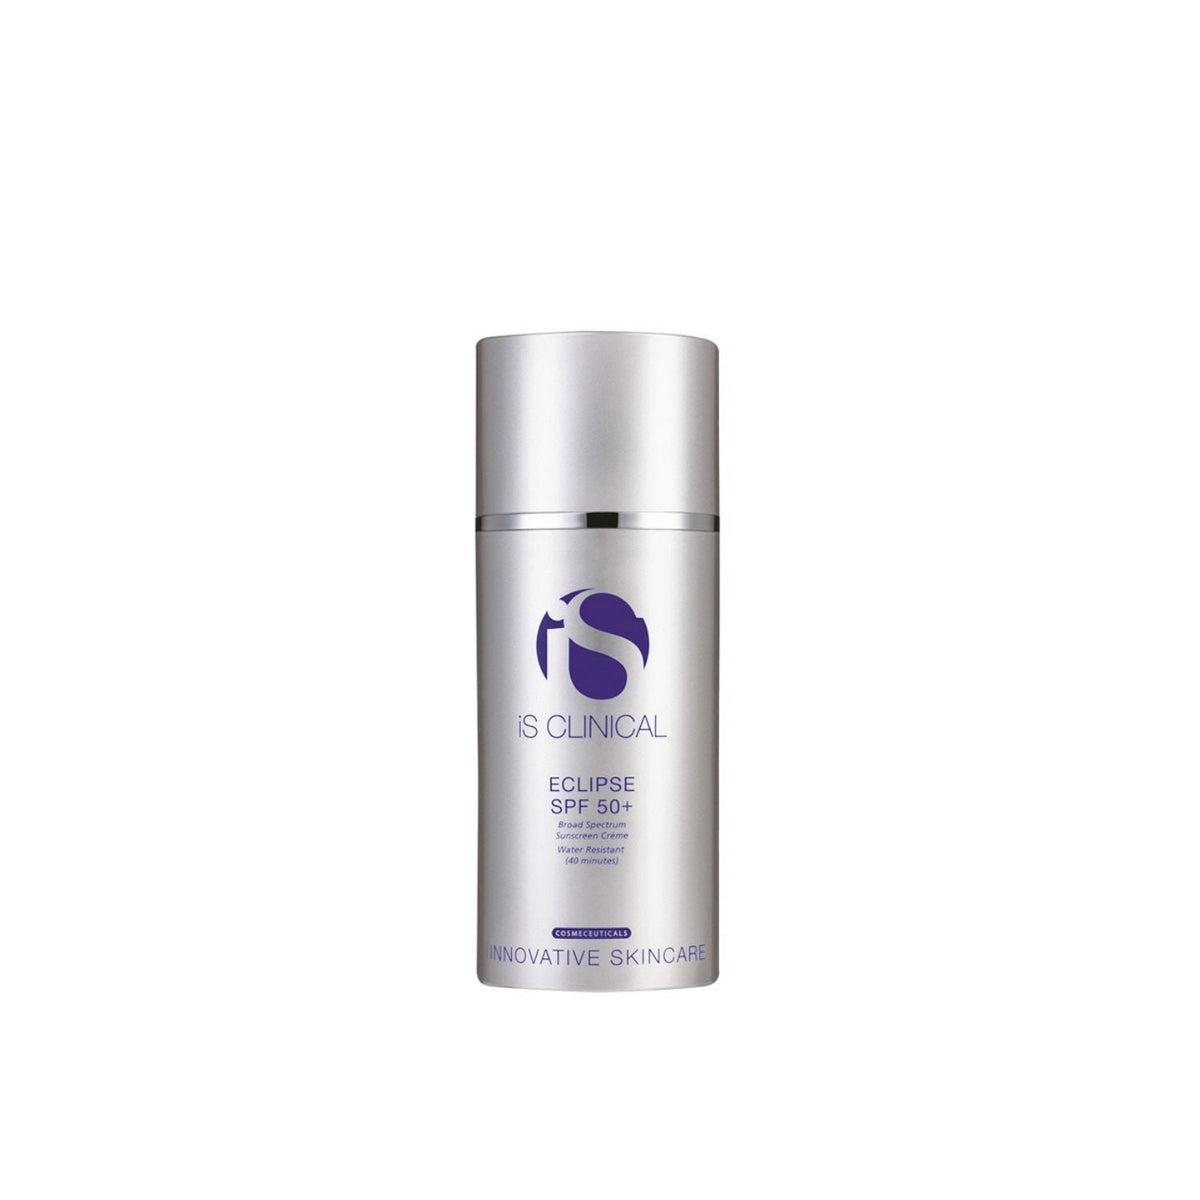
$64.90 USD
Already have a suitable product? You can continue with it.
Your choices, the steps you confirmed, local dates and times, and your care notes — together in one email.
Your summary is sent through DrPenStore’s Klaviyo email service when connected.
Built from your Mentor choices. Untick anything you already have.
Keep sun protection in your plan. Follow your aftercare guidance on timing, and allow your skin to recover before planning another session.
Have you selected your pen and cartridge?
Optional: your selections stay in this browser tab for up to two hours, never in your store account. The timer always returns paused. Start over clears saved choices.
Follow the same learning path: choose a cartridge, identify your concern, prepare, understand movement, then review aftercare. Interactive illustrations and the optional preparation timer are available when JavaScript is enabled.
Understand each stage, then explore the collection that belongs there. Your everyday skincare and treatment-day products have different roles.
Browse your cleanser collections. Check the formula and your preparation instructions before choosing; exfoliating cleansers are not a default treatment-day step.
Explore with your Mentor →
Explore your serum collection for your routine after recovery. These are not automatic needling contact products. Use only the exact medium specified for your procedure during skin contact.
Explore with your Mentor →
Keep recovery care simple. Choose hydration products according to your aftercare plan and their directions; everyday skincare may need to wait until your skin has recovered.
Explore with your Mentor →
Keep sun protection in your routine. Use shade and a hat, and follow your aftercare plan for when to apply sunscreen. Check the product label for application and reapplication.
Explore with your Mentor →
Choose your pen to see every cartridge made for it, with pack sizes and today's prices. The model name is printed on the pen and on its box.
Choose your pen to see its cartridges.
Choose your pen to see its cartridges.
 A20Dr. Pen
Every pack below is made for the A20. Add one to your cart, or tick Compare to see up to three side by side.

10 cartridges / pack
Available
$6.60 USD / cartridge
Pack details →
10 cartridges / pack
Available
$6.60 USD / cartridge
Pack details →
10 cartridges / pack
Available
$6.60 USD / cartridge
Pack details →
10 cartridges / pack
Available
$6.60 USD / cartridge
Pack details →
10 cartridges / pack
Available
$6.60 USD / cartridge
Pack details →
10 cartridges / pack
Available
$6.60 USD / cartridge
Pack details →
10 cartridges / pack
Available
$6.60 USD / cartridge
Pack details → M9Dr. Pen
Every pack below is made for the M9. Add one to your cart, or tick Compare to see up to three side by side.

10 cartridges / pack
Available
$6.99 USD / cartridge
Pack details → M8SDr. Pen
Every pack below is made for the M8S. Add one to your cart, or tick Compare to see up to three side by side.

10 cartridges / pack
Available
$5.00 USD / cartridge
Pack details →
10 cartridges / pack
Available
$5.00 USD / cartridge
Pack details →
10 cartridges / pack
Available
$5.00 USD / cartridge
Pack details →
10 cartridges / pack
Available
$5.00 USD / cartridge
Pack details →
10 cartridges / pack
Available
$5.00 USD / cartridge
Pack details →
5 cartridges / pack
Available
$4.39 USD / cartridge
Pack details →
5 cartridges / pack
Available
$4.39 USD / cartridge
Pack details →
5 cartridges / pack
Available
$4.39 USD / cartridge
Pack details →
5 cartridges / pack
Available
$4.39 USD / cartridge
Pack details →
5 cartridges / pack
Available
$4.39 USD / cartridge
Pack details →
 A11Dr. Pen
Every pack below is made for the A11. Add one to your cart, or tick Compare to see up to three side by side.

10 cartridges / pack
Available
$5.00 USD / cartridge
Pack details →
10 cartridges / pack
Available
$5.00 USD / cartridge
Pack details →
10 cartridges / pack
Available
$5.00 USD / cartridge
Pack details →
10 cartridges / pack
Available
$5.00 USD / cartridge
Pack details →
10 cartridges / pack
Available
$5.00 USD / cartridge
Pack details →
 A10Dr. Pen
Every pack below is made for the A10. Add one to your cart, or tick Compare to see up to three side by side.


10 cartridges / pack
Available
$7.00 USD / cartridge
Pack details → M8Dr. Pen
Every pack below is made for the M8. Add one to your cart, or tick Compare to see up to three side by side.

10 cartridges / pack
Available
$4.60 USD / cartridge
Pack details →
10 cartridges / pack
Available
$4.60 USD / cartridge
Pack details →
10 cartridges / pack
Available
$4.60 USD / cartridge
Pack details →
10 cartridges / pack
Available
$4.60 USD / cartridge
Pack details →
5 cartridges / pack
Available
$4.39 USD / cartridge
Pack details →
5 cartridges / pack
Available
$4.39 USD / cartridge
Pack details →
 A6SDr. Pen
Every pack below is made for the A6S. Add one to your cart, or tick Compare to see up to three side by side.

10 cartridges / pack
Available
$4.60 USD / cartridge
Pack details →
10 cartridges / pack
Available
$4.60 USD / cartridge
Pack details →
10 cartridges / pack
Available
$4.60 USD / cartridge
Pack details →
5 cartridges / pack
Available
$4.39 USD / cartridge
Pack details →
5 cartridges / pack
Available
$4.39 USD / cartridge
Pack details →
 A8SDr. Pen
Every pack below is made for the A8S. Add one to your cart, or tick Compare to see up to three side by side.
10 cartridges / pack
Available
$5.99 USD / cartridge
Pack details →
10 cartridges / pack
Available
$5.99 USD / cartridge
Pack details →
10 cartridges / pack
Available
$5.99 USD / cartridge
Pack details →
10 cartridges / pack
Available
$5.99 USD / cartridge
Pack details →
10 cartridges / pack
Available
$5.99 USD / cartridge
Pack details →
 H6Hydra Pen
Every pack below is made for the H6. Add one to your cart, or tick Compare to see up to three side by side.

5 cartridges / pack
Available
$11.59 USD / cartridge
Pack details →
5 cartridges / pack
Available
$11.59 USD / cartridge
Pack details →


5 cartridges / pack
Available
$11.59 USD / cartridge
Pack details → H3Hydra Pen
Every pack below is made for the H3. Add one to your cart, or tick Compare to see up to three side by side.

10 cartridges / pack
Available
$5.99 USD / cartridge
Pack details →
 Q2Bio Pen
Every pack below is made for the Q2. Add one to your cart, or tick Compare to see up to three side by side.

5 cartridges / pack
Available
$11.39 USD / cartridge
Pack details →Check the exact model on the device and box. Keep a photo of the connector and cartridge label ready for support.
Get help with this model →No reviewed options of this type are shown for your model. Try All types or ask product support.
Pin count and pack size describe the product. They do not select a treatment or a depth.
A dial setting is a device setting. It does not, by itself, establish the depth reached in your skin.
Pin count, needle diameter and depth are different. For example, a product specification of 0.18 mm needle diameter describes needle width, not your depth setting.
Use the exact instructions and a qualified clinician’s assessment for procedures that puncture living skin.
Speed changes the rate of needle movement; hand speed changes how you move across the area. Neither is the depth dial. “Level 3” is not an equivalent rate across every model.
Do not increase speed, depth or pressure to compensate for dragging, poor fitting or a lack of redness.
Start with your region or concern. See the common cartridge choices, what changes the decision, and when treatment should wait.
Compare 14/16/18-pin options for general facial use. Look at 11/12 for targeted work, and keep 36 in the comparison for broader facial coverage.
What changes the choice? These are common seller categories. Start with the counts made for your exact pen; you do not need every count or a separate pack for each facial region.
What about depth and speed? They are separate controls. Cheekbone and fleshy cheek are different surfaces, so a facial cartridge does not mean one setting across the whole cheek.
Continue with our full instruction guide →
See cartridges for my pen →You do not automatically need a special forehead, nose or chin cartridge. Compare the compatible facial options first.
Which options? Use the general facial comparison above to understand 11/12, 14/16/18 and 36. A lower count does not necessarily have a narrower plastic housing.
What changes on these contours? The tip needs to sit as directed without pushing it into a curve. Do not copy a fleshy-cheek setting onto a bony area or press harder to reach it.
If your concern is blackheads: A cartridge is not an extraction tool; do not puncture a blocked pore.
Continue with our full instruction guide →
See cartridges for my pen →For targeted work on healed acne scars, 11/12-pin cartridges are a common seller option. Nano is not an interchangeable scar-treatment cartridge.
Choose the right path: An indented scar, a flat red/brown mark and an active spot are different concerns. A pin count cannot tell them apart.
Before ordering: Confirm the type of scar and planned treatment, then select that count within your model. Fewer needles do not guarantee a better result; scar depth is not a reason to turn the pen to its maximum.
I still have active spots → · I mean flat dark marks →
Continue with our full instruction guide →
Continue with our full instruction guide →
See cartridges for my pen →Do not needle inflamed, painful, pus-filled or deep active pimples. Postpone the session and address the breakout first.
Why a different cartridge will not help: Switching to 36 pins, Nano or a lower setting does not make an inflamed lesion an appropriate treatment area. Do not stamp a spot to drain it or help an acne serum enter it.
What to do next: Allow the breakout to clear. If active acne keeps returning, have it assessed before planning scar treatment. A healed indentation left afterwards belongs in the acne-scar guide.
My acne has cleared; I mean old scars →Do not needle the eyelids or inside the eye socket at home. For crow’s feet, first confirm the permitted treatment boundary with a qualified practitioner.
Why the distinction matters: An “eye area” chart may refer to skin outside the orbital rim. It does not give permission to work over the soft tissues covering the eye. Nano does not remove this distinction.
Which pin and setting for crow’s feet? Ask the practitioner to specify the cartridge and settings for the exact device and outer-eye area. The seller charts reviewed do not identify all of those together; choosing a number from them would give you false precision.
This home guidance excludes the eyelid and the area inside the orbital rim. This is a boundary example from another system, not a Dr. Pen protocol. A model-specific Dr. Pen eye-area protocol remains an open evidence item.
Treat “around the mouth” and “on the lips” as different questions. Do not extend a facial procedure onto the lip surface or inside the mouth.
For lines above the lip: Compare the facial cartridge categories for your model, then confirm the permitted area and procedure. The phrase “around lips” on a seller chart is not a lip-needling instruction.
With a cold sore: Postpone treatment. Tell the treating practitioner if you have a history of cold sores.
For lip plumping: A plumping serum or Nano name does not establish suitability for needling the lips.
36/42-pin cartridges are often positioned for broader areas. Compare them as product options, not as a guarantee of gentle treatment.
What should I buy? First check whether your pen offers the specified count. You do not need to buy another count simply because the area is called “sensitive”.
What changes from the face? The neck and chest require their own treatment assessment and settings. Neither a high count nor a shallow-looking dial makes irritated skin suitable.
Continue with our full instruction guide →
See cartridges for my pen →Compare 36/42 for broader body areas and the lower-count options for targeted scar work. Match the choice to the treatment plan and your pen.
First identify the concern: Stretch marks, healed surgical scars and fresh wounds are not the same. Do not needle a fresh wound or try to flatten a raised scar yourself; a keloid history changes suitability.
What does “body” change? It describes the area, not permission for a deeper setting. A large area can need a different approach without needing the deepest setting or the largest pin count.
Continue with our full instruction guide →
Continue with our full instruction guide →
See cartridges for my pen →Lower-count cartridges and 36 both appear in scalp use reports; one UK seller specifically highlights 24. Compare the options for your device before choosing a pack.
What matters in use? Hair catching and contact with the scalp are practical issues. Stop if the cartridge snags; do not drag through tangled hair or add pressure to compensate.
What about results and settings? The cause of thinning and your existing treatment determine the plan. Less pain with one count does not prove less effect, and scalp settings are not automatically a beard protocol.
Using minoxidil? Keep its timing separate from the cartridge choice. Follow the hair-treatment plan; do not use it or a scalp oil as an improvised glide product.
Continue with our full instruction guide →
Continue with our full instruction guide →
See cartridges for my pen →A flat post-acne mark, melasma and an irritated patch need different decisions. Do not choose a cartridge solely because its description says “brightening”.
If you mean a flat mark: Explain that goal when discussing treatment; it is different from an indented scar. A cartridge advertised for scars is not automatically the right treatment for a colour change.
If skin is irritated: Allow it to settle and have an unexplained or changing patch assessed. More pins do not eliminate pigment-change risk.
Do not add a brightening shortcut: Needling cosmetic acids or vitamin C into the area is not the same as applying them in a normal skincare routine.
Movement instructions vary by device. Follow the technique and coverage specified for your exact pen and individual plan. DrPenStore instruction guide →
Gliding means moving the cartridge across the skin; stamping means lifting it before repositioning. Follow the method specified for your exact device and procedure.
Check the locked fit, tip condition and permitted contact medium. Do not increase depth, speed or pressure to push through snagging.
Fast needle movement and fast hand movement are different. Repeatedly scrubbing the same patch is not a substitute for a defined treatment plan.
Check the fitting and handling steps →Remove makeup and follow the device’s skin-preparation instructions. Check prescribed skincare, recent procedures and irritation before starting.
Do not invent a numbing-cream dose or stop prescribed medication from a general shopping guide.
A bottle labelled hyaluronic acid, sterile or PDRN does not by itself establish suitability with your device. Saline is not automatically a substitute for its specified contact medium.
Use only the medium permitted by the device and product instructions. Do not needle cosmetic vitamin C, retinoids, exfoliating acids or pigment into skin.
Use the specified recovery product; avoid experimenting with actives while skin is reactive. Follow the plan for cleansing and sun protection.
AAD advises waiting at least 24 hours for makeup after professional microneedling; follow a longer interval if your practitioner specifies one.
Use only a product whose instructions permit its intended stage and use with your exact device. A serum collection is for comparison, not blanket approval for needling.
Explore our serum collection →Before adding a serum to your order: confirm its full name, intended stage and permitted use with your device. We have not verified a DrPenStore serum as an in-procedure contact medium in this review.
Recovery and warning signs →Reviewed 8 September 2026 · Prepared as a DrPenStore Support education guide. No universal home pin–depth–speed prescription was verified.
Start wherever you need help. Progress means better understanding, not more aggressive treatment.
Read suitability and know the limits of home-use product education.
Identify your exact pen and its listed cartridge; check the original packaging.
Understand the controls, tip type and manufacturer instructions before opening the pack.
Review the checklist. A completed list is not medical clearance or a training certificate.
Follow the supplied instructions. Stop for an unstable cartridge, unexpected pain or excessive reaction.
Follow the aftercare plan, dispose of the cartridge safely and watch for worsening symptoms.
Assess progress with your clinician. More depth is not the next level of learning.
Personal preparation reminders, not a suitability assessment.
Do not work over infection, open wounds, cold sores or actively inflamed skin. Have an unexplained skin change assessed first.
Medicines, poor healing, keloids, pregnancy and other conditions may change suitability. Use the full FDA guidance and a clinician’s assessment.
A fitting problem and a skin reaction need different next steps.
Switch off. Compare the exact model with the cartridge label and follow its fitting instructions. Do not force the connector or modify the cartridge. Ask product support →
Stop contact with the skin. Check for a damaged tip, incorrect fitting or a device issue using the manual. Do not solve dragging by adding pressure or unverified serum.
Do not chase pain or redness. These do not tell you whether a treatment is effective. Confirm the setup before considering any further use.
Stop treatment. Seek medical assessment for severe, persistent or worsening symptoms. Read warning signs →
Recovery depends on the procedure and your skin. Follow the plan provided by your treating clinician.
Follow the given aftercare instructions. Do not improvise new active products on reactive skin.
Monitor improvement and avoid picking or exfoliating irritated skin. Ask your clinician about sun protection and restarting your routine.
Allow recovery and follow your treatment plan. Persistent symptoms need assessment, not a stronger next session.
Preparation, technique, safety and recovery — in one searchable reference.
There is no universal home-use prescription. Read the depth and speed guide and the exact device instructions. Treatment settings require assessment, not a pin-count quiz.
Use the handling method specified for your exact device and cartridge. Do not improvise extra passes or force a dragging cartridge across the skin.
Redness and pain are not calibration tools. Check the device instructions and setup; do not increase depth or pressure to chase a sensation.
No. Bleeding is a possible adverse effect, not a performance target. Stop for unexpected bleeding or significant pain and seek care for severe or persistent symptoms.
A topical ingredient name does not prove a formulation is suitable for use with needling. Product delivery through skin needs separate evidence; check device labeling and ask the treating clinician.
Do not infer timing from a hair-loss bundle or a facial routine. Ask the clinician managing your hair treatment how to coordinate prescribed products and procedures.
This guide does not prescribe an anaesthetic. Ask a clinician about suitability and product directions; do not use numbing to tolerate more aggressive settings.
Postpone treatment of infected, broken or inflamed skin and seek assessment. Skin conditions and medication history can change suitability.
Ask a qualified clinician before considering treatment. Do not stop medication to follow this guide; timing and suitability require an individual assessment.
Do not copy cheek settings onto delicate areas. The intended treatment area must be supported by your exact device instructions and professional assessment.
These concerns need different assessments. A compatible cartridge is not proof that a treatment is appropriate or effective for your concern. Use the area and goal explorer for direct answers about active acne, scars, eyes and other areas.
Follow the treatment plan and allow full recovery. A quiet-looking skin surface does not establish readiness for another procedure.
AAD guidance for professional microneedling advises waiting at least 24 hours. Follow your treating clinician’s instructions if they specify longer.
Follow your aftercare plan and wait for recovery. Do not restart irritating products while skin is tender or reactive.
Recovery varies. Mild reactions can follow treatment, but worsening symptoms deserve assessment. See recovery and warning signs.
Stop treatment and seek medical advice for worsening symptoms. Changing cartridges is not a treatment for a complication.
No matching question. Try a model name or ask product support.
Let the Mentor guide you from preparation to recovery.
Start the Mentor →Return to your exact model and choose from its reviewed listings.
Match my cartridge →Use the full guide alongside the instructions supplied with your model.
Open instruction guide →Product matches reviewed against DrPenStore listings on 7 September 2026. Compatibility is product-specific; unverified cross-model mappings are excluded. General education does not replace device labeling, training or clinical assessment.
DrPenStore instruction guide →Thanks for subscribing!
This email has been registered!
| Product | SKU | Description | Collection | Availability | Product Type | Other Details |
|---|


