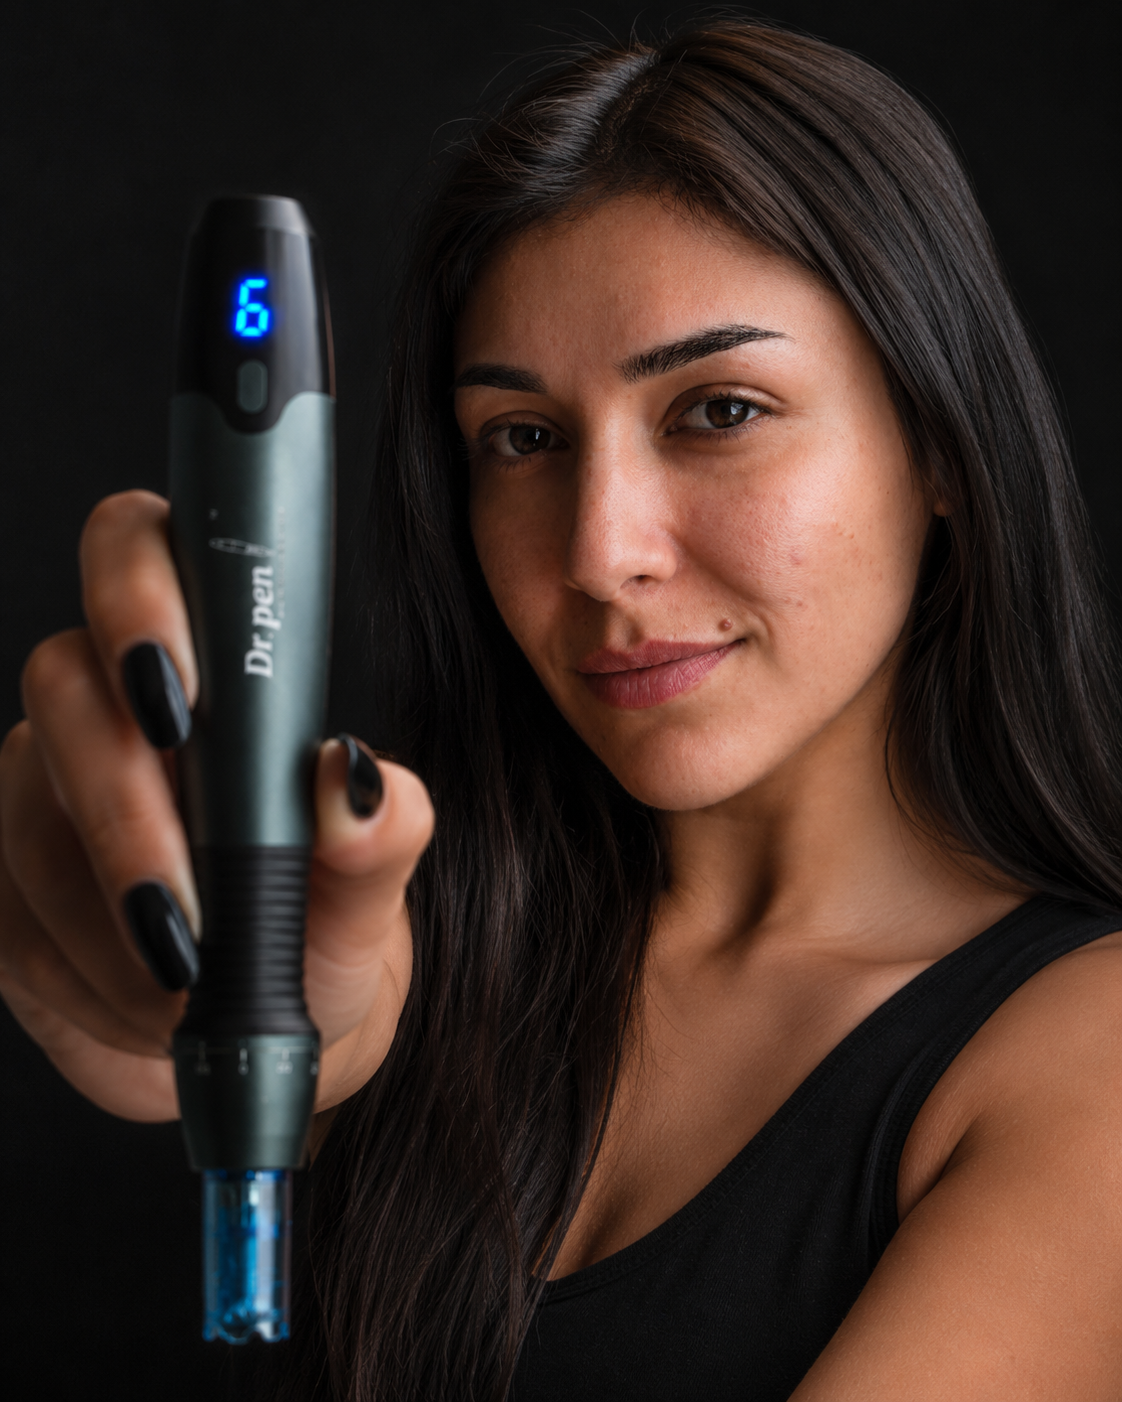
The short answer
Charge the A20 on its dock, lock a sealed A20 cartridge into the three-lock connection, then cleanse and dry your skin. Choose a depth from the nine fixed steps between 0 and 2.0mm and a speed that lets the pen glide comfortably. Hold the pen perpendicular to the skin, keep the area stretched taut, use light pressure and work one small section at a time in a cross-hatch pattern until you see mild, even pinpoint redness. Then stop, apply a simple serum and let your skin rest.
The Dr. Pen A20 is straightforward once you have run through it once, but the first session is the one with the most questions attached. This guide follows the A20 from opening the box to putting it away, in the order you will actually do things.
We have been an authorised Dr. Pen stockist for seven years, and the A20 is one of the devices we restock most often. The questions that reach our inbox are consistent: which way does the cartridge go on, what does the number on the screen mean, how hard should I press, and how do I know when to stop. For a wider view of the hardware, see our Dr. Pen A20 review and Dr. Pen models compared.
Unboxing: what is in the kit
Open the case and lay everything out before you do anything else. A complete A20 kit contains:
- The A20 handpiece with its LED digital display
- A charging dock
- Two 14-pin cartridges, individually sealed
- A Type-C charging cable and a mains adapter
- Ten disposable protective sleeves
- The user guide
The ten disposable sleeves are easy to overlook. Each slips over the handpiece and gives you a clean barrier between the device and everything it touches during a session. They are single-use, and once the ten are gone a thorough wipe-down does the same job at home.
The two included cartridges are a starting point rather than a supply, since cartridges are single-use by design. Our customers most often reorder the 12-pin and 14-pin A20 cartridges.
Charging the A20 and using the dock
The A20 runs on a 700mAh battery and charges over Type-C. Plug the cable straight into the handpiece, or stand the handpiece on the supplied charging dock and run the cable to that instead. The dock is the more pleasant option day to day: the pen has somewhere to live between sessions and is always topped up when you reach for it.
Give it a full charge before the first session. The motor is happiest with a full battery, and the LED display shows the level so you can see at a glance where you stand.
A small habit that pays off: charge the pen the night before you plan to treat, so nothing about the session has to be rushed.
Fitting a cartridge: the three-lock connection
The A20 uses a three-lock cartridge connection with an anti-backflow interface. In plain terms, the cartridge seats onto the handpiece and locks in three places rather than one, keeping it firmly aligned while the needles are moving, and the anti-backflow design helps stop serum and fluid travelling back up into the body of the pen. To fit one:
- Check the pouch is sealed and undamaged before opening. A sealed pouch is your guarantee that the needles are sterile.
- Take the cartridge by its plastic body, not the needle end.
- Line it up with the head of the handpiece and push it on gently until it seats.
- Turn it until you feel it lock. It should not rock or wobble when seated properly.
- Remove the protective cap from the needle end last, immediately before you begin.
One point saves confusion at the ordering stage: Dr. Pen builds each cartridge to match a specific handpiece — A20 cartridges fit the A20, M8 cartridges fit the M8, and so on. When you reorder, look for A20 on the listing. If you are ever unsure which cartridge you are holding, send us a photo and we will confirm it for you. Our guide to understanding Dr. Pen cartridges covers the range in more depth.
Choosing a cartridge for the job
The A20 takes 12, 14, 18, 24, 36 and 42-pin cartridges, plus a nano square. Broadly, fewer pins concentrate the work over a smaller area and suit precise regions; more pins cover ground faster and suit larger, flatter areas. The 36-pin is a popular choice for full-face work.
The nano square is a different proposition. Rather than needles it uses fine silicone-style tips that work at the very surface, making it the gentler option and a sensible way to get comfortable with the device before moving to needle cartridges.
Reading the LED display
The digital display gives you three things: needle depth in millimetres, speed level, and battery. Once you know which is which, it is very quick to read.
Depth and speed are set independently, and that is the single most useful thing to understand about the A20. Speed changes how fast the needles cycle, which affects how smoothly the pen glides and how the treatment feels. It does not change how deep the needles travel — depth is controlled by the depth setting alone.
Setting the depth
The A20 has nine fixed depth steps from 0 to 2.0mm in 0.25mm increments. Fixed steps help: you choose from a defined list rather than guessing at a dial position, so a setting you liked last time is easy to return to exactly.
| Step | Depth | Typically used for |
|---|---|---|
| 1 | 0mm | Nano work; getting used to the motion of the device |
| 2 | 0.25mm | A gentle first session; delicate areas such as the forehead |
| 3 | 0.5mm | The setting many at-home users settle on for general facial work |
| 4 | 0.75mm | Thicker-skinned areas, once sessions feel routine |
| 5 | 1.0mm | Focused work on resilient areas, with more downtime |
| 6-9 | 1.25-2.0mm | Generally the territory of trained professionals |
General orientation only. Skin varies enormously between people and between areas, so treat this as a starting point for a conversation with your practitioner. Our guide to choosing needle depth goes into it properly.
If you are new to the device, starting at the lower end for the first few sessions is the kindest way to learn how your skin responds and how the pen feels in your hand. Depth can always come up later.
Setting the speed
The A20 offers six speed levels running up to 7,700 RPM, driven by AVOS vertical oscillation. AVOS means the needles travel straight in and straight out rather than at an angle, which reduces drag and makes the pen feel noticeably smoother in motion.
To choose one, start at a middle speed and glide the pen across a small area. If it catches or tugs, take the speed up a level; if it feels harsh, take it down. You want the pen moving over the skin easily without being pushed along. Whatever you settle on, the depth is unchanged.
Preparing your skin
Preparation is not the exciting part, but it determines how the session goes. Work through it unhurried.
- Wash your hands thoroughly and tie hair back.
- Remove all make-up, then cleanse with a gentle, non-active cleanser.
- Rinse and dry completely before you begin.
- Many people follow with an alcohol-free antiseptic wipe, or a skin-prep step their practitioner recommends.
- Keep serum, a clean towel and a bin within arm's reach.
Choose a simple, fragrance-free serum made for use with microneedling, and leave retinoids, acids and vitamin C out of the routine on the day. Active acne, open wounds, cold sores, sunburn and irritated skin are all best left to settle before you treat them, and any area you are unsure about is worth a conversation with your doctor first. Our pre-treatment guide covers this stage in full.
The treatment itself
Divide the area into small sections and work through them one at a time. On a face that usually means forehead, each cheek, nose, chin and the area above the lip. Small sections keep the work even and easy to track. For each section:
- Stretch the skin taut. Use your free hand to hold the area flat and steady. Taut skin gives the needles an even surface to work on and makes the pass more comfortable.
- Hold the pen perpendicular. Keep the cartridge at ninety degrees to the skin so all the needles meet the surface together.
- Use light pressure. The depth setting is doing the work, not your hand. Rest the cartridge on the skin and let the motor do the rest.
- Glide, do not stamp. Move at a steady, unhurried pace rather than holding the pen in one spot.
- Cross-hatch your passes. Work the section horizontally, then vertically, then diagonally. Overlapping directions give even coverage rather than stripes.
- Lift between sections. Take the pen off the skin before moving to the next zone.
A full face typically takes ten to twenty minutes once the routine is familiar. The first will take longer, exactly as it should. Our at-home microneedling guide covers the technique area by area.
Knowing when to stop
The endpoint you are working towards is mild, even pinpoint redness across the section, sometimes described as light erythema. The skin looks slightly pink, evenly rather than in patches, and feels warm. That is the signal the section has had enough.
More passes are not better passes. Once a section reaches mild even redness, move on — skin worked past its endpoint takes longer to settle and gives nothing extra in return. Finishing early is always an option.
If one section reaches that point sooner than the rest, simply move on. Skin thickness varies across the face, so it is normal for the forehead to be ready before the cheeks.
Immediately after
When the last section is done, switch the pen off and apply your serum across the whole treated area, then leave things alone. Skin will feel warm and tight and look flushed, rather like mild sunburn, and that settles over the following day or two for most people.
Aftercare, day by day
| When | What you may notice | What helps |
|---|---|---|
| Day of treatment | Warmth, flushing, a tight feeling | Serum, no make-up, hands off, clean pillowcase |
| Day 1 | Redness easing; skin may feel dry | Gentle cleanser, bland moisturiser, sun protection outdoors |
| Days 2-3 | Mild flaking or tightness for some | Keep moisturising; let any flaking lift on its own |
| Days 4-7 | Looking and feeling normal again | Ease actives back in gradually |
| Week 2 onwards | Fully settled | Normal routine; consider treating again |
Everyone recovers at their own pace, and depth makes a considerable difference. If anything about your recovery concerns you, please speak to your doctor.
Daily sun protection matters more than usual in the week after a session.
Cleaning and storing the device
Cleaning is quick straight away and fiddly if left until morning, so it is worth two minutes at the end.
- Switch the pen off and unlock the cartridge.
- Dispose of the used cartridge safely — it holds fine needles, so a sharps container is the sensible route.
- Remove and bin the disposable sleeve if you used one.
- Wipe the handpiece with an alcohol wipe, paying attention to the head where the cartridge seats.
- Wipe rather than rinse — it is an electronic device and should not be submerged.
- Let it dry fully, then return it to the dock or the case.
Store the pen and your sealed cartridges somewhere cool and dry, out of direct sunlight and out of reach of children. Sealed pouches stay sterile until opened, so leave them that way until you need one. If the pen will sit unused for a long stretch, give the battery an occasional top-up.
When to treat again
Give your skin time to complete its repair cycle first. At shallower settings many people work on a two to four week rhythm; deeper sessions call for longer gaps, often four to six weeks. The simplest test beats any schedule: if the last session has fully settled and the skin feels entirely normal, you are in a reasonable position to treat again.
Consistency over months does more than intensity in any single session, and a gentle rhythm is far easier to keep up.
Frequently asked questions
Is the Dr. Pen A20 FDA approved?
The A20 has FDA 510(k) clearance. Clearance and approval are different: 510(k) clearance means the device has been shown to be substantially equivalent to one already legally on the market, while approval refers to a separate and more demanding premarket pathway. The two are often used interchangeably online, so the precise term is worth knowing.
How deep should I set the A20 for my first session?
Starting at the lower end of the nine steps is the gentlest way to begin, and staying there for the first few sessions lets you learn how your skin responds. Depth needs vary a great deal between individuals and between areas of the face, so your doctor or practitioner is the right person to advise you.
Does a higher speed setting make the needles go deeper?
No. On the A20, speed and depth are set separately. The six speed levels change how quickly the needles cycle, which affects glide and comfort, while the depth setting alone controls how far the needles travel. If a pass feels draggy, adjust the speed.
Can I use cartridges from another Dr. Pen model on the A20?
Dr. Pen builds each cartridge to match a specific handpiece — A20 cartridges fit the A20, M8 cartridges fit the M8, and so on. When reordering, look for A20 on the listing. If you are ever unsure which cartridge you have, send us a photo and we will confirm it for you.
How many times can I use one cartridge?
Cartridges are single-use. Needles are sterile inside a sealed pouch, that sterility does not survive a session, and fine needles dull with use. One cartridge, one session, then safe disposal.
What does the anti-backflow interface do?
The A20's three-lock cartridge connection includes an anti-backflow interface, designed to stop serum and fluid travelling back up from the cartridge into the body of the handpiece. It keeps the inside of the device cleaner and easier to look after.
How long does a full-face A20 session take?
Once the routine is familiar, most people finish a full face in roughly ten to twenty minutes, plus a few minutes for setup and cleaning. A first session takes longer, and working slowly is a good thing.
Which cartridge should I order alongside the A20?
The kit includes two 14-pin cartridges to get you started. Many people add a nano square for gentler surface work, plus a 12-pin or 36-pin depending on whether sessions are precise or full-face. The full A20 range, and current pricing, is on the A20 product page and the cartridge listings.
Please speak with your doctor before purchasing any Dr. Pen product. This content is not intended to substitute for the advice of a qualified physician, pharmacist or other licensed healthcare professional.