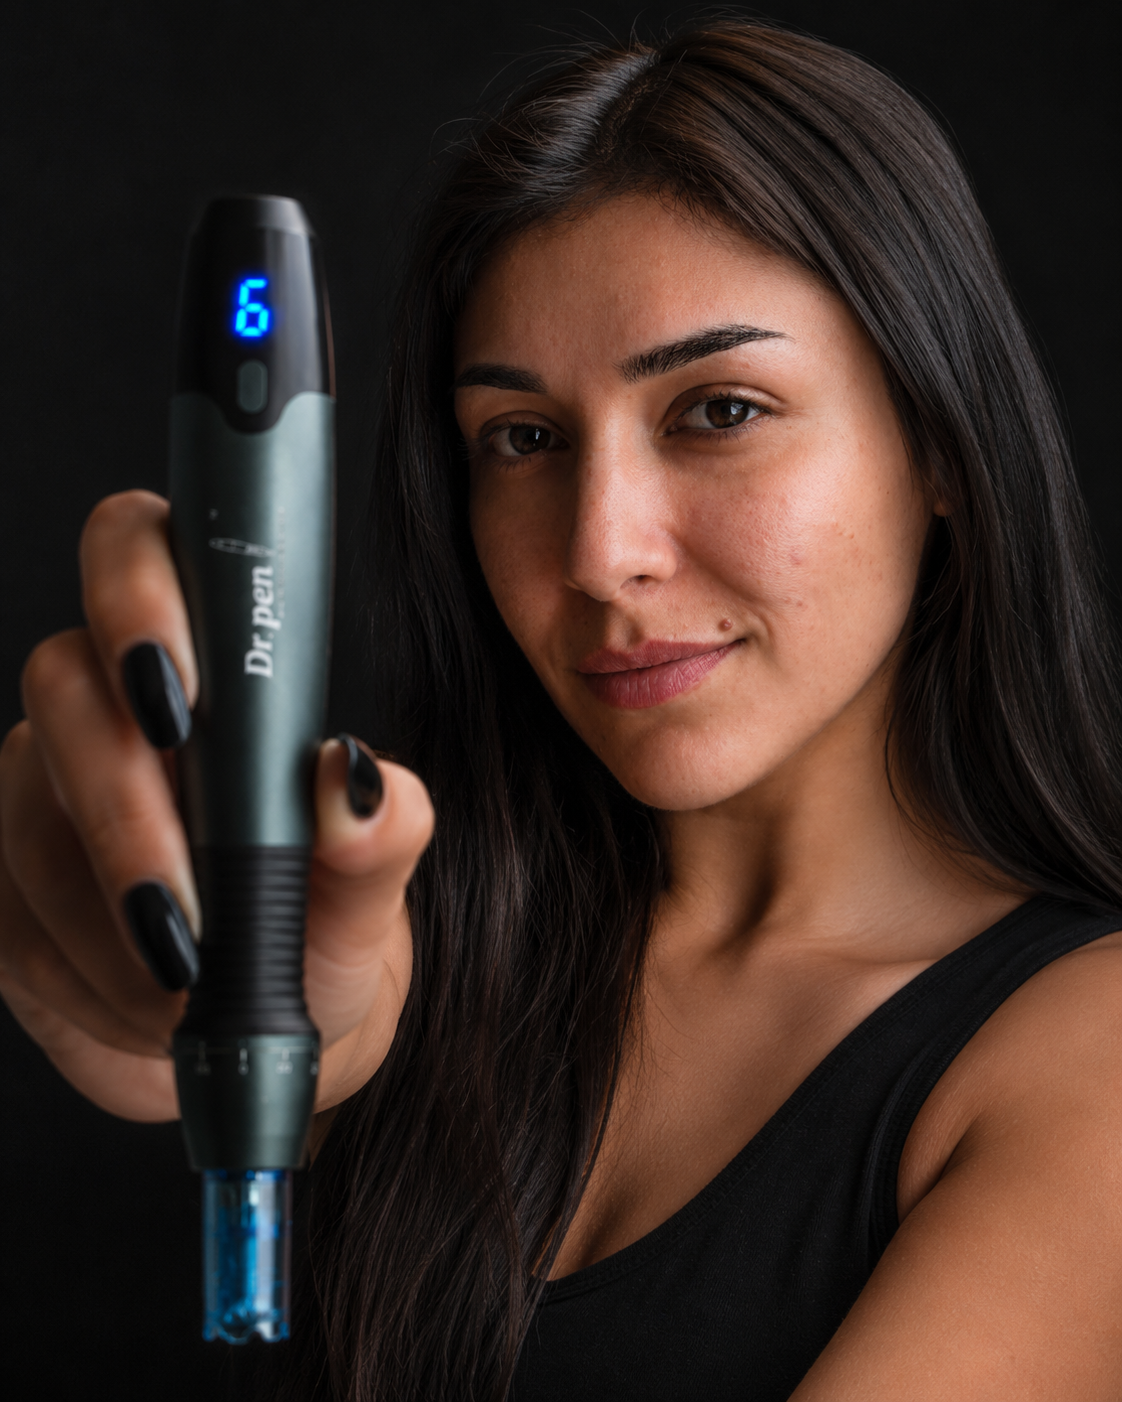
The short answer
Cleanse, numb if you are going deeper than 0.5mm, fit a fresh cartridge, set your depth, work each section of the face in two directions, then apply a plain hydrating serum and leave the skin alone. A first session takes about an hour end to end, and most of that is waiting for numbing cream.
This is the full walkthrough we give customers who ring us before their first session. It covers what to have ready, how to prepare, how to actually move the pen, and what the following week looks like.
Before you start: is this the right week?
Microneedling works on skin that is intact and calm. It is worth postponing if you have active acne in the area, an open wound, a cold sore, sunburn, or any irritation you would not want to spread. If you are on isotretinoin, have a history of keloid scarring, or are pregnant, speak to your doctor before starting at all.
Our guide to preparing for a session goes into the week beforehand — chiefly pausing retinoids and acids for a few days.
What to have ready
- Your pen and a fresh cartridge. One cartridge per session — they are sterile single-use items. Check the cartridge matches your handpiece, and if you are unsure, send us a photo and we will confirm it.
- A gentle cleanser for a double cleanse.
- 70% isopropyl alcohol wipes for your hands, the work surface and the body of the pen.
- Disposable gloves.
- Numbing cream if you are treating above 0.5mm. Not needed for nano or 0.25mm work.
- A plain hydrating serum — hyaluronic acid is the usual choice. Nothing with vitamin C, retinol, acids or fragrance on treatment day.
- Clean gauze or lint-free pads.
Set everything out on a wiped surface before you begin, so you are not opening packets with treated skin waiting.
Preparation
1. Clean the space and your hands. Wipe the surface, wash your hands, then put gloves on.
2. Double cleanse. Once to remove makeup and sunscreen, once to clean the skin itself. Pat dry with clean gauze rather than a bathroom towel.
3. Numbing cream, if you are using it. Apply an even layer, leave it for the time on the packet — usually 20 to 30 minutes — then remove it completely and cleanse again. Treating over residual numbing cream is not what you want; it needs to come off before the needles go in.
4. Fit the cartridge and set your depth. Seat the cartridge until it locks, then set depth and speed before you switch on. If you are new to this, start shorter than you think you need. Our needle depth guide gives a starting number for each concern.
The treatment itself
Work in sections rather than treating the whole face as one area — forehead, each cheek, nose, chin, upper lip. Small sections keep pressure and coverage even.
Hold the pen perpendicular to the skin — straight on, not angled. Angling drags the needles sideways.
Let the pen do the work. Light contact is enough. Pressing harder does not go deeper; the depth setting controls that.
Move in one direction, then cross it. Horizontal passes across a section, then vertical passes over the same area. Two directions give even coverage without going over the same line repeatedly.
Keep it moving. Glide steadily rather than hovering. Lift the pen off the skin before you change section.
Stretch the skin gently taut with your free hand as you work — particularly on the cheeks and forehead. Loose skin moves with the needles instead of receiving them.
Mild pinpoint redness is what you are aiming for. Consistent redness across the section means you have covered it. You are not aiming for bleeding; at home depths, light redness is the endpoint.
A full face takes ten to fifteen minutes once you are used to it. Take longer the first time.
Straight afterwards
Apply your hydrating serum while the skin is still receptive — within a few minutes of finishing. Nothing else that day: no makeup, no actives, no exfoliation.
Dispose of the cartridge safely and wipe the pen body and cartridge port with alcohol before storing it. The cartridge does not get cleaned and reused — the needle tips blunt after a single session, and blunt needles tear rather than pierce.
The days after
| When | What to expect | What to do |
|---|---|---|
| First 24 hours | Redness like mild sunburn, some warmth and tightness | Hydrating serum and a plain moisturiser. No makeup, no exercise, no hot showers. |
| 24–48 hours | Redness fading, skin may feel dry or slightly rough | Keep it simple and hydrated. Sunscreen once you are outdoors. Makeup is usually fine from around 24 hours. |
| Days 3–5 | Light flaking is normal | Let it shed on its own. No scrubs, no picking. |
| Day 7 onward | Skin back to normal, results beginning | Resume retinoids and acids gradually. Collagen keeps building for weeks after a session. |
Sunscreen matters more than usual for the two weeks after a session — freshly treated skin is more reactive to UV.
When to treat again
The healing interval is where the result comes from, so the deeper you went, the longer you wait. Nano and 0.25mm suit every second day; 0.5mm sits at one to three times a week; 1.0mm every fortnight; 1.5mm every three to four weeks. Full detail is in our depth guide.
Frequently asked questions
Does microneedling at home hurt?
At nano and 0.25mm most people describe it as a light scratching. From 0.5mm upward numbing cream makes it comfortable. The forehead and along the jaw are usually the most sensitive areas.
How long does a session take?
Ten to fifteen minutes of actual treatment for a full face. Allow an hour for a first session including numbing time and setting up.
Can I reuse a cartridge if I only did one small area?
No — cartridges are sterile single-use items and the needle tips blunt during a session regardless of how much of the face you covered.
What if I see pinpoint bleeding?
Small amounts can happen at deeper settings on thinner skin. Stop working that area, apply gentle pressure with clean gauze, and use a shallower setting next time.
When can I wear makeup again?
Generally after 24 hours, once the redness has settled. Use a clean brush or fingers rather than an old sponge.
Which device should I start with?
Our device guide walks through the current range, and the full model comparison puts every pen side by side.
Please speak with your doctor before purchasing any Dr. Pen product. This content is not intended to substitute for the advice of a qualified physician, pharmacist or other licensed healthcare professional.