Most dermapen before and after photos are easier to understand when you stop looking for an overnight transformation. Microneedling results usually happen in two phases: short-term healing that can make skin look red, dry or slightly rough, followed by slower collagen remodeling that may improve the look of texture, fine lines, enlarged pores and certain scars over several weeks.
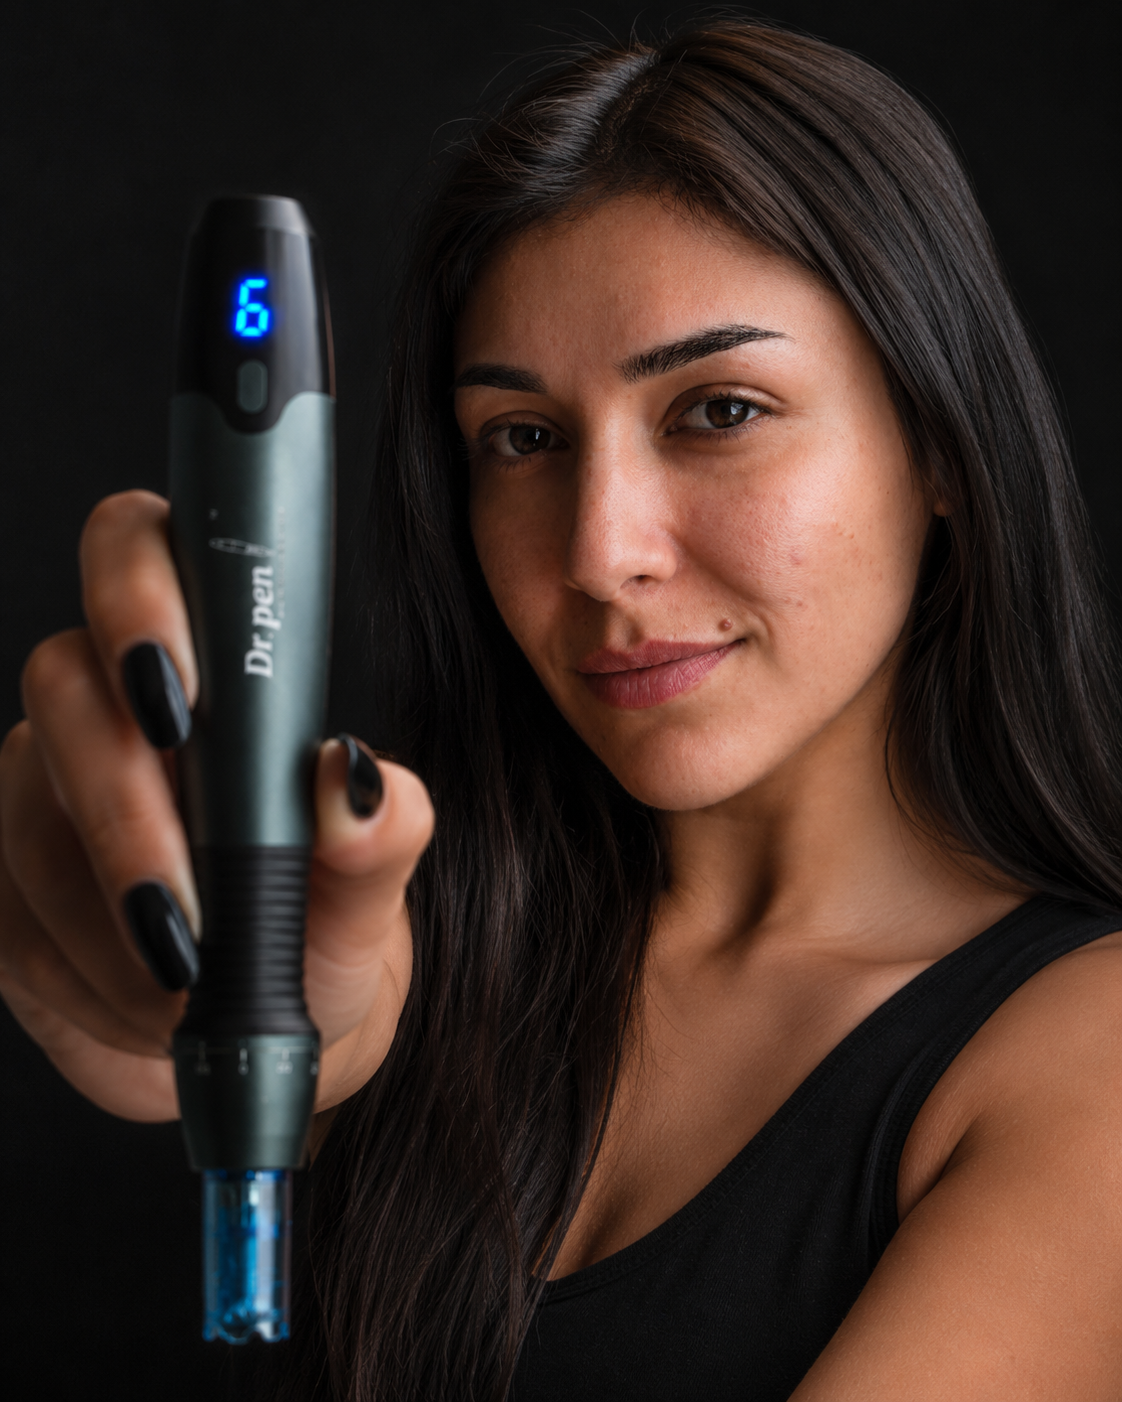
Many people use dermapen as a general search term for a pen-style microneedling device. Dr. Pen devices are a separate line of microneedling pens, so this guide focuses on realistic week-by-week results from microneedling pens in general, with practical notes for shoppers comparing genuine Dr. Pen devices and cartridges.
Microneedling works by creating controlled micro-injuries in the skin. A review published in the Journal of Cutaneous and Aesthetic Surgery describes microneedling as a collagen induction procedure that stimulates wound-healing pathways and dermal remodeling over time. The FDA also notes that microneedling devices can carry risks when used incorrectly, which is why device quality, hygiene, cartridge selection and aftercare matter.
What Dermapen Before and After Photos Can Realistically Show
A good before-and-after comparison should show gradual improvements, not a filtered glow from better lighting. In the first few days, skin may look worse before it looks better. Redness, mild swelling, dryness, tightness and tiny rough patches can all be part of the normal recovery window.
The changes people usually notice first are surface-level improvements: smoother makeup application, a fresher look and less visible dullness. Concerns that sit deeper in the skin, such as acne scars, wrinkles and stretch marks, usually need more time and often a series of sessions.
Before judging your results, separate these two outcomes:
- Healing effects: Redness, temporary plumpness, flaking, tightness and sensitivity during the first several days.
- Remodeling effects: Gradual changes in texture, firmness and the appearance of scars or lines over 4 to 12 weeks or longer.
If your goal is acne scarring or deeper wrinkles, one week is far too early to judge. If your goal is brighter-looking skin and smoother texture, you may see cosmetic improvement sooner, but that does not mean collagen remodeling is finished.
Dermapen Before and After Timeline by Week
Every skin type heals at a different pace. Needle depth, treatment intensity, cartridge type, skin tone, aftercare and whether the treatment is performed at home or by a professional all affect the timeline. The schedule below gives a realistic overview of what many people can expect after a microneedling pen session.
| Time after treatment | What you may see | How to read your before-and-after photos |
|---|---|---|
| Day 0 to 2 | Redness, warmth, tightness, mild swelling, pinpoint marks | Do not judge results yet. This is the inflammatory healing stage. |
| Week 1 | Dryness, rough texture, light flaking, reduced redness | Photos may look uneven because the surface barrier is still recovering. |
| Week 2 | Smoother feel, fresher look, less dullness | Early cosmetic improvement may be visible, especially in texture and glow. |
| Week 3 | More even texture, makeup sits better, pores may look less obvious | Subtle changes become easier to compare under consistent lighting. |
| Week 4 | Stable baseline after one session | This is a better checkpoint for deciding whether results are developing. |
| Weeks 5 to 8 | Gradual improvement after one session or a reset if a second session is done | Results accumulate if treatments are spaced appropriately. |
| Weeks 9 to 12 | More visible changes in fine lines, scars and firmness | This is often when comparison photos become more meaningful. |
| Months 3 to 6 | Continued remodeling for deeper concerns | Acne scars, wrinkles and stretch marks may need multiple sessions. |
Week 0: Treatment Day Through the First 48 Hours
Immediately after microneedling, skin often looks red, flushed or sunburned. Mild swelling can make the face appear temporarily plumper, which is one reason same-day after photos can be misleading. That plump look is not the final result.
Some people experience pinpoint bleeding during deeper treatments, especially in professional settings. Others see only pinkness and warmth after a lighter cosmetic session. Both can be normal depending on the needle depth and treatment goal.
During this window, aftercare is more important than judging the mirror. Keep the skin clean, avoid harsh actives and protect the barrier. If you want a deeper breakdown of the recovery window, Dr. Pen Store has a practical guide to microneedling aftercare in the first 72 hours.
Contact a licensed professional if you develop severe swelling, spreading redness, pus, intense pain, fever, blistering or symptoms that feel unusual for your skin.
Week 1: Redness Fades, Dryness Often Peaks
By the end of the first week, most visible redness should be calmer after a mild to moderate treatment. Skin may still feel dry, tight or slightly sandy. Light flaking is common as the surface renews.
This is the week when many people worry their skin looks duller or more textured than before. In most cases, that is not the final before-and-after outcome. The skin barrier is still settling and dehydration can exaggerate pores, lines and unevenness.
Keep your routine simple. Gentle cleansing, bland hydration and daily sunscreen are usually the priorities. Strong exfoliating acids, retinoids and fragrance-heavy products are often too much this early unless your clinician specifically tells you otherwise.
Week 2: The First Visible Glow
Week 2 is when many people begin to notice the first positive cosmetic changes. The skin may look smoother and less dull, especially if the treatment was light and the aftercare was consistent. Makeup may apply more evenly and dry patches should be improving.
Fine lines caused by dehydration can look softer at this stage, but deeper expression lines should not be expected to disappear. Enlarged pores may look less noticeable because the skin surface is calmer and better hydrated.
If you are taking dermapen before and after photos, week 2 is a useful early checkpoint, but it is still not the final result. Use the same lighting, same angle and same facial expression each time. Bathroom lighting at night for the before photo and sunny window light for the after photo will not give an honest comparison.
Week 3: Texture Changes Become Easier to Spot
By week 3, the skin is usually past the obvious healing stage. Subtle improvements in tone, smoothness and radiance may be easier to see. Some people notice that foundation no longer clings as much to uneven areas.
This is also when realistic expectations matter. Microneedling is not a resurfacing laser and it does not remove all texture in one session. A single treatment can support a fresher appearance, but acne scars, deeper wrinkles and stretch marks typically require a series.
If you are treating post-acne texture, rolling scars or uneven firmness, compare close-up photos rather than relying on memory. Skin changes slowly, so the mirror can make progress hard to recognize.
Week 4: A Better Baseline for Judging One Session
Week 4 is one of the most useful points for before-and-after comparison after a single session. Most temporary redness, dryness and flaking should have resolved, so photos are less distorted by healing.
If you had a mild treatment, the main changes may be smoother texture and improved radiance. If you had a deeper professional session, early collagen-related changes may be starting to show, but more remodeling can continue beyond this point.
Many microneedling treatment plans space sessions several weeks apart, although the right interval depends on skin condition, depth, device instructions and professional guidance. Avoid rushing treatments. More frequent needling is not automatically better and can irritate the barrier.
Weeks 5 to 8: Results Start to Accumulate
Weeks 5 to 8 can look different depending on whether you had one session or started a treatment series. If you only had one treatment, improvements may continue to appear slowly. If you had another session around this period, your skin may go through another short healing cycle.
For cosmetic concerns like dullness and mild texture, this period can show a more consistent glow. For fine lines, pores and early laxity, improvements are usually subtle but may be visible in side-by-side photos. For acne scars, the most honest answer is patience. Scar remodeling is slower than surface brightening.
This is a good point to review your skincare choices. Products used too soon after microneedling can trigger irritation, especially exfoliating acids, retinoids or strong vitamin C. For a safer product timeline, see this guide on what to put on your skin after microneedling.

Weeks 9 to 12: Deeper Changes Become More Meaningful
By weeks 9 to 12, dermapen before and after photos can become much more useful for concerns that depend on collagen remodeling. Fine lines may look softer, overall texture may appear more refined and shallow acne marks may look less obvious.
This does not mean every concern will change dramatically. Deep pitted scars, pronounced wrinkles and stretch marks often need multiple treatments and may not fully disappear. Good microneedling results usually look like improvement, not erasure.
If you are comparing photos, look for these signs rather than perfection:
- Skin texture looks more even across the cheeks or forehead.
- Fine lines appear less etched when your face is relaxed.
- Makeup settles less into pores or shallow lines.
- Acne scars catch less shadow under the same lighting.
- Overall tone looks calmer, especially when sunscreen has been consistent.
People with darker skin tones should be especially careful with sun exposure and irritation because post-inflammatory hyperpigmentation can affect results. Professional guidance is wise if you have melasma, active acne, a history of keloids, eczema flares or a tendency to pigment easily.
Months 3 to 6: The Long View for Scars, Lines and Stretch Marks
Some of the best microneedling before-and-after comparisons are taken months apart, not days apart. Collagen remodeling does not follow the pace of social media content. For acne scars, stretch marks and deeper lines, a realistic comparison often means a baseline photo, a 12-week photo and a 6-month photo.
A treatment series may be recommended by professionals for certain concerns. The number of sessions depends on the severity of the concern, treatment depth, skin response and whether other therapies are combined. At-home users should stay within the device instructions and avoid trying to copy professional-depth protocols without training.
If you are new to at-home microneedling, preparation and technique matter as much as the device itself. Before starting, review a complete step-by-step guide such as how to microneedle at home, then confirm that the device, cartridge and needle depth are appropriate for your experience level.
Results by Skin Concern
Different goals have different timelines. A person treating dullness may be happy after two weeks, while someone treating acne scars may need months before the photos show a meaningful difference.
| Skin concern | When early changes may show | When photos are more useful | What to expect |
|---|---|---|---|
| Dullness | 1 to 2 weeks | 2 to 4 weeks | Brighter, fresher-looking skin if healing goes well. |
| Uneven texture | 2 to 4 weeks | 4 to 8 weeks | Smoother feel and more even makeup application. |
| Enlarged pores | 3 to 6 weeks | 8 to 12 weeks | Pores may look less noticeable, not physically erased. |
| Fine lines | 4 to 8 weeks | 8 to 12 weeks | Lines may soften gradually, especially with good hydration and sunscreen. |
| Acne scars | 8 to 12 weeks | 3 to 6 months | Improvement is usually gradual and may require multiple sessions. |
| Stretch marks | 8 to 12 weeks | 3 to 6 months or longer | Texture and color may improve, but complete removal is unrealistic. |
Why Some Dermapen Before and After Results Look Better Than Others
Two people can use a microneedling pen and get very different outcomes. Some of that comes down to skin biology, but technique and product quality play a major role.
Needle depth is one of the biggest variables. Lighter cosmetic depths may help product absorption and surface texture, while deeper treatments are typically reserved for trained professionals because the risks increase. Cartridge condition also matters. Dull, reused or non-sterile needles can create unnecessary trauma and increase the risk of irritation or infection.
Aftercare is another major factor. The best device cannot compensate for sun exposure, picking, over-exfoliating or applying strong actives too soon. Sunscreen is especially important because UV exposure can worsen discoloration and slow the appearance of an even result.
Authenticity matters too. Counterfeit microneedling devices and cartridges may not meet the same standards as genuine products. If you are shopping for a Dr. Pen device or compatible replacement cartridges, buy from a source that focuses on genuine products and clear support. You can compare current options at the official Dr. Pen Store, including genuine devices, cartridges and related skincare products.
How to Take Better Before and After Photos
Poor photos make real results look invisible. If you want to track your skin honestly, build a simple system before your first treatment.
Take your baseline photos before treatment in natural indirect light. Use the same room, same time of day, same camera, same distance and same angles each week. Keep your face relaxed for one set, then repeat the same expressions if you want to track smile lines or forehead lines.
Avoid filters, beauty mode, heavy moisturizer shine or makeup in progress photos. If you tan, change your lighting or switch camera settings, your comparison becomes less reliable. Weekly photos are enough for most people because daily changes are too small and can make you overanalyze normal healing.
When Results Are Not Normal
Mild redness, dryness and flaking are common after microneedling. Ongoing pain, spreading redness, pus, blistering, severe swelling or symptoms that worsen after the first few days are not something to ignore.
You should avoid microneedling over active acne, open wounds, skin infections, irritated rashes or sunburned skin. People who are pregnant, immunocompromised, prone to keloid scarring or using certain medications should speak with a healthcare professional before treatment.
If a before-and-after result looks worse because of new pigmentation, persistent irritation or breakouts, pause treatment and get professional advice. Trying to correct irritation with another session can make the problem harder to resolve.
Frequently Asked Questions
How soon do you see dermapen before and after results? Some people see a fresher look after 1 to 2 weeks, but collagen-related changes usually take 4 to 12 weeks. Acne scars, stretch marks and deeper wrinkles often need several months and multiple sessions.
Why does my skin look worse one week after microneedling? Dryness, roughness and flaking can make texture look temporarily worse during the first week. This often reflects surface healing, not the final result. If redness, pain or swelling is getting worse, contact a professional.
How many microneedling sessions do you need for visible results? It depends on the concern. Dullness and mild texture may improve after one session, while acne scars, wrinkles and stretch marks commonly require a series. Your treatment interval should match your skin response, device instructions and professional guidance.
Can microneedling remove acne scars completely? Microneedling may improve the appearance of certain acne scars, but complete removal is not a realistic promise. Scar type, depth, age and skin response all influence the result.
Are at-home dermapen results the same as professional microneedling? Not usually. Professional treatments can involve different depths, protocols and clinical supervision. At-home microneedling should be more conservative and should follow device instructions carefully.
Choose the Right Device Before You Start Tracking Results
Good dermapen before and after results start before the first pass on the skin. Use a genuine microneedling device, pair it with compatible sterile cartridges, follow conservative technique and give your skin enough time to remodel between sessions.
If you are comparing Dr. Pen models, replacing cartridges or looking for an authentic device with support, start with Dr. Pen Store. Choosing the right tool will not guarantee a perfect before-and-after photo, but it gives your skin a safer, more reliable foundation for progress.