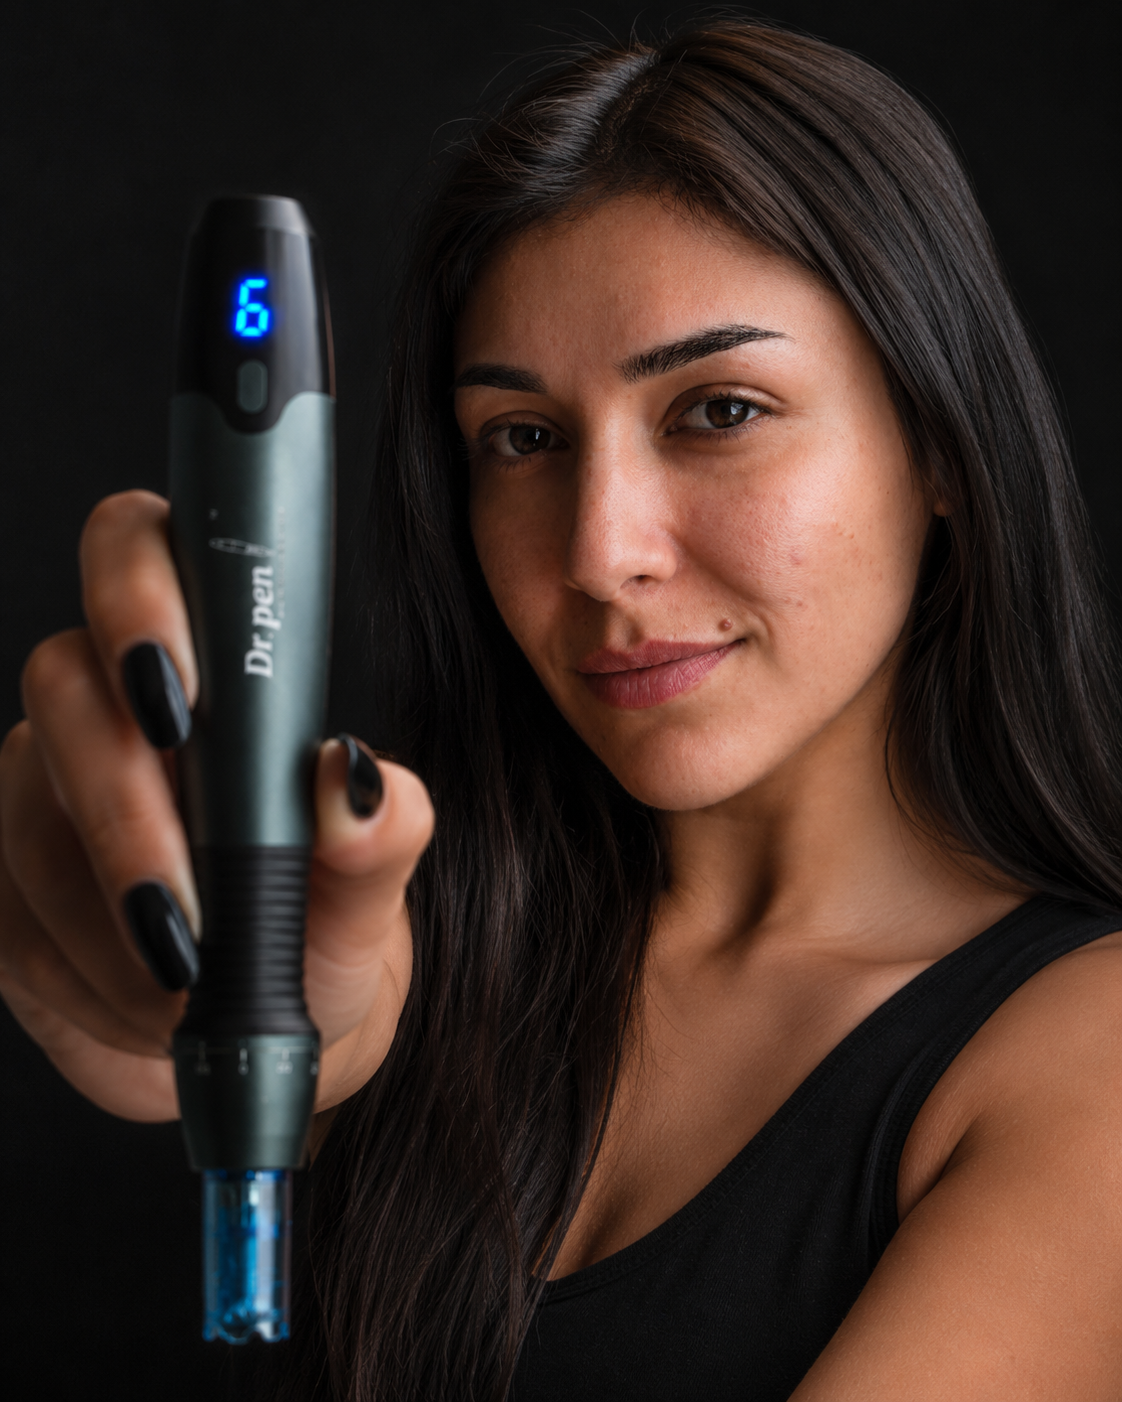
Searches for at home microneedling before and after photos usually bring up dramatic transformations, glowing skin and perfectly lit faces. Those images can be motivating, but they often compress months of skin remodeling into a single swipe. Real results are usually more gradual, especially when you are treating at home with a conservative routine.
The most realistic expectation is this: at-home microneedling can help improve the look of texture, dullness, fine lines, enlarged pores and mild uneven tone over time, but it is not an overnight resurfacing treatment. Your skin has to heal, rebuild and respond. That process can look underwhelming at first, then noticeably better after several sessions when you compare consistent photos.
This guide breaks down what you may see immediately, after the first week, after a month and after a series of treatments, plus how to judge your progress without being misled by lighting or social media filters.
What "Before and After" Really Means With At-Home Microneedling
Realistic at home microneedling before and after expectations depend on two things: the condition you are treating and how safely you repeat treatments. At-home devices are generally used more conservatively than in-office procedures, so the tradeoff is less downtime with slower, subtler improvement.
Microneedling works by creating controlled micro-channels in the skin. This can support the skin's natural repair process and help improve the appearance of tone and texture over time. Collagen remodeling does not happen in a day. Your skin may look flushed right after treatment, calmer the next day and only slightly different for the first few weeks.
That does not mean nothing is happening. Early changes often include a smoother feel, a temporary glow and better-looking hydration. More visible changes in fine lines, shallow acne marks or uneven texture usually take multiple sessions and careful aftercare.
Before you start, ask yourself what you want to improve. Someone treating dullness may notice progress sooner than someone treating pitted acne scarring. Someone with sensitive skin may need longer spacing between sessions than someone with resilient skin. Your "after" should be judged against your own baseline, not a heavily edited photo online.
A Practical At Home Microneedling Before and After Timeline
A good at home microneedling before and after timeline separates normal healing from actual skin improvement. Redness is not a result. Mild dryness is not a setback. Collagen-related changes take longer than surface glow.
| Time after session | What you may see | What it usually means |
|---|---|---|
| Immediately after | Pinkness, redness, warmth, tightness or mild pinpoint marks | A normal short-term skin response when treatment is done appropriately |
| 24 to 48 hours | Redness fading, mild sensitivity, tight or dry skin | The barrier is recovering and needs gentle care |
| Days 3 to 7 | Subtle glow, smoother feel, light flaking or roughness | Surface renewal and healing are underway |
| Weeks 2 to 4 | Better texture, softer-looking pores or more even tone | Early visible improvement may begin |
| Months 2 to 6 | More noticeable changes after repeated sessions | Cumulative remodeling and consistency matter most |
If you want a deeper look at what is normal in the first few days, our guide to what should happen after micro-needling explains common post-treatment reactions such as redness, swelling and temporary roughness.
The key is not to repeat sessions just because your skin looks calm the next morning. Calm-looking skin can still be healing underneath. Over-treating is one of the fastest ways to create irritation, prolonged redness and disappointing photos.
What Results Look Like by Skin Concern
At-home microneedling is not equally fast for every concern. Some changes are mostly superficial, while others require deeper remodeling that may be better suited to professional care.
| Skin concern | Realistic at-home change | Expectations to avoid |
|---|---|---|
| Dullness | A fresher, more even-looking glow after healing | Expecting a glass-skin finish after one session |
| Fine lines | Softer-looking texture with consistent use | Expecting deep expression lines to disappear |
| Enlarged pores | Pores may look less obvious as texture improves | Expecting pore size to permanently shrink |
| Mild acne marks | Color and texture may look more even over time | Treating active acne or inflamed breakouts |
| Shallow acne scars | Gradual softening may be possible | Expecting deep pitted scars to fully flatten at home |
| Hyperpigmentation | Tone may improve with careful aftercare and sun protection | Treating aggressively, which can worsen discoloration |
For wrinkles specifically, before-and-after photos tend to show the most believable changes in fine texture, firmness and skin quality rather than a facelift-like effect. That is why progress photos should be taken over months, not days.
The Variables That Change Your Outcome
Two people can use a microneedling pen and get very different results. The device matters, but technique, hygiene and aftercare matter just as much.
Your results are influenced by skin type, age, hydration, sun exposure, treatment spacing, cartridge quality, needle depth, pressure and whether your skin was healthy enough to treat in the first place. If your skin barrier is already irritated from strong exfoliants, retinoids or recent sun exposure, your "after" may show inflammation instead of improvement.
Cartridges are especially important. Use a new sterile cartridge for each session, make sure it is compatible with your device and do not reuse cartridges. A dull or contaminated cartridge can drag on the skin, increase irritation and raise the risk of unwanted reactions. Our cartridge comparison chart shows which cartridge fits which device.
Where you buy also matters. Counterfeit pens copy the packaging, the labeling and even the security stickers of genuine devices, but they are not built to the same standards — needle alignment, depth accuracy and motor consistency are the first things to go, and those are exactly the things that keep a treatment safe and repeatable. A device that runs inconsistently will give you inconsistent photos no matter how good your routine is. Every device we ship is serial-checked before dispatch, and each one carries a code you can check yourself: here's how to confirm yours is genuine, wherever you bought it.
For technique, do not improvise. If you are new to the process, review a full step-by-step guide on how to microneedle at home and check the needle depth guide before your first session, then follow the instructions for your specific Dr. Pen device.
How to Take Before and After Photos You Can Trust
For at home microneedling before and after photos, the biggest mistake is changing the conditions. A brighter bathroom light, a different camera angle or a little makeup can make a bigger visual difference than the treatment itself.
Take your baseline photos before your first session, not right after. Then repeat photos at the same time of day, in the same room, with the same camera and the same facial expression. Avoid beauty filters, smoothing settings and front-facing camera distortion when possible.
A simple photo routine works best:
- Take front, left-side and right-side photos.
- Use indirect natural light or the same indoor lighting every time.
- Keep your face relaxed rather than smiling or raising your brows.
- Photograph clean skin without makeup or tinted sunscreen.
- Compare monthly photos instead of checking daily.
Daily checking can make progress feel slower than it is. Monthly comparisons are more useful because they allow early remodeling and repeated sessions to show up in a way your eye can actually judge.

What You Should Not Expect From One Session
One at-home microneedling session can make skin look temporarily pink, plump or glowy, but it should not be treated as a one-time fix. If a before-and-after photo claims dramatic scar removal after a single home session, be skeptical.
You should not expect deep acne scars to vanish, sagging skin to lift, melasma to clear or deep wrinkles to disappear. At-home microneedling may support gradual improvement in the look of skin quality, but advanced concerns often need professional assessment. Some conditions, including active acne, suspicious lesions, infections, eczema flares or uncontrolled inflammation, should not be treated at home.
You should also avoid judging results during the irritation window. Skin can look worse before it looks better if it is dry, flaky or slightly swollen. That short-term roughness is different from a true negative result. A problem is more likely if redness worsens instead of fades, pain increases, pus appears, blistering develops or the area feels hot and swollen beyond the expected recovery period. In those cases, stop treatment and contact a qualified medical professional.
How Many Sessions Before You See a Real Difference?
When reviewing at home microneedling before and after images, remember that most visible changes come from a series of properly spaced sessions. Many people notice some improvement in glow or smoothness after the first healing cycle, but texture, fine lines and scarring usually need more time.
The exact timeline depends on your skin, the concern being treated and how conservatively you use your device. More is not automatically better. Treating too often can keep the skin in a cycle of irritation and prevent the kind of recovery that produces better-looking results.
For a more detailed explanation of early versus longer-term improvement, see our guide on how long microneedling results take. It can help you separate normal impatience from a routine that genuinely needs adjusting.
Setting Yourself Up for Better Before and After Results
The best before-and-after outcomes usually come from a boring routine done well. That means clean skin, a genuine device, compatible sterile cartridges, gentle aftercare and patience between sessions.
Before treatment, avoid irritating actives if your skin is sensitive and do not microneedle over sunburn, active breakouts or broken skin. After treatment, keep the routine simple. Focus on hydration, barrier support and sun protection. Do not rush back into strong exfoliating acids, retinoids or harsh scrubs while the skin is still recovering. Our aftercare guide covers the days that follow a session.
If you are shopping for a device, compare models based on your experience level, intended use and cartridge compatibility — our Dr. Pen comparison guide puts every model side by side.
Frequently Asked Questions
How soon will my at home microneedling before and after photos look different? Some people notice a smoother feel or subtle glow within a week, but more meaningful photo changes often take several weeks to months of consistent, properly spaced sessions.
Is redness after at-home microneedling normal? Mild redness, warmth, tightness and temporary sensitivity can be normal after microneedling. Redness should gradually calm. Worsening pain, heat, pus, blistering or prolonged swelling should be assessed by a professional.
Can at-home microneedling remove acne scars? It may soften the look of mild texture and shallow marks over time, but deep pitted scars often need professional treatments. Do not microneedle over active acne.
Why do online before-and-after photos look more dramatic than mine? Lighting, camera angle, makeup, filters, swelling and different facial expressions can all exaggerate results. Consistent monthly photos are more reliable than social media comparisons.
Do I need a new cartridge every time? Yes. Use a new sterile, compatible cartridge for each session. Reusing cartridges can increase irritation, reduce treatment quality and raise hygiene concerns.
Build a Routine Around Realistic Progress
The most useful at home microneedling before and after comparison is not someone else's transformation. It is your own baseline compared with your skin after a careful, consistent routine.
If you are preparing to start or upgrade your setup, choose a genuine Dr. Pen device, match it with the correct replacement cartridges and give your skin enough time to recover between sessions. Real progress is measured in calmer healing, steadier texture improvement and photos that still look better when the lighting stays the same.