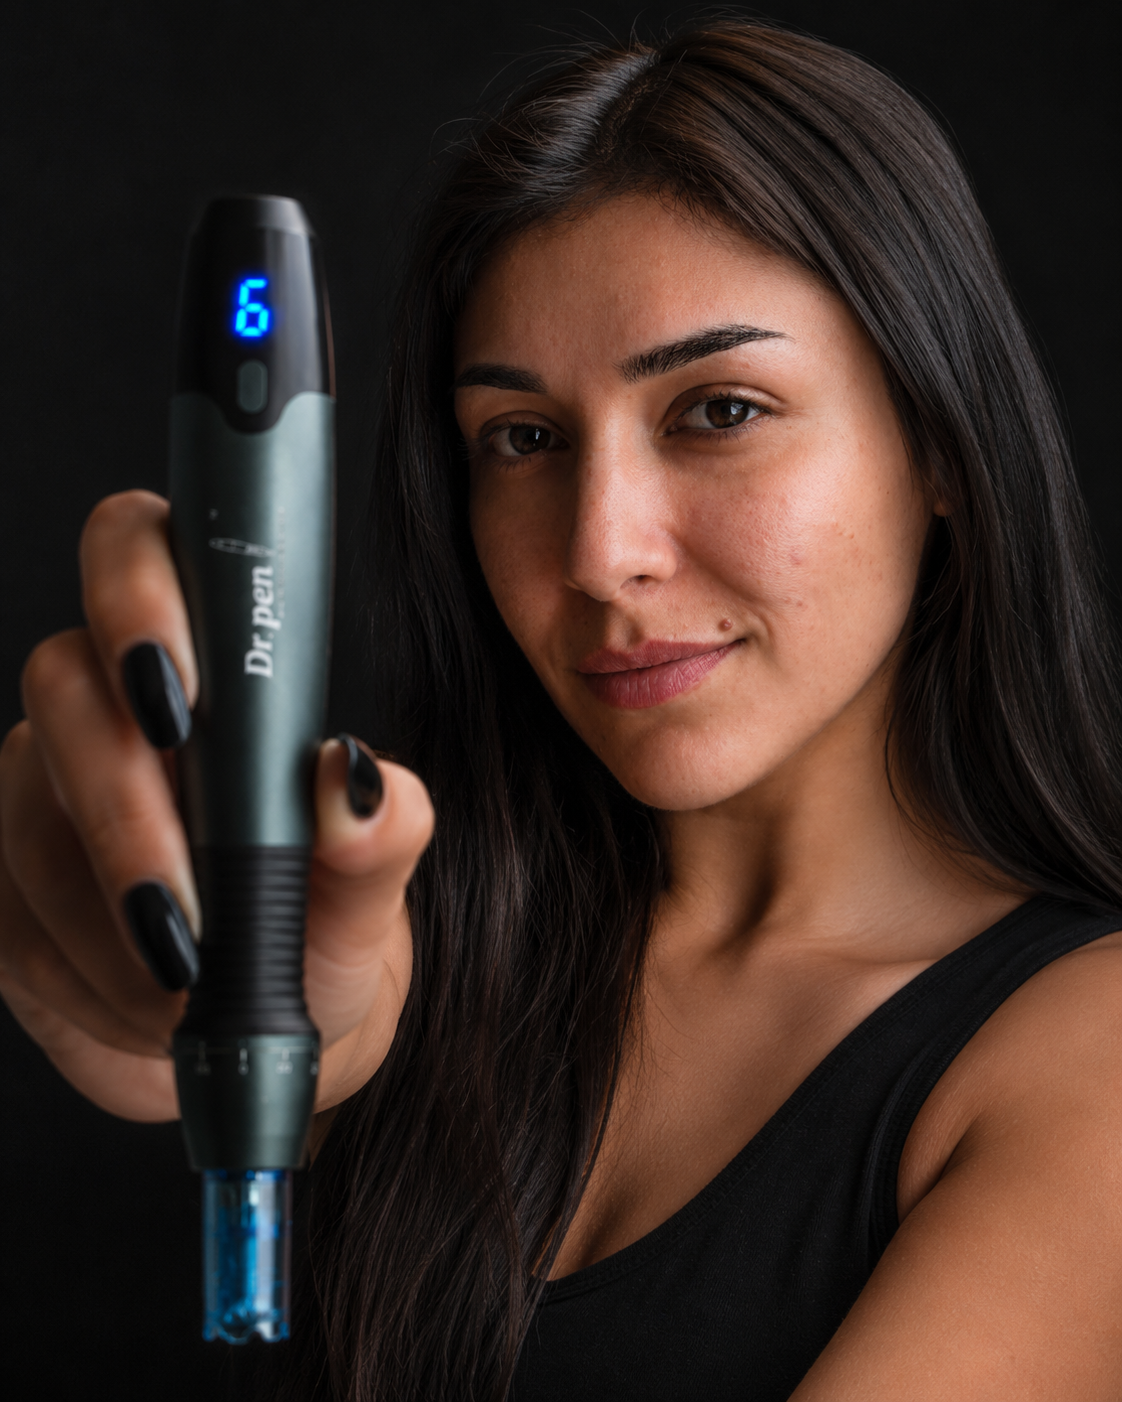
Before and after photos can make microneedling look like a weekend transformation. In real life, the best changes are usually slower, more subtle and easier to miss unless you know when to look. If you searched for SkinPen before and after results, or you are comparing a Dr Pen SkinPen-style microneedling routine, the key is understanding the difference between short-term post-treatment glow and longer-term collagen remodeling.
Microneedling works by creating controlled micro-injuries in the skin. According to the Cleveland Clinic, this process encourages the skin to make more collagen and elastin, which may improve the look of concerns such as acne scars, fine lines, enlarged pores and uneven texture. That biology takes time. Redness can happen in minutes, but visible remodeling usually develops over weeks and months.
Below is a realistic timeline for what you may see after a professional SkinPen treatment, a Dr Pen SkinPen microneedling session or a carefully performed microneedling pen treatment. Depth, technique, skin type, aftercare and the concern being treated all affect the final outcome.
What Dr Pen SkinPen Before and After Photos Can Actually Show
A good before and after photo should show progress, not perfection. The most useful comparisons look at texture, scar edges, pore appearance, tone evenness and fine line depth under the same lighting. A single photo taken one day after treatment mostly shows temporary inflammation, not the final result.
This matters because microneedling has two visible phases. First, there is the immediate healing phase, when skin may look pink, tight, slightly swollen or rough. Then there is the remodeling phase, when collagen and elastin gradually support smoother-looking skin.
A realistic Dr Pen SkinPen before and after comparison should also account for the number of sessions. One treatment may improve glow and texture, but deeper acne scars, etched lines, stretch marks and uneven tone usually need a series. Many providers space deeper microneedling treatments about 4-6 weeks apart, but the right interval depends on your skin, needle depth and whether the treatment is done in a clinic or at home.
If you are still learning the basics, Dr. Pen Store has a helpful overview of what microneedling is and how it works before you compare timelines or choose a device.
A Realistic Results Timeline
The timeline below is a general guide, not a promise. Your skin may move faster or slower depending on sensitivity, treatment intensity, products used before and after treatment, sun exposure and overall skin health.
| Time after microneedling | What you may see | What it usually means |
|---|---|---|
| Immediately after | Redness, warmth, tightness, mild swelling, possible pinpoint bleeding with deeper treatment | Normal controlled inflammatory response |
| 24 hours | Pink or red skin, tender feeling, mild dryness | Skin barrier is still recovering |
| 48-72 hours | Roughness, flaking, tightness, temporary darkening of some spots | Surface renewal and dryness are common |
| Days 4-7 | Calmer skin, less redness, early smoothness or glow | Initial healing is settling |
| Weeks 2-4 | Better radiance, smoother feel, subtle texture improvement | Early visible improvement may appear |
| Weeks 4-8 | Fine lines and pores may look softer, scars may begin to look less sharp | Collagen remodeling is underway |
| Months 3-6 | More noticeable change after a series, especially for scars and texture | Cumulative remodeling becomes easier to compare |
Immediately After Treatment
Right after a microneedling session, skin often looks flushed, similar to a sunburn. You may feel warmth, tightness and mild tenderness. With deeper professional treatments, pinpoint bleeding can occur, but heavy bleeding is not expected.
This is not the final after photo. In fact, the skin may temporarily look worse because redness and swelling can exaggerate texture. Some people mistake this for a bad result, but it is usually part of the early response.
The First 24 Hours
During the first day, redness often begins to fade, though sensitive skin may stay pink longer. Skin may feel tight or slightly swollen. This is the period when gentle aftercare matters most. Harsh actives, exfoliation, makeup too soon after treatment and sun exposure can irritate the skin barrier.
For a more detailed breakdown, follow a dedicated microneedling aftercare plan for the first 72 hours, especially if you are treating visible concerns such as acne scarring or hyperpigmentation.
Days 2-3
By the second or third day, redness is usually lower, but dryness and rough texture may become more obvious. You might see light flaking or a sandpapery feel. Some dark spots can look temporarily deeper before they improve, especially if the skin is prone to post-inflammatory hyperpigmentation.
This is a normal stage for many people, but it is also a point where patience matters. Picking flakes, scrubbing or reintroducing strong acids too early can delay recovery and increase irritation.
Days 4-7
Most mild to moderate redness has usually settled by the end of the first week. Skin may look fresher, smoother or more luminous, particularly if your main concern is dullness or rough surface texture. This early glow is real, but it is not the full collagen result.
If you are comparing before and after photos at day 7, look for surface-level changes rather than expecting acne scars or wrinkles to disappear. Scar edges may still look similar at this stage.
Weeks 2-4
Two to four weeks after treatment is when many people start noticing more stable improvement. Makeup may apply more evenly, skin may feel smoother and pores can appear a bit less prominent. Fine lines caused by dehydration or rough texture may look softer.
This is also when disappointment can set in if expectations were too high. Microneedling does not usually erase deep scars or static wrinkles after one session. The skin is still building and reorganizing collagen below the surface.

Weeks 4-8
The 4-8 week window is more meaningful for before and after comparisons. Collagen remodeling continues, and textural changes may become easier to photograph. Shallow acne scars may look softer, enlarged pores can appear refined and fine lines may look less etched.
If you are doing a series, this is often around the time a professional may recommend the next treatment. At-home microneedling routines can vary because cosmetic needle depths, device instructions and skin tolerance differ. Always follow the instructions for your device and avoid treating skin that has not fully recovered.
Months 3-6
The most convincing before and after photos often come after several months. That is especially true for acne scars, surgical scars, stretch marks and deeper texture concerns. Microneedling is cumulative. Each session adds another controlled healing signal, provided the skin is given enough time to recover.
At this stage, improvements are usually seen as softer transitions, smoother makeup application, less uneven texture and a healthier-looking skin surface. The goal is often refinement rather than a completely poreless or filtered look.
Results by Skin Concern
Different concerns respond on different timelines. Surface dullness can look better quickly, but structural concerns take longer.
| Skin concern | Typical visible timeline | Realistic expectation |
|---|---|---|
| Dullness and rough texture | 1-2 weeks | Brighter, smoother-looking skin may appear after one session |
| Enlarged pores | 4-8 weeks | Pores may look less noticeable, not erased |
| Fine lines | 8-12 weeks or longer | Lines may soften gradually, especially with repeated treatments |
| Acne scars | 3-6 months or longer | Scar edges may look smoother after a series |
| Hyperpigmentation | 4-12 weeks, varies widely | Tone may improve, but irritation and sun can worsen dark marks |
| Stretch marks | 3-6 months or longer | Texture and color contrast may soften with repeated sessions |
Acne scars deserve special mention because they are one of the most common reasons people search for SkinPen before and after photos. Rolling scars and shallow boxcar scars may respond better than deep ice pick scars, but professional assessment is important. Some scar types need combination treatments for meaningful change.
For broader treatment planning, Dr. Pen Store explains how microneedling may support multiple skin concerns from acne scars to wrinkles without assuming every concern responds the same way.
Why Your Results May Look Different From Someone Else's
Two people can use the same microneedling pen and still have different before and after results. The most common reasons include treatment depth, skin thickness, scar type, age, hormones, smoking, nutrition, sun exposure and consistency with aftercare.
Skin tone also matters. People prone to post-inflammatory hyperpigmentation need to be especially careful with treatment intensity, sun protection and irritating products. More aggressive is not always better. In some cases, a conservative approach over more sessions is safer than pushing depth too quickly.
Device authenticity and cartridge hygiene matter as well. The FDA's safety information on microneedling devices emphasizes that microneedling can carry risks such as infection, skin damage and pigment changes if used improperly. Sterile, single-use cartridges, clean technique and appropriate device use are not optional details.
How to Take Useful Before and After Photos
The best way to judge results is to document your skin consistently. Bathroom lighting, filters and different camera angles can make results look better or worse than they are.
Use the same setup each time:
- Take photos in natural indirect light or the same indoor lighting.
- Use the same camera, distance and angle.
- Photograph front, left side, right side and close-ups of the main concern.
- Avoid makeup, filters and skin-smoothing camera settings.
- Take baseline photos, then repeat at 1 week, 4 weeks, 8 weeks and 12 weeks.
Try not to judge your outcome from a single mirror check. Texture changes are often easier to see in side lighting, while tone changes are clearer in front-facing photos.
If you are doing treatments at home, document what you used, treatment date, cartridge type, needle depth, aftercare products and any reaction. That record helps you identify whether your routine is supporting recovery or irritating your skin.
Normal Healing vs Warning Signs
Some redness and dryness can be normal after microneedling. Strong pain, spreading heat or signs of infection are not something to ignore.
| Reaction | Often normal | Get professional advice if |
|---|---|---|
| Redness | Mild to moderate redness for 1-3 days | Redness worsens, spreads or lasts longer than expected |
| Swelling | Mild puffiness for 24-48 hours | Swelling is severe, painful or one-sided |
| Dryness and flaking | Common during days 2-5 | Cracking, oozing or intense burning develops |
| Breakouts | A few small bumps can occur | Painful acne, pus or rash appears |
| Pigment changes | Temporary darkening can happen | Dark patches intensify or keep spreading |
Do not microneedle over active acne, open wounds, irritated rashes, infections or sunburned skin. If you have a history of keloid scarring, melasma, uncontrolled eczema, rosacea flares, immune concerns or you use medications that affect healing, speak with a qualified clinician before treatment.
How to Support Better Before and After Results
Your aftercare can influence how your results look. The goal is to protect the barrier, keep the skin calm and reduce avoidable irritation while healing happens.
For the first few days, most routines should stay simple: gentle cleansing, hydration, bland moisturizer and broad-spectrum sunscreen once appropriate. Avoid exfoliating acids, retinoids, vitamin C, scrubs and fragranced products until the skin has recovered. Your provider or device instructions should guide the exact timing.
Sun protection is especially important. UV exposure can worsen redness and hyperpigmentation, which can make after photos look worse even if the treatment itself was appropriate.
If you are choosing a device for home use, start by matching the tool to your comfort level, skin goals and experience. Dr. Pen Store's Dr. Pen model comparison guide can help you compare genuine microneedling pen options without guessing.
Frequently Asked Questions
How long does it take to see Dr Pen SkinPen before and after results? Many people notice smoother, brighter-looking skin within 1-2 weeks, but collagen-related changes usually become more visible after 4-8 weeks. Acne scars, stretch marks and deeper lines often need several months and multiple sessions.
Will my skin look worse before it looks better? It can. Redness, tightness, dryness, flaking and temporary roughness are common in the first few days. Some pigmentation or scars may look more noticeable during early healing because the skin is inflamed or dry.
How many microneedling sessions do I need? It depends on the concern. Mild dullness may improve after one session, while acne scars, wrinkles and stretch marks usually need a series. A professional can help set a treatment plan based on your skin type and goals.
Can microneedling remove acne scars completely? Microneedling may improve the appearance of some acne scars, but complete removal is not a realistic promise. Results vary by scar type, depth and treatment plan. Deep scars may need professional combination treatments.
When should I take after photos? Take photos before treatment, then again at 1 week, 4 weeks, 8 weeks and 12 weeks. For a treatment series, take a new set before each session and again several months after the final session.
Is at-home microneedling the same as professional SkinPen treatment? No. Professional treatments may use different devices, protocols and depths under clinical supervision. At-home microneedling should be approached conservatively with genuine devices, sterile cartridges and careful adherence to instructions.
Build a Safer, More Realistic Microneedling Routine
The best Dr Pen SkinPen before and after results come from patience, consistency and safe technique. Instead of judging your skin the morning after treatment, track changes over weeks and months, protect your skin barrier and avoid pushing intensity faster than your skin can recover.
If you are building an at-home routine, choose genuine tools and sterile replacement cartridges from a source you trust. Explore Dr. Pen Store for authentic microneedling pens, cartridges, skincare support and guides designed to help you approach skin renewal with realistic expectations.