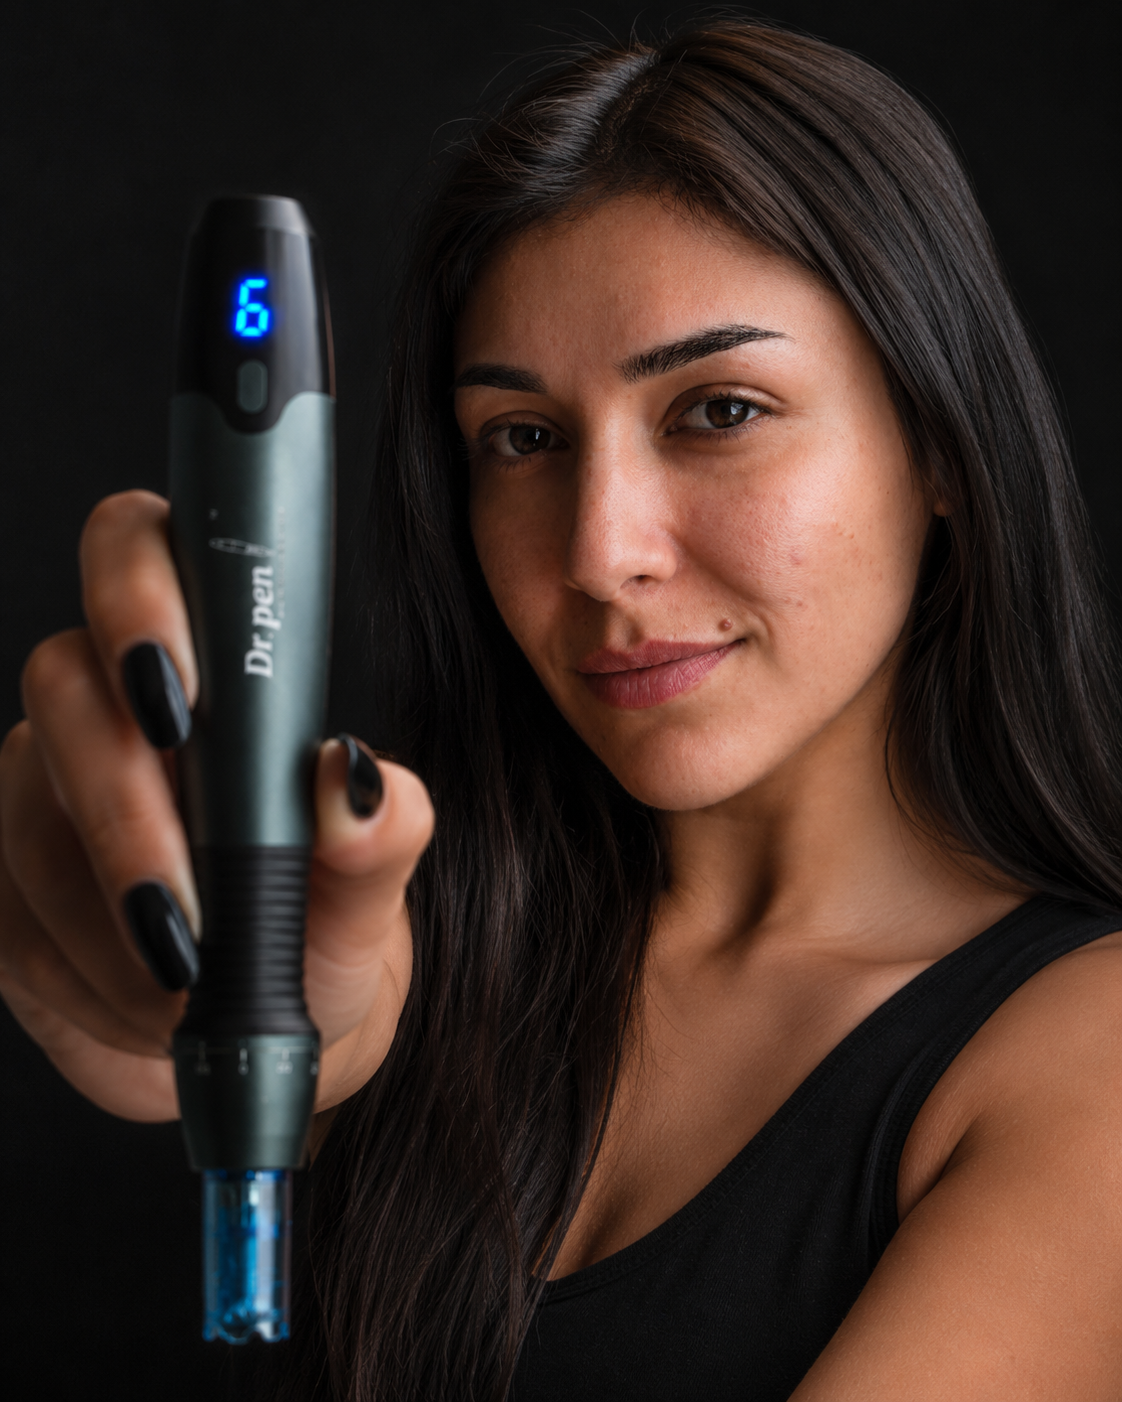
If you searched for “dr pen m8 how to use,” you probably want a practical answer, not vague advice. The safe way to use the Dr. Pen M8 is to set it up cleanly, choose the right sterile cartridge, start with conservative depth and speed settings then follow aftercare closely so your skin can recover.
Microneedling creates controlled microchannels in the skin, so hygiene and restraint matter as much as technique. This guide is educational and does not replace the device manual or medical advice. If you have a skin condition, a history of abnormal scarring or you are using prescription acne or anti-aging treatments, speak with a qualified professional before using any microneedling device.
Dr Pen M8 How to Use: Safety Rules Before You Start
The Dr. Pen M8 should never be treated like a casual skincare gadget. It uses disposable needle cartridges, which means every session needs a sterile cartridge, clean hands, clean skin and a plan for disposal afterward.
The FDA’s microneedling safety guidance advises caution with microneedling devices, especially for people with active skin infections, open wounds, raised moles, rashes, keloid tendency, immune issues or certain medical treatments. Do not microneedle over active acne, cold sores, eczema flares, sunburn or irritated skin.
A good dr pen m8 how to use routine starts with knowing when not to treat. If your skin is inflamed, freshly tanned, peeling from retinoids or recovering from a cosmetic procedure, postpone your session.
What you need for a cleaner setup
Prepare everything before opening the cartridge. You do not want to search for supplies after the needles are exposed.
Use a fresh M8-compatible cartridge, gentle cleanser, clean towel, disposable gloves if preferred, sterile saline or a simple hydrating serum suitable for microneedling, gauze and a sharps-safe disposal plan. Avoid fragranced serums, essential oils, exfoliating acids, retinoids and strong vitamin C during the treatment.
If you are new to the device, read the manual first and review model-specific notes in our Dr. Pen Ultima M8 full review and settings guide before you begin.
Choose the Right Cartridge for the Treatment Area
Cartridge choice affects comfort, coverage and how targeted the treatment feels. For facial microneedling, many users prefer lower pin counts for precision around smaller areas and moderate pin counts for broader areas like cheeks.
For M8 users treating fine lines, texture and general facial concerns, the Dr. Pen M8 Face Combo Cartridges (5-pack) is a relevant option because it includes 11-pin and 16-pin M8 cartridges designed for face-focused treatments. Use one new cartridge per session and discard it afterward.
This dr pen m8 how to use step is also where compatibility mistakes happen. Cartridges are not universal across every Dr. Pen model, even when they look similar. If you own multiple pens, label your cartridges clearly and check the product page before use.
For example, the 10 x 36 Pin Replacement Cartridges for A6S Ultima are for A6S Ultima owners, not a general M8 replacement. Keeping device families separate helps prevent poor fit, treatment inconsistency and unnecessary skin risk.
Step-by-Step Setup for the Dr. Pen M8
Set up the device before applying any serum to your face. A calm setup reduces contamination and keeps the treatment smoother.
- Wash your hands and cleanse your face: Remove makeup, sunscreen and oil with a gentle cleanser. Pat dry with a clean towel.
- Inspect the cartridge packaging: Do not use a cartridge if the sterile seal is broken, the needles look bent or the packaging is damaged.
- Attach the cartridge: With the device off, insert the cartridge according to the M8 manual and make sure it locks securely.
- Set the needle depth to a low starting point: Beginners should start shallow, especially on the forehead, nose and around delicate facial contours.
- Turn the device on away from the skin: Check that the cartridge moves evenly before touching the treatment area.
The M8 is commonly used with adjustable needle depth and multiple speed settings, but your skin’s response should guide the session more than the maximum settings printed on the device. More depth does not mean better results.
How to apply glide serum
A simple glide layer helps the cartridge move without dragging. Use a sterile, fragrance-free hydrating serum or a product specifically intended for microneedling glide. Hyaluronic acid is commonly chosen because it is hydrating and generally well tolerated.
Do not use active formulas during needling. Retinol, glycolic acid, lactic acid, salicylic acid, benzoyl peroxide, exfoliating peels and strong brightening formulas can sting and increase irritation when applied through fresh microchannels.
Recommended Dr. Pen M8 Settings by Area
In a dr pen m8 how to use plan, depth and speed should be chosen by skin area, skin tolerance and experience level. The table below gives conservative starting points for cosmetic at-home use, not medical treatment instructions.
| Area or concern | Beginner depth range | Speed approach | Notes |
|---|---|---|---|
| Forehead | 0.25 to 0.5 mm | Low to medium | Thin skin and bony structure need lighter pressure. |
| Nose and around mouth | 0.25 to 0.5 mm | Low | Use slow, controlled passes and avoid lips. |
| Cheeks | 0.5 to 0.75 mm | Medium | A common starting area because skin is usually less delicate. |
| Jawline | 0.5 to 0.75 mm | Low to medium | Keep the pen perpendicular and reduce pressure over bone. |
| Neck | 0.25 to 0.5 mm | Low | Neck skin is reactive, so be conservative. |
| Texture or enlarged pores | 0.5 to 1.0 mm | Medium | Increase only after several well-tolerated sessions. |
| Acne scar appearance | 0.75 to 1.5 mm | Medium | Deeper work is better handled by trained professionals. |
Depths above 1.0 mm can create more downtime and a higher risk of irritation, especially at home. If your main goal is scar remodeling, read our dedicated guide to microneedling acne scars with the Dr. Pen M8 and consider whether professional treatment is more appropriate.

How to choose speed
Speed controls how fast the needle cartridge oscillates. Lower speeds give beginners more control and can feel easier around delicate areas. Medium speeds may glide more smoothly on cheeks when paired with enough serum. High speeds should be used carefully because moving too slowly at high speed can overtreat a small area.
A practical rule is simple: if you are new, use low to medium speed, keep the pen moving and avoid pressing down. Let the needles do the work.
Treatment Technique: How to Move the Pen
For a beginner dr pen m8 how to use session, divide the face into small zones instead of treating the whole face randomly. Work on one cheek, then the other, then the forehead, chin and jawline if those areas are suitable.
Hold the M8 perpendicular to the skin. Keep pressure light and use short, even passes. Many users follow a pattern of horizontal passes then vertical passes over the same zone, with no need to repeatedly grind over one patch of skin.
The endpoint should be mild to moderate redness, similar to a sunburn-like flush. At-home users should not chase bleeding. Pinpoint bleeding can occur at deeper settings, but visible bleeding is not a goal and can increase recovery demands.
Areas to avoid
Avoid eyelids, lips, the immediate under-eye area, nostril edges, active breakouts, open cuts, irritated patches and raised lesions. Do not microneedle over suspicious moles or any lesion that has changed in size, color or shape.
If you feel sharp pain, tearing, burning or a catching sensation, stop and check the cartridge. Bent needles, insufficient serum, too much pressure or excessive depth can all cause unnecessary trauma.
Aftercare for the First 72 Hours
Aftercare is part of any dr pen m8 how to use plan because the skin barrier is temporarily more vulnerable after microneedling. Keep the routine minimal, clean and hydrating.
Immediately after treatment, apply a gentle hydrating serum or bland moisturizer that your skin already tolerates. Do not apply makeup right away. Avoid touching your face, sweating heavily or exposing the treated skin to unclean surfaces.
For the first 24 hours, skip retinoids, exfoliating acids, scrubs, fragranced skincare, self-tanner, strong vitamin C, benzoyl peroxide and alcohol-heavy toners. Avoid swimming pools, hot tubs, saunas and intense workouts because heat and bacteria can aggravate freshly treated skin.
What to do on days 2 and 3
Redness often calms over 24 to 72 hours, depending on depth and skin sensitivity. Use a gentle cleanser, simple moisturizer and broad-spectrum sunscreen during the day. Sun protection matters because treated skin may be more reactive to UV exposure.
You can usually reintroduce actives after the skin feels normal again, but do it gradually. If your face is still tight, hot, peeling or tender, wait longer.
How Often to Use the Dr. Pen M8
Treatment spacing depends on needle depth. Shallow cosmetic sessions can be done more often than deeper treatments, but collagen remodeling takes time and overtreating can compromise the skin barrier.
| Needle depth | Typical spacing | Best for |
|---|---|---|
| 0.25 mm | About once weekly if tolerated | Superficial glow and product glide routines |
| 0.5 mm | Every 2 to 4 weeks | Beginner texture and general maintenance |
| 0.75 to 1.0 mm | Every 4 to 6 weeks | More advanced texture concerns |
| 1.5 mm and above | Professional guidance recommended | Scar-focused or deeper treatments |
Most dr pen m8 how to use mistakes come from treating too deeply, too often or with too many active products afterward. If your skin stays red for several days, develops unusual swelling or feels worse after each session, stop and seek professional advice.
Cleaning, Disposal and Storage
The cartridge is single-use. Remove it after the session without touching the needles and dispose of it safely. Never rinse and reuse cartridges. Reuse increases the risk of dull needles, contamination and uneven punctures.
Clean the exterior of the M8 according to the manual. Do not submerge the device in water and do not soak the motorized body. Store the pen dry, capped or protected and away from bathroom humidity when possible.
Keep cartridges sealed until the moment you use them. Buying genuine, model-compatible cartridges from a specialist retailer matters because needle quality, fit and sterility are central to a safer microneedling experience.
Troubleshooting Common M8 Problems
If the pen drags, you may be using too little serum, too much pressure or a speed that does not match your movement. Add more glide serum and reduce pressure before increasing speed.
If the treatment feels painfully sharp, stop. Check that the cartridge is attached correctly and that the needle depth is not too high for the area. Bony areas like the forehead need less depth than the cheeks.
If your skin becomes very irritated after treatment, simplify aftercare. Use gentle cleansing, bland hydration and sunscreen, then pause microneedling until your skin fully recovers. If irritation is severe, spreading, hot to the touch or accompanied by pus or fever, contact a medical professional.
Dr. Pen M8 vs Other Models: When to Compare Before You Use
If you already own the M8, this guide should help you use it more confidently. If you are still choosing a device, compare cartridge systems, power style, depth control and treatment goals before buying.
Users who are deciding between related models may find the Dr. Pen M8 vs M8S comparison helpful. The right pen is not always the newest one, it is the one that matches your cartridge preferences, comfort level and planned treatment areas.
Frequently Asked Questions
What depth should I start with on the Dr. Pen M8? Most beginners should start between 0.25 and 0.5 mm on the face, then increase only if the skin tolerates several sessions well. Thin or bony areas need the most conservative settings.
Can I use the Dr. Pen M8 on active acne? No. Avoid active acne, open wounds, infections, cold sores and irritated skin. Needling over inflamed breakouts can worsen irritation and may spread bacteria.
Which serum should I use while microneedling? Use a sterile, fragrance-free hydrating serum or a product intended for microneedling glide. Avoid retinoids, exfoliating acids, essential oils and strong vitamin C during treatment.
How many passes should I do with the M8? Keep passes limited and even. One horizontal and one vertical pass per small zone is enough for many at-home cosmetic sessions. Do not keep working an area just to make it redder.
Can I reuse Dr. Pen M8 cartridges? No. Use a new sterile cartridge for every session and dispose of it immediately afterward. Reusing cartridges can introduce contamination and dull needles.
Get the Right M8 Cartridges Before Your Next Session
A safe microneedling routine starts with genuine, compatible cartridges and a conservative plan. Dr. Pen Store focuses on original Dr. Pen devices, cartridges and support, so you can match your M8 with the correct cartridge type and avoid guesswork before treatment.
If your goal is facial texture, fine lines or general skin renewal, start with sterile M8-compatible cartridges, follow the setup and aftercare steps above and give your skin enough time between sessions.