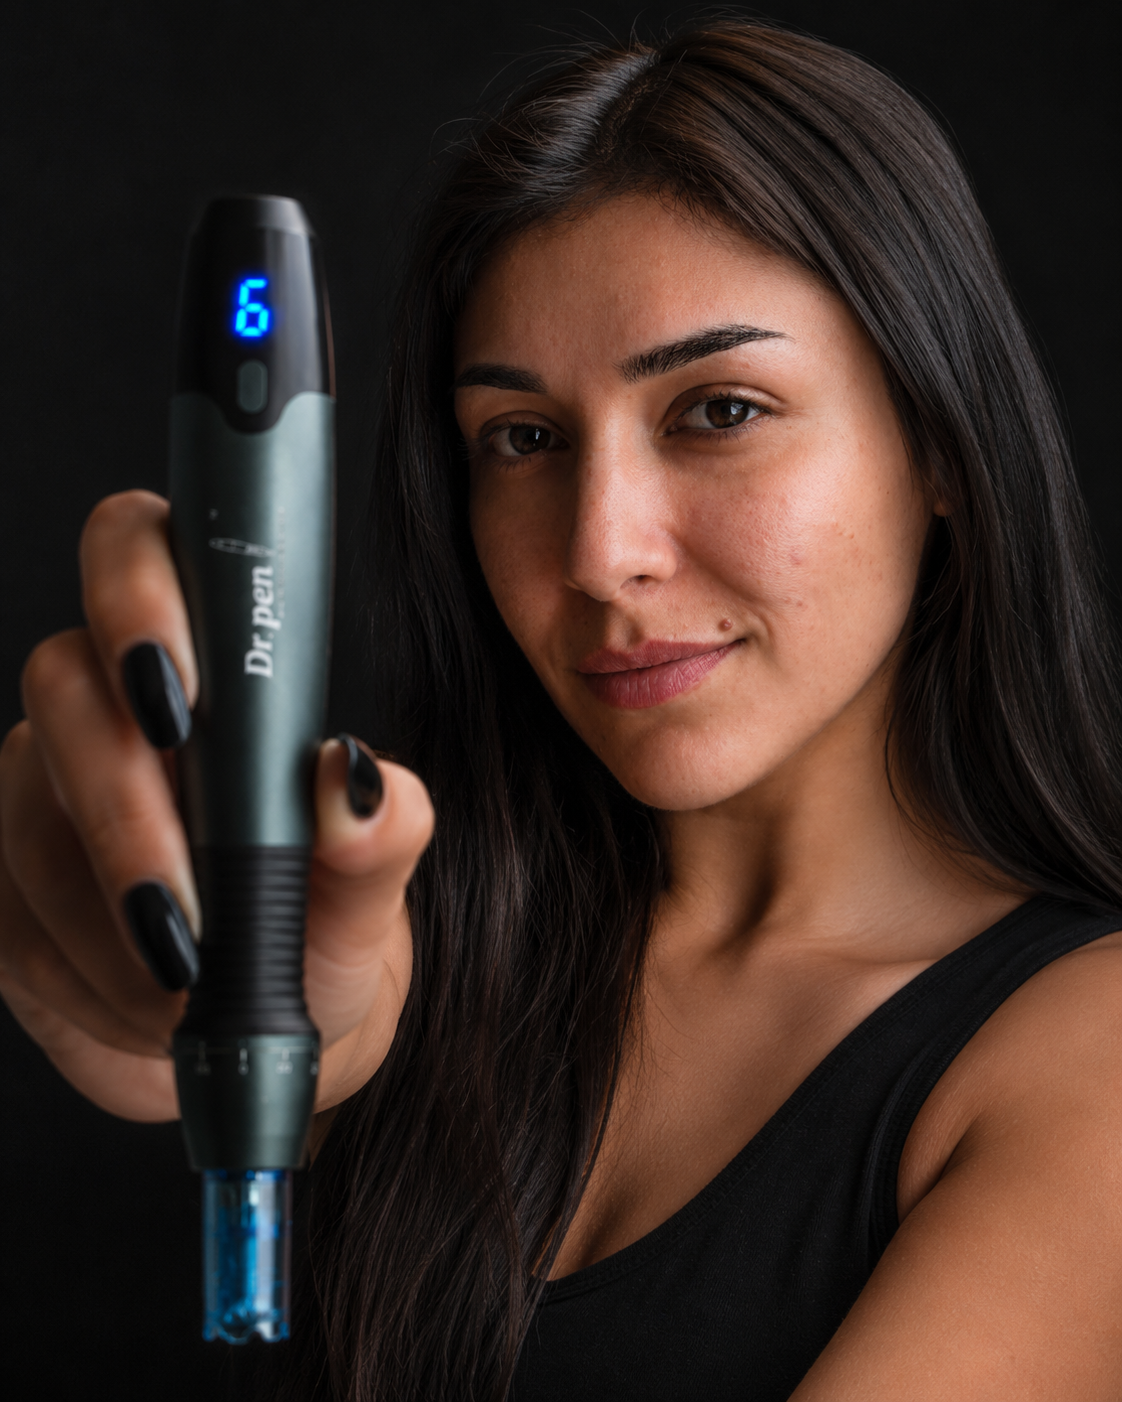
A successful microneedling procedure starts long before a microneedling pen touches the skin. The result depends on the skin’s condition, the device and cartridge used, the cleanliness of the setup, the pressure and technique during treatment and the way the skin is handled afterward.
Microneedling works by creating controlled microchannels in the skin. These tiny channels trigger the skin’s normal repair response, which is why the treatment is often discussed for texture, fine lines, enlarged pores, post-acne marks and general skin renewal. If you want a deeper look at the science behind the treatment, Dr. Pen Store explains the mechanism in its guide to how microneedling works.
This guide focuses on the full microneedling procedure from prep to recovery, so you know what should happen at each stage and where safety matters most. It is educational, not a substitute for medical advice. If you have a skin condition, a history of keloid scarring, active infection, are pregnant, use prescription acne medication or are unsure whether microneedling is right for you, speak with a licensed professional or healthcare provider before treatment.
What happens during a microneedling procedure?
A microneedling procedure uses a device fitted with sterile needles or pins to make precise, shallow punctures in the skin. A professional microneedling treatment may be performed in a clinic or med spa. Some experienced users also use at-home microneedling pens, but the same basic process applies: assess the skin, prepare the area, use a sterile cartridge, treat in controlled sections, then support the skin barrier during recovery.
The goal is controlled stimulation, not aggressive injury. More pressure, more passes or a deeper setting does not automatically mean better results. Over-treating can increase irritation, pigmentation changes, prolonged redness or infection risk.
| Stage | What happens | Why it matters |
|---|---|---|
| Skin assessment | Skin is checked for active acne, irritation, infection, sunburn or contraindications | Microneedling should only be done on suitable skin |
| Device and cartridge setup | A compatible, sterile, single-use cartridge is attached to the pen | Clean equipment reduces contamination risk and supports even treatment |
| Cleansing and prep | Skin is cleansed and the work area is sanitized | Removes oil, sunscreen, makeup and surface debris |
| Microneedling passes | The pen is moved across the skin in controlled sections | Creates microchannels that start the repair response |
| Immediate aftercare | Gentle, suitable products are applied and irritants are avoided | Protects the skin barrier while channels begin to close |
| Recovery | Redness, tightness and dryness gradually settle | Proper recovery helps reduce avoidable side effects |
The U.S. Food and Drug Administration has published consumer guidance on microneedling device benefits, risks and safety, including the importance of understanding whether a device is appropriate for its intended use. That matters because microneedling creates openings in the skin, so product quality and hygiene are not optional details.
Step 1: decide whether your skin is ready
The first part of the procedure is not the device setup. It is deciding whether the treatment should happen at all.
Microneedling is generally not performed over active acne breakouts, open cuts, cold sores, rashes, sunburn, skin infections or areas with unexplained irritation. It may also be unsuitable for people prone to keloids or poor wound healing. If you recently had laser treatment, a chemical peel, injectables or surgery in the treatment area, ask your provider when it is safe to microneedle.
Skin should be calm, clean and stable. That means no active flare, no peeling from strong exfoliants and no recent overexposure to the sun. If your skin is already inflamed, microneedling can turn a manageable issue into a longer recovery.
A simple rule helps: if your skin barrier feels compromised before treatment, postpone the session. Tight, stinging, raw or visibly irritated skin is not a good canvas for microneedling.
Step 2: choose the right microneedling pen and cartridge
The device and cartridge are central to how a microneedling procedure works. A microneedling pen moves the cartridge’s needle tips vertically in and out of the skin. The cartridge type, needle count and needle condition influence how evenly the skin is treated.
Use only cartridges made for your specific pen model. A cartridge that looks similar is not always compatible. Poor fit can affect movement, stability and hygiene. This is especially important for Dr. Pen users comparing devices such as the Dr. Pen A20, M8S, A11, A8S, A10, M9, Hydra Pen H3 or Hydra Pen H6, since cartridge compatibility can vary by model.
For serum infusion microneedling, devices such as the Hydra Pen H6 are designed around a different treatment style than a standard microneedling pen. The core safety principles still apply: use compatible cartridges, keep everything clean and avoid pushing active skincare ingredients into freshly needled skin unless they are appropriate for post-microneedling use.
Cartridges should be sterile, sealed before use and discarded after a single session. Never reuse a cartridge, even on yourself. Needles can dull, bend and carry biological material after treatment, which raises the risk of irritation and contamination.
Step 3: prepare your skin in the days before treatment
Good prep lowers the chance of avoidable irritation. In the few days before microneedling, most people simplify their skincare routine and avoid products that increase sensitivity.
Common pre-treatment adjustments include pausing strong exfoliating acids, retinoids, harsh scrubs and at-home peels. You should also avoid tanning, sunburn and waxing the treatment area right before a session. If you use prescription skincare, follow your prescriber’s instructions rather than guessing.
Hydrated, well-rested skin usually tolerates treatment better. This does not mean applying heavy oils or occlusive products before needling. It means keeping your barrier comfortable with gentle cleanser, moisturizer and daily sunscreen before the appointment or at-home session.
Step 4: set up a clean treatment environment
Microneedling is not a treatment to do casually between errands. Treat it like a skin procedure.
The work surface should be clean. Hands should be washed thoroughly. The device body should be handled carefully and kept away from anything unclean. The cartridge should stay sealed until you are ready to attach it. Makeup, sunscreen and skincare residue should be fully removed from the treatment area before needling begins.
In a professional setting, the provider may also use gloves, antiseptic skin prep and clinical infection control steps. At home, you cannot recreate every part of a clinic environment, which is why conservative technique and strict hygiene are so important.
If numbing cream is used in a professional treatment, it should be applied and removed according to the product instructions and provider guidance. Leaving residue on the skin can interfere with treatment cleanliness.
Step 5: what happens while the skin is needled
During the procedure, the microneedling pen is moved across the skin in small, controlled sections. The provider or user may work across the cheeks, forehead, chin, jawline or other appropriate areas depending on the treatment plan.
The sensation varies. Some people describe light prickling or vibration. Others feel heat, tightness or more noticeable discomfort in bony or sensitive areas such as the forehead, upper lip or around the nose. Professional treatments that use more advanced settings can feel more intense than superficial cosmetic needling.
The skin may become pink or red during the session. Mild pinpoint bleeding can occur in some treatments, particularly when performed by professionals at more advanced depths. Heavy bleeding, sharp pain, tearing or dragging is not a normal goal of microneedling.
Technique matters. The pen should glide steadily without scraping the skin. Too many passes over the same area can create unnecessary irritation. Uneven pressure can lead to patchy redness and inconsistent recovery.

What your skin may look like immediately afterward
Right after microneedling, skin often looks flushed, similar to a mild to moderate sunburn. It may feel warm, tight or slightly swollen. Some people notice tiny pinpoint marks, especially in more sensitive areas. This reaction usually peaks early, then gradually calms over the next day or two.
The first few hours are important because the skin barrier has been disrupted. Avoid touching your face unnecessarily. Do not apply makeup immediately after treatment unless your provider specifically says it is safe. Avoid gym sweat, swimming, saunas, hot tubs and direct sun exposure during the early recovery period.
Your skin does not need an aggressive product routine after microneedling. It needs barrier support. Gentle hydration, clean hands and patience are more helpful than layering strong actives.
Microneedling recovery timeline
Recovery depends on treatment depth, skin sensitivity, device technique and aftercare. A light cosmetic session may settle quickly. A professional treatment for texture or acne scarring can involve more redness, dryness and flaking.
| Time after procedure | What is common | What to focus on |
|---|---|---|
| First 0 to 24 hours | Redness, warmth, tightness, mild swelling | Keep skin clean, avoid makeup, heat, sweat and sun |
| 24 to 48 hours | Redness begins to fade, skin may feel dry or rough | Use gentle hydration and avoid exfoliating products |
| 48 to 72 hours | Tightness and rough texture may continue | Continue barrier care and avoid retinoids or acids |
| Days 4 to 7 | Mild flaking or dryness may appear | Let skin shed naturally and use sunscreen daily |
| After 1 week | Skin often looks calmer and smoother | Gradually reintroduce actives only if skin is comfortable |
For a more detailed day-by-day breakdown, Dr. Pen Store has a dedicated guide to microneedling aftercare during the first 72 hours.
What to apply after microneedling
Post-treatment products should be simple, gentle and appropriate for compromised skin. Many users look for hydrating ingredients and barrier-supporting formulas rather than strong active ingredients.
In the early recovery window, avoid retinoids, exfoliating acids, vitamin C formulas that sting, benzoyl peroxide, fragrances and harsh toners. These ingredients can be useful in normal skincare routines, but freshly microneedled skin is more reactive.
Hyaluronic acid is commonly used for hydration, but formula quality matters. A product that contains hyaluronic acid plus irritating fragrance or strong actives may not be suitable right after treatment. If your provider recommends a specific serum or recovery product, follow that advice.
Sunscreen becomes especially important after the initial recovery period. Freshly treated skin is more vulnerable to discoloration from UV exposure. Once your skin can tolerate it, use broad-spectrum sunscreen during the day and avoid intentional tanning.
When results start to show
Some people notice a temporary glow within several days as redness settles and hydration improves. Structural changes take longer because collagen remodeling is gradual. Texture, fine lines and post-acne marks usually require a series of treatments rather than one session.
The American Academy of Dermatology notes that microneedling is used by dermatologists for concerns such as scars and skin texture, but results depend on the concern being treated and the treatment plan. You can review its patient information on microneedling for scars and skin tone.
Spacing matters. Treating too often can keep the skin irritated instead of allowing repair. Professional providers typically plan intervals based on the treatment depth, skin type and concern. At-home users should follow device instructions and stay conservative.
Professional treatment vs at-home microneedling
Professional microneedling and at-home microneedling are not the same experience. A trained provider can assess the skin, adjust technique by area, use clinical hygiene protocols and decide whether your concern needs a more advanced approach.
At-home microneedling can be appealing for maintenance and convenience, but it requires discipline. You need the correct device, compatible microneedling cartridges, a clean setup, suitable skincare and a willingness to stop if the skin reacts poorly. If you are planning an at-home session, Dr. Pen Store’s full walkthrough on how to microneedle at home is a useful next step.
For deeper acne scarring, significant pigmentation concerns or uncertain skin conditions, professional assessment is the safer starting point. A microneedling pen is a skin rejuvenation device, not a shortcut around diagnosis.
Signs you should stop or get help
A normal recovery can involve redness, warmth, tightness, dryness and light flaking. Some reactions deserve more caution.
Stop the procedure or seek professional guidance if you notice increasing pain, spreading redness, pus, blistering, unusual swelling, fever, a rash that worsens or redness that does not improve as expected. You should also get guidance if you develop dark patches, prolonged sensitivity or signs of infection.
During the procedure itself, do not push through sharp pain or visible skin trauma. The goal is controlled micro-injury, not damage.
How to make each procedure safer and more consistent
Consistency starts with genuine equipment. Counterfeit or poorly matched cartridges can create avoidable problems because they may not fit correctly, move evenly or meet the quality you expect. Buying from a trusted source also makes it easier to verify what you are using and replace cartridges with the correct model.
Before every session, check three things: your skin, your cartridge and your aftercare plan. If any one of those is not ready, postpone treatment. Microneedling is most effective when it is done with patience and clean technique, not when it is rushed.
It also helps to track your sessions. Note the date, device used, cartridge type, treatment area, products applied afterward and how long recovery took. This creates a practical record you can use to avoid repeating mistakes and to discuss your routine with a skincare professional if needed.
Frequently Asked Questions
How long does a microneedling procedure take? The treatment time depends on the area and whether numbing or professional prep is used. A facial session may take less time at home, while a clinic appointment can take longer because it includes consultation, cleansing, numbing and post-treatment care.
Is microneedling painful? Many people feel prickling, vibration, warmth or mild discomfort. Sensitivity varies by area and treatment intensity. Sharp pain, dragging or tearing should not be treated as normal.
Can I wear makeup after microneedling? It is usually best to avoid makeup immediately after microneedling, especially during the first 24 hours, unless your provider gives different instructions. Freshly treated skin needs a clean, low-irritation recovery period.
How often should microneedling be done? Frequency depends on treatment depth, skin response and the concern being treated. Professional treatments are often spaced weeks apart. At-home users should follow the device instructions and avoid treating skin that has not fully recovered.
Do I need a new cartridge every time? Yes. Microneedling cartridges should be sterile and single-use. Reusing a cartridge can introduce contamination and dull or damaged needles may irritate the skin.
What is the biggest mistake people make after microneedling? The most common mistake is doing too much too soon, such as applying strong actives, sweating heavily, tanning, using makeup immediately or exfoliating before the skin has recovered.
Choose genuine tools before you begin
A microneedling procedure is only as reliable as the preparation behind it. The right device, the correct sterile cartridge and a simple recovery plan all work together to support safer, more consistent sessions.
If you are comparing Dr. Pen models or replacing cartridges, start with a trusted source. Dr. Pen Store specializes in genuine Dr. Pen microneedling devices, replacement cartridges and compatible skincare products, with manufacturer-verifiable authenticity and support for choosing the right option for your routine.