How to make microneedles (Every step you need)
21 Sep 2022

If you’re searching for an ultimate anti-ageing treatment that will refresh your complexion, treat the visible signs of ageing and help your skin to heal and hydrate itself from deep within, you may have heard of microneedling.
Let’s break down how microneedling works, the benefits of microneedling and how to get started on your microneedling journey.
WHAT IS MICRONEEDLING?
Microneedling is a form of collagen induction therapy (CIT) which works to stimulate the skin’s own internal healing responses to result in a fresher, younger, healthier looking complexion.
Collagen is an essential protein that keeps the skin looking youthful, firm and supple - and as we age, our bodies naturally decrease in their collagen production. This contributes to the development of wrinkles and other signs of ageing. Skin can also lose collagen due to skin injuries such as stretch marks and acne scars.
When the skin is microneedled, thousands of microscopic needles puncture the skin to create microchannels, which allow deeper product penetration of hydrating treatments such as Hyaluronic Acid.
The trauma of skin needling also prompts the derma (a deep layer of skin) to produce more collagen and elastin to heal itself, thus healing skin imperfections along with it.
Studies have found microneedling to be a safe and effective way to rejuvenate the complexion and slow the progression of the visible signs of ageing.
WHY SHOULD I MICRONEEDLE MY SKIN?
The benefits of microneedling can be dramatic for rejuvenating and refreshing the skin. If you’re seeking youthful, bouncy skin that is visibly hydrated and glowing from within, then microneedling might just be the answer to your prayers!
Microneedling can help with a range of common skin concerns, including:
IS THERE ANYONE WHO SHOULDN’T DO MICRONEEDLING?
There are some side effects that are possible with microneedling, including immediate swelling, redness and skin flaking.
For this reason, it’s not recommended to perform a microneedling treatment right before a big event - instead, you’ll want to allow yourself around a week of recovery time to ensure that your skin is in tip-top condition.
You may also wish to check with your healthcare provider before microneedling if you are pregnant, breastfeeding, have an active skin infection or active acne, or if you’re prone to keloid scarring.
WHAT DO I NEED TO START MICRONEEDLING?
You’ll need a few supplies before you start microneedling. For hygiene and ensuring a sterile treatment, you’ll need:
Young asian woman washing her face with hair tied back after microneedling treatment
HOW DO I MICRONEEDLE?
Preparation
Step 1: Before you do anything else, you’re going to want to prep your surfaces and your skin. Wipe down any benches with a cleaning solution and tie back your hair away from your face so that there are no loose strands in the way.
Make sure to also pop on a pair of disposable gloves to maintain a sterile environment and prevent any bacteria from cross-contaminating your skin.
Step 2: Double cleanse (cleanse and repeat) your skin with your cleanser of choice to remove all traces of makeup, oils and lotions. You may then use a toner, if you wish.
Optional: At this point, you might like to apply a numbing cream for a more comfortable experience. Apply a generous amount to the needling area 20-30 minutes prior to needling.
To speed up the process, you can wrap the area with Glad Wrap. Then thoroughly remove the cream.
Once you’ve removed the numbing cream with an antiseptic alcohol wipe or chlorexidine solution, cleanse the skin again and use an additional wipe - this will prevent numbing cream from getting into the microchannels created during microneedling.
Step 3: Apply a hydrating serum (we suggest Hyaluronic Acid) before microneedling. This will lubricate the skin and prevent the microneedling pen from creating drag on the skin. Apply the serum in small sections (rather than to the whole face at once) to prevent the serum from drying out.
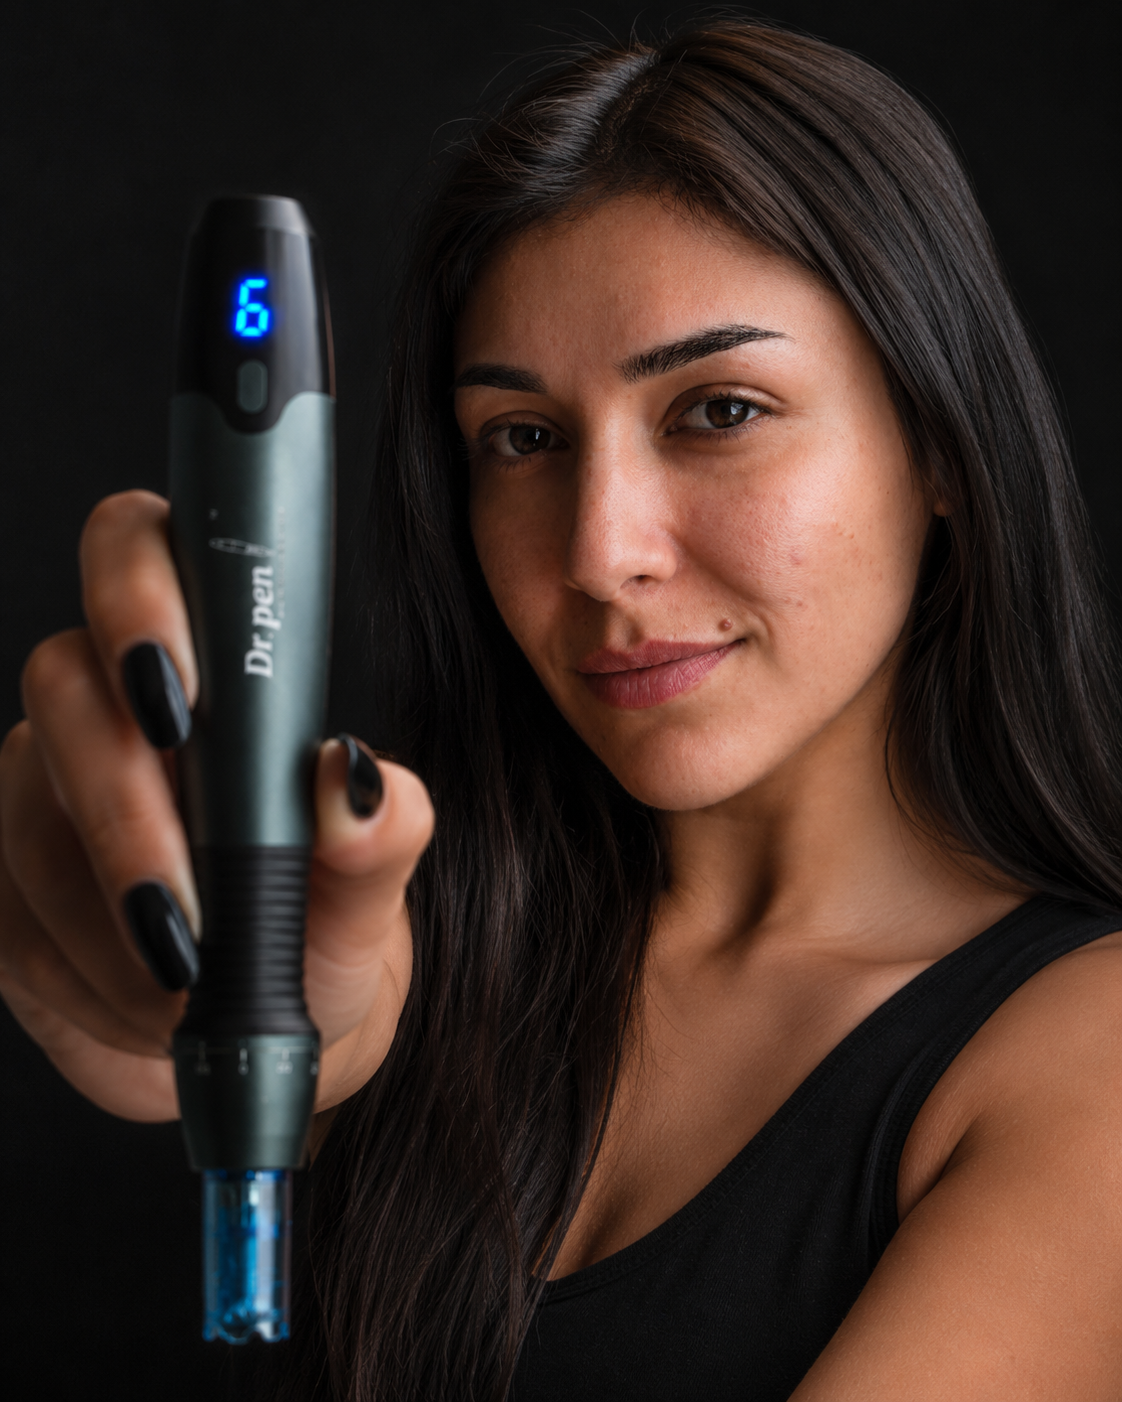
Step 4: Set up your microneedling pen by inserting the cartridge, setting the needle depth and speed and turning the pen on. Instructions specific to your microneedling pen model are included in the product box.
After turning your pen on and selecting your desired speed and needle depth (see the instruction manual that comes with your pen for more on that), it’s time to start your microneedling treatment!
Let’s break down how microneedling works, the benefits of microneedling and how to get started on your microneedling journey.
WHAT IS MICRONEEDLING?
Microneedling is a form of collagen induction therapy (CIT) which works to stimulate the skin’s own internal healing responses to result in a fresher, younger, healthier looking complexion.
Collagen is an essential protein that keeps the skin looking youthful, firm and supple - and as we age, our bodies naturally decrease in their collagen production. This contributes to the development of wrinkles and other signs of ageing. Skin can also lose collagen due to skin injuries such as stretch marks and acne scars.
When the skin is microneedled, thousands of microscopic needles puncture the skin to create microchannels, which allow deeper product penetration of hydrating treatments such as Hyaluronic Acid.
The trauma of skin needling also prompts the derma (a deep layer of skin) to produce more collagen and elastin to heal itself, thus healing skin imperfections along with it.
Studies have found microneedling to be a safe and effective way to rejuvenate the complexion and slow the progression of the visible signs of ageing.
WHY SHOULD I MICRONEEDLE MY SKIN?
The benefits of microneedling can be dramatic for rejuvenating and refreshing the skin. If you’re seeking youthful, bouncy skin that is visibly hydrated and glowing from within, then microneedling might just be the answer to your prayers!
Microneedling can help with a range of common skin concerns, including:
- Fine lines
- Wrinkles
- Hyperpigmentation
- Acne scars
- Stretch marks
- Loose skin
- Dry skin
- Dull/rough skin
IS THERE ANYONE WHO SHOULDN’T DO MICRONEEDLING?
There are some side effects that are possible with microneedling, including immediate swelling, redness and skin flaking.
For this reason, it’s not recommended to perform a microneedling treatment right before a big event - instead, you’ll want to allow yourself around a week of recovery time to ensure that your skin is in tip-top condition.
You may also wish to check with your healthcare provider before microneedling if you are pregnant, breastfeeding, have an active skin infection or active acne, or if you’re prone to keloid scarring.
WHAT DO I NEED TO START MICRONEEDLING?
You’ll need a few supplies before you start microneedling. For hygiene and ensuring a sterile treatment, you’ll need:
- Cleaning solution (to wipe down any benches or surfaces where you’ll be performing the treatment)
- Clean towels
- Sterile gauze
- Antiseptic alcohol wipes
- Disposable gloves
- A scrunchie or hair tie to keep your hair away from your face
- Your cleanser of choice
- Numbing cream (we recommend Lidocaine 5%, available over the counter)
- Glad wrap (optional - this helps to speed up the processing time of the numbing cream)
- Hyaluronic Acid Serum
- And of course, you’ll need your microneedling pen and sterile cartridges.
Young asian woman washing her face with hair tied back after microneedling treatment
HOW DO I MICRONEEDLE?
Preparation
Step 1: Before you do anything else, you’re going to want to prep your surfaces and your skin. Wipe down any benches with a cleaning solution and tie back your hair away from your face so that there are no loose strands in the way.
Make sure to also pop on a pair of disposable gloves to maintain a sterile environment and prevent any bacteria from cross-contaminating your skin.
Step 2: Double cleanse (cleanse and repeat) your skin with your cleanser of choice to remove all traces of makeup, oils and lotions. You may then use a toner, if you wish.
Optional: At this point, you might like to apply a numbing cream for a more comfortable experience. Apply a generous amount to the needling area 20-30 minutes prior to needling.
To speed up the process, you can wrap the area with Glad Wrap. Then thoroughly remove the cream.
Once you’ve removed the numbing cream with an antiseptic alcohol wipe or chlorexidine solution, cleanse the skin again and use an additional wipe - this will prevent numbing cream from getting into the microchannels created during microneedling.
Step 3: Apply a hydrating serum (we suggest Hyaluronic Acid) before microneedling. This will lubricate the skin and prevent the microneedling pen from creating drag on the skin. Apply the serum in small sections (rather than to the whole face at once) to prevent the serum from drying out.
Step 4: Set up your microneedling pen by inserting the cartridge, setting the needle depth and speed and turning the pen on. Instructions specific to your microneedling pen model are included in the product box.
After turning your pen on and selecting your desired speed and needle depth (see the instruction manual that comes with your pen for more on that), it’s time to start your microneedling treatment!