Comfortable Micro needling: What you need to know to do micro needling at home
People who have stretch marks, acne scars, enlarged pores, or wrinkles may feel self-conscious about the uneven texture of their skin. Lasers, chemical peels, and microdermabrasion are just a few of the tools and medicines dermatologists might use to treat various skin disorders.
Microneedling, a nonsurgical technique carried out in a dermatologist’s clinic, is another minimally invasive option for patients who want smoother, younger-looking skin. This procedure is also known as collagen induction treatment (CIT).
How does Microneedling work
Through microneedling, the pinpricks cause little skin damage, and the skin responds by producing new collagen-rich tissue.
The tone and texture of the new skin tissue is more uniform. With age or injury, the skin frequently loses collagen so, adding more collagen may aid in firming the skin by promoting the production of new tissue in the skin.
Radiofrequency, platelet-rich plasma, and topical serums can all be used in conjunction with microneedling. You might consider of it as regrowing a new, quite firmer, more even-toned layer of skin.
- The following are advantages of microneedling:
- Minimizes scarring, particularly acne scarring
- Minimizes the appearance of wrinkles and fine lines
- Reduction of enlarged pores
- Minimizing the appearance of dark patches or hyperpigmentation
- Leveling out an uneven skin tone
- Increases skin elasticity
- Minimizing the visibility of stretch marks
- Minimizing the presence of scars
- Fostering hair growth in alopecia sufferers
- Why is microneedling so popular?
- Microneedling is less invasive and doesn’t require any recovery time. You won’t have much to worry about, during or after applying the, besides a little redness and a little discomfort.
The simplest method for many people to lessen the appearance of scars from acne, other facial blemishes, and acne marks is microneedling.
For individuals who have been disappointed by facial creams, masks, and peels, this is a fantastic alternative.
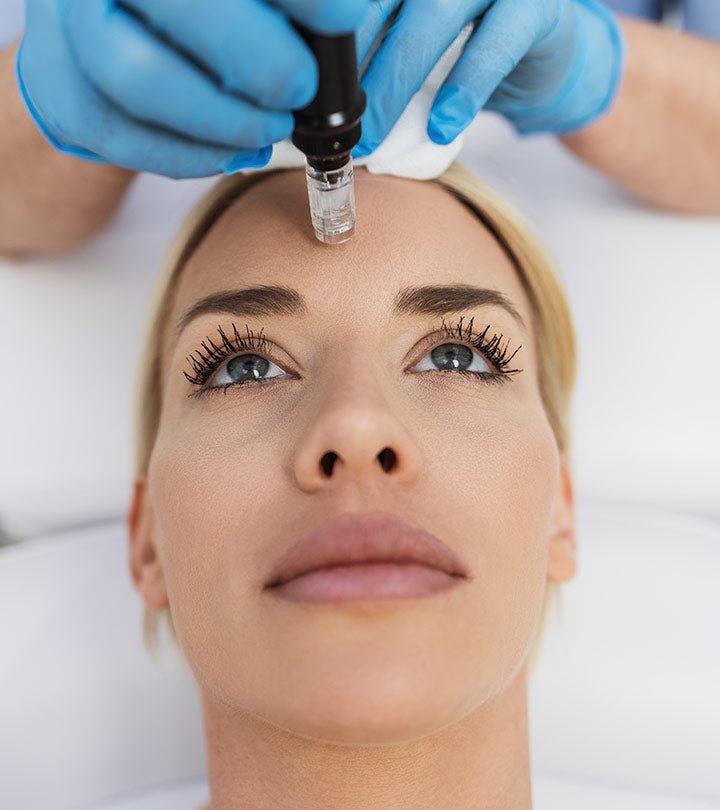
How to carry out microneedling at home
Microneedling is usually a procedure done by a dermatologist, but the same can be done in the comfort of your own home choosing devices meant for at home microneedling use that you can find in our website.
To reduce the danger of infection, you must thoroughly clean the skin before treatments and sterilize your microneedling equipment. Additionally, you need to be careful not to press too firmly on the needling tool because doing so can leave scars.
Why choose at home micro needling
Microneedling performed at home stays close to the skin’s surface and typically makes the skin look younger and brighter.
In-home procedures have a very short downtime, whereas in-clinic procedures may take up to 7 days for the skin irritation to subside, the procedures done at home usually heal fairly quickly.
The main tools you need for at-home treatments:
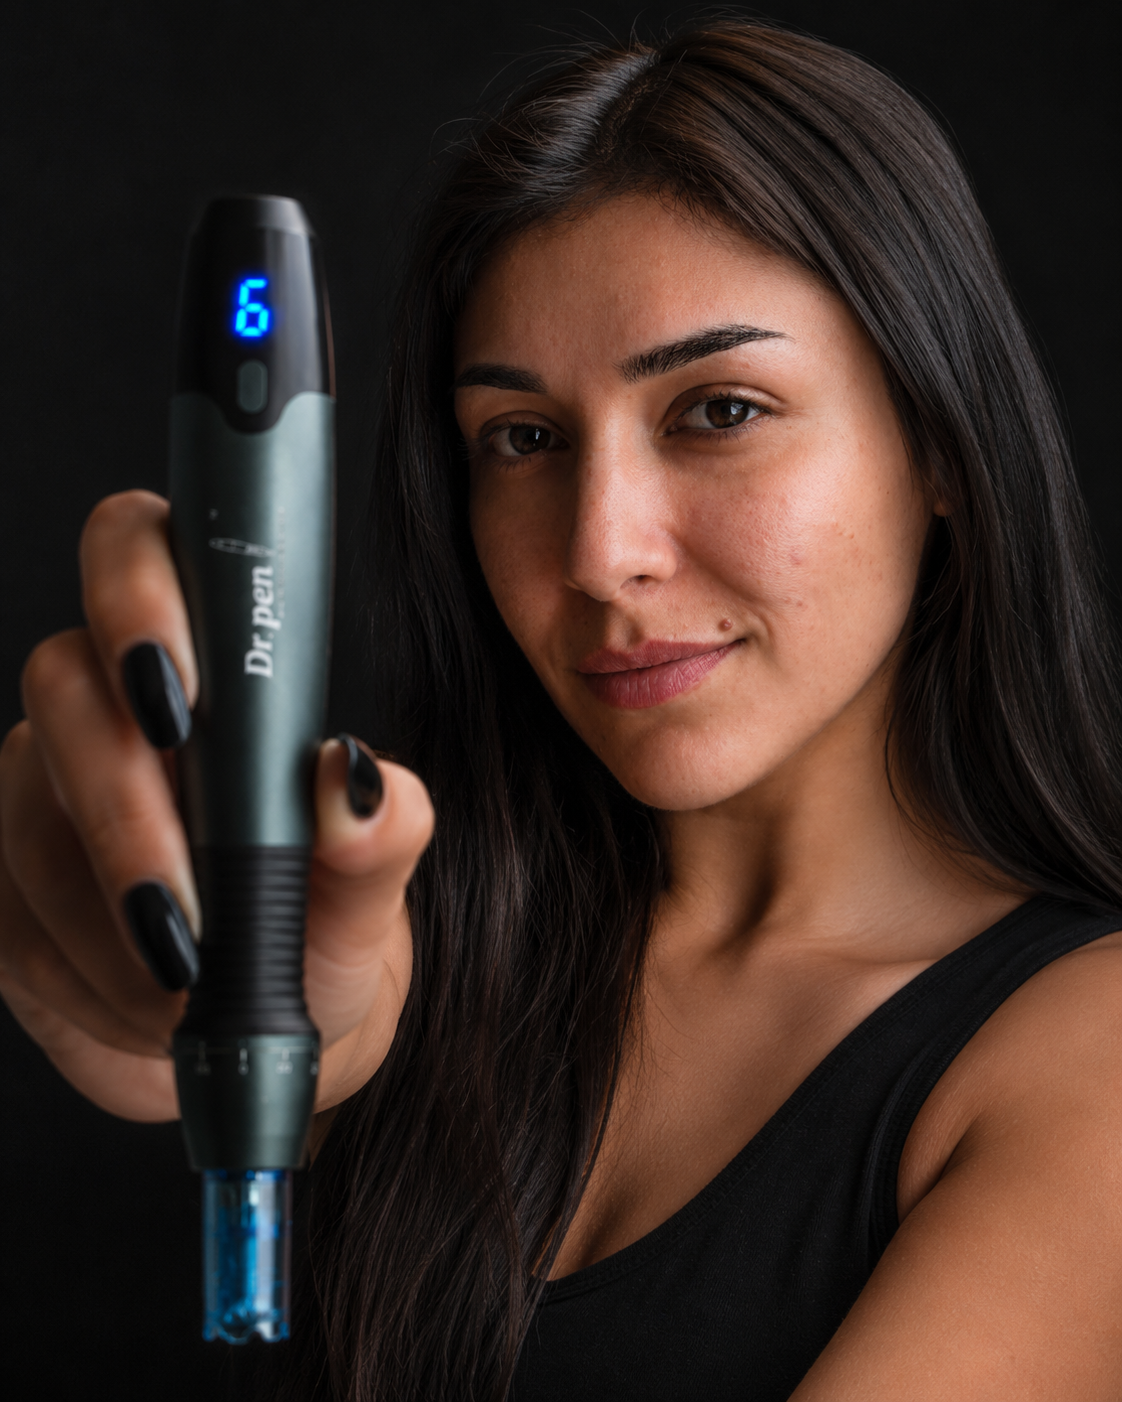
- 1. The micro needling device
- 2. Isopropyl alcohol for disinfection
- 3. Cleansing product for the skin
- 4. Numbing cream (if sensitive)
- 5. Serum
Ensure that the equipment you’re using is clean (you should always clean your equipment before and after each usage) and that the needles are not too dull (they usually start dulling after 10-15 uses). When you begin to experience resistance while using a microneedling pen , it’s time to replace the head on your device.
Here is a step-by-step instruction on micro needling:
Always begin by cleaning your derma pen cartridge by soaking it for 5 to 10 minutes in 70% isopropyl alcohol before using it.
Use your preferred cleanser to clean your skin.
Put the numbing cream if necessary, usually should be done 30 minutes before.
Roll the forehead, cheeks, lips/chin, and neck 2-3 times each in the vertical, diagonal, and horizontal directions.
Afterwards wash your face with clean water and pat the skin dry.
You should now apply your serum.
Apply your preferred moisturizer last.
Redness and irritation are common, but you can reduce them by using ice.
What to expect after micro-needling?
The redness and irritation will only last for about an hour then they will continue to subside. You should avoid active agents such as retinol and vitamin C, which can damage the skin right after the procedure.
On the other hand, most serums and hydrating creams are good to use right after to help the skin rejuvenate.
Take protective measures to not get sunburned during this time, by using SPF greater than 30 sunscreen and/or putting on a hat.
Are changes immediate?
Due to the tiny channels, the needles have made, you should notice after the initial treatment that your skin feels softer and that skincare products start absorbing into your complexion more quickly than usual. Not to add, you will notice a change in the general clarity of your complexion and your skin will be radiant in the days that follow!
Changes are less noticeable after the first treatment, and you won’t see results right away, but your skin will feel tighter and less puffy in the days that follow.
After the third treatment, your skin will typically continue to be soft and you will start to notice a longer-lasting improvement in clarity and radiance.
For these changes to be visible always make sure to follow the steps mentioned above.
How often should the procedure be done?
The length of the needles in your derma pen and the sensitivity of your skin will determine how frequently you receive treatments. You might be able to roll every other day if your needles are short, but you might need to spread out your treatments every three to four weeks if they are longer.
Consider adding additional skin care procedures in between your micro-needling sessions if you truly want to boost your results.
Microneedling and chemical peels work best as complementing treatments when used 4 to 6 weeks apart, according to a professional skin care magazine. When combined with micro-needling, other procedures like gua sha and face acupuncture may hasten your results if your skin can tolerate them.